|
Single Server Installation
1. In the directory with the installation files, double-click MonarchServerv2021x64.msi in case of 64-bit Windows to launch the Monarch Server Setup Wizard.
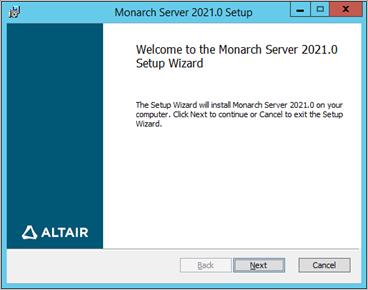
Click Next.
2. The End-User License Agreement dialog box appears.
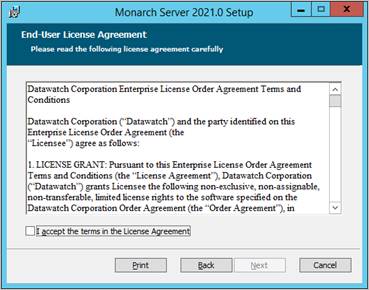
If you agree to the license terms, select the check box below the text, and click Next.
3. The Custom Setup dialog box appears.
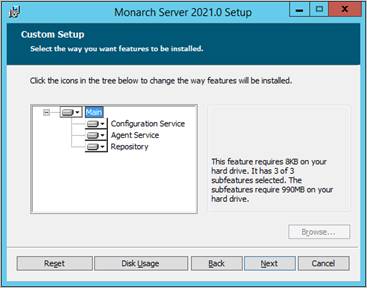
You can select the following components to be installed:
· Configuration Service manages the system configuration and tracks license agreements. It can serve more than one instance. In most cases, only one instance of Configuration Service should be installed.
· Agent Service manages services (modules) on a particular server. It should be installed on every server used for MS installation.
· Repository is a folder containing module packages. A package is a 7-Zip archive containing all assemblies required by a module. In most cases, only one instance of Repository should be installed.
Click Next.
4. The Destination Folder dialog box appears.
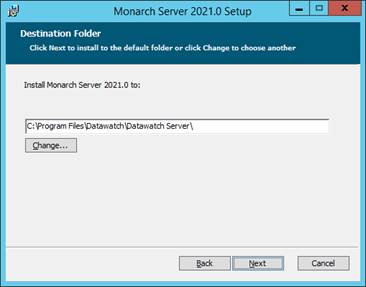
Click Next to install Monarch Server in the default folder, or click Change to select another folder.
5. The Config properties dialog box appears.
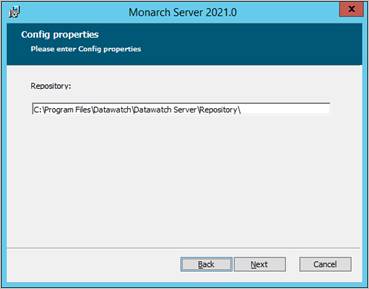
Set the following properties:
· In the Repository field, specify the path to the folder where the Repository will be located.
Click Next.
6. The Agent properties dialog box appears.
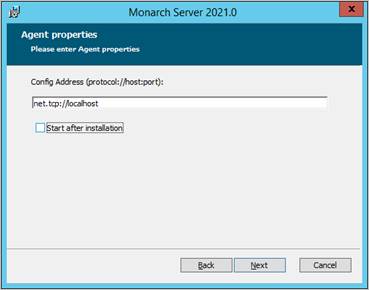
Set the following properties:
· In the Config Address field, specify the address where the Configuration Service will run; ‘localhost’ should be replaced with the FQDN of your server (e.g., net.tcp//myserver.domain).
· Select the Start after installation check box if you want the Agent Service to start immediately after the installation.
7. The Service account dialog box appears.
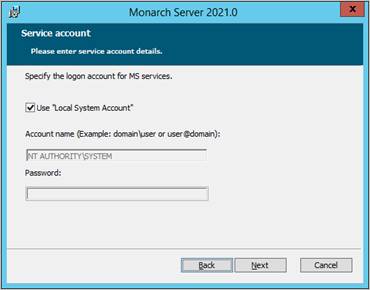
Select the Use “Local System Account” check box if you want to use a local system account.
Otherwise, clear the check box and specify a custom user in the Account name box.
|
NOTE |
In case of a distributed installation, if you specify a custom user in the Account name field, NTLM authentification is applied. |
8. The Export Properties dialog box appears.
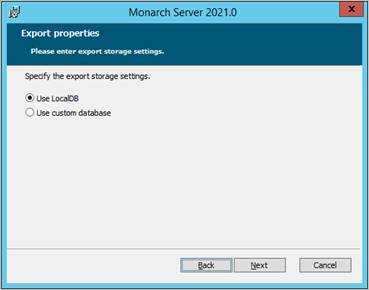
Specify the export storage settings:
· Select the Use local DB option if you want to use a local database as an export storage.
· Select the Use custom database option if you want to use a custom database as an export storage, and then specify its parameters:
¨ Server name
¨ Authentication credentials: user name and SQL password. If you want to use Windows authentication, select the corresponding check box.
|
NOTE |
Using a custom database means Monarch Server will need to be able to create/destroy work databases dynamically. Contact Altair Support for further information and guidance if required. |
9. The following dialog box appears.
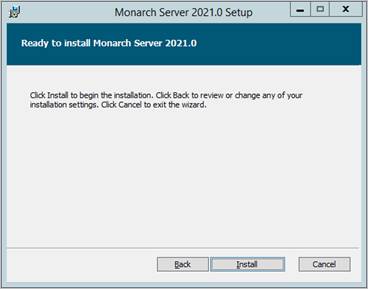
Click Install to begin the installation.
10. After the installation is complete, the following dialog box appears.
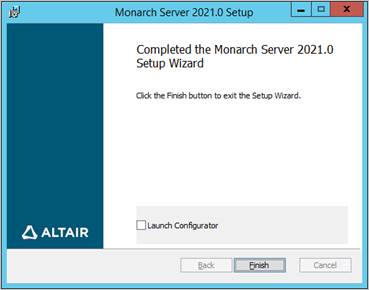
Select the Launch Configurator check box to run the Configurator immediately. Click Finish to exit the Setup Wizard.
Now you can access the following options via the Start menu, under All Programs, Monarch Server, Monarch Server 64-bit:
· Run Agent Service in console mode
· Run Configuration Service in console mode
· Run Configurator
· Uninstall
Creating Instances
You can create instances using the Configurator tool.
The Configurator will launch immediately after installation if you select the corresponding check box.
|
NOTE |
You can run it manually by selecting the Run Configurator option on the Start menu. |
To create an instance
1. From the drop-down list in the top right corner in the Monarch Server Configurator window, select the domain server name and port where the Configuration Service runs, and click Connect.

|
NOTE |
The default service URI can be net.tcp://localhost. However, the Configuration Service can be launched on any computer. In this case, the URI should contain the domain server name. |
2. Select the Configurator tab, and click the Instances tab.
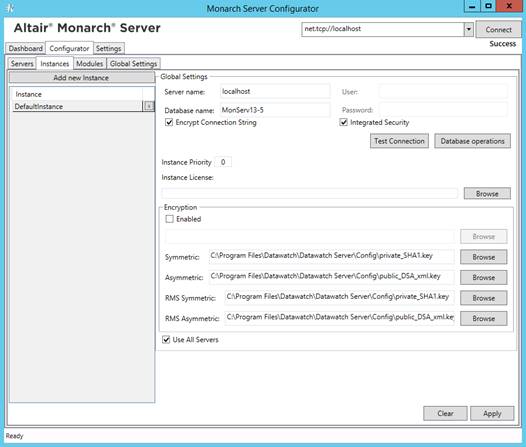
3. Under Global Settings, specify the connection string parameters: server name, database name, user, and password. Click Test Connection. You will be prompted to update the database.
|
NOTE |
Select the Integrated Security check box if you want to access SQL Server via Windows Authentication. This option is based on the context of the user running the Configurator application and NOT the Config Service. If there is no database with the specified name, a message will appear asking if you want to create a new database. Note that you need to configure a valid license to make any database operations. |
4. Under Instance License, specify the path to the license file.
5. Click Apply.
6. If you want to create several instances, each using its own database, click the Add new Instance button, type the new instance name, and specify the parameters described in Step 2.
|
NOTE |
For additional information about setting instance parameters, click here. |
Installation of Web Applications
You need to install the Admin and Client applications for each instance.
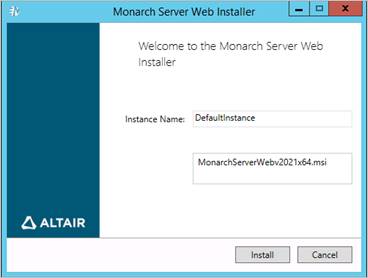
1. Go to the directory with the installation files, and double-click Web.Installer.exe.
2. In the Monarch Server Web Installer dialog box, type the instance name (or leave the field empty if you plan to install only one instance), and click Install.
|
NOTE |
If you install only one instance, double-click MonarchServerWebv2021x86.msi (or MonarchServerWebv2021x64.msi in case of 64-bit Windows) to launch the Monarch Server Web Setup Wizard. |
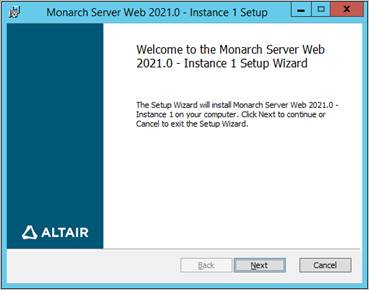
3. The Setup Wizard dialog box appears. To proceed, click Next.
4. The End-User License Agreement dialog box appears.
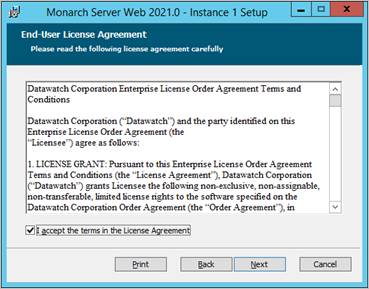
If you agree to the license terms, select the check box, and click Next.
5. The Custom Setup dialog box appears.
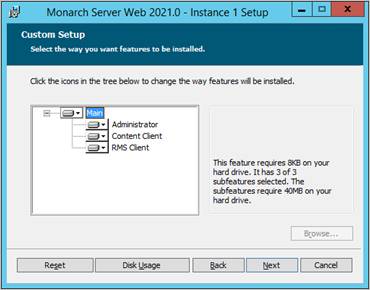
Select the components to be installed. For single server installation, install all the components. Click Next.
6. The Web Applications properties dialog box appears.
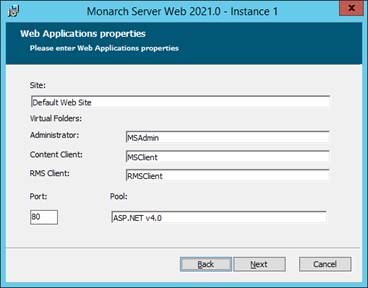
In the Site field, specify the site name where the Web applications will be installed.
|
NOTE |
Select this site name from those listed in the Internet Information Services (IIS). |
Under Virtual Folders, specify the names of the virtual folders for Administrator, Client, and RMS Client.
|
NOTE |
The installer creates virtual folder names using the template DsAdmin%instance_name% and maps them to the corresponding folder at C:\inetpub\wwwroot. |
In the Port field, specify the port where the IIS runs.
In the Pool field, specify the name of the application pool to be used by the Web applications.
Click Next.
7. The Config properties dialog box appears.
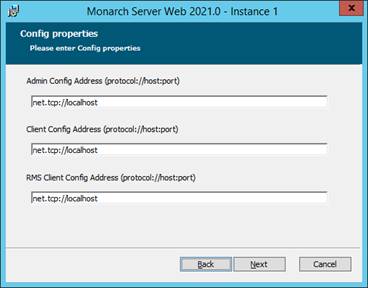
In the Admin Config Address field, specify the address where the Configuration Service runs for the Admin application.
In the Client Config Address field, specify the address where the Configuration Service runs for the Client application.
In the RMS Client Config Address field, specify the address where the Configuration Service runs for the RMS Client application.
Click Next.
8. The following dialog box appears.
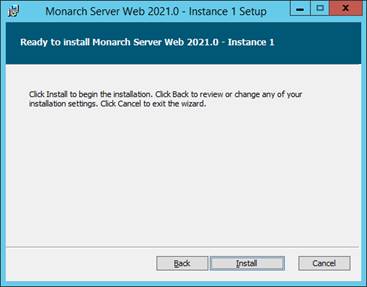
Click Install to begin the installation of the chosen applications.
9. After the installation is complete, the following dialog box appears.
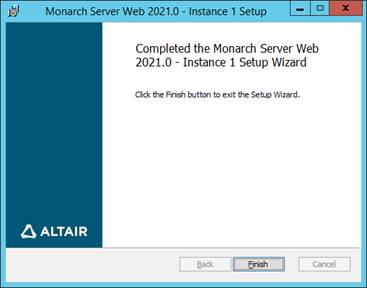
Click Finish to exit the Setup Wizard.
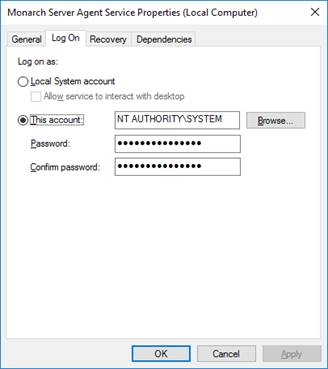
Changing the Account
To change the account
1. Click Start, select Control Panel, and point to Administrative Tools.
2. Double-click Services.
3. Double-click Monarch Server Agent Service.
4. Select the Log On tab and specify account properties.