In this tutorial, you will:
| • | Load the model into HyperMesh. |
| • | Assign a material to the Polymer |
This tutorial example explains the procedure to add a user defined material type to the database.
The Material Data macro allows you to select an existing material from the database or create a user-defined material database based on the material properties of your choice.
The model files for this tutorial are located in the file mfs-1.zip in the subdirectory \hx\MetalExtrusion\HX_1401. See Accessing Model Files.
To work on this tutorial, it is recommended that you copy this folder to your local hard drive where you store your HyperXtrude data, for example, “C:\Users\HyperXtrude\” on a Windows machine. This will enable you to edit and modify these files without affecting the original data. In addition, it is best to keep the data on a local disk attached to the machine to improve the I/O performance of the software.
|
| 1. | Import the model HX_1401.hm. |
The HyperXtrude installation comes with a default set of materials for workpiece, tool, and polymers.
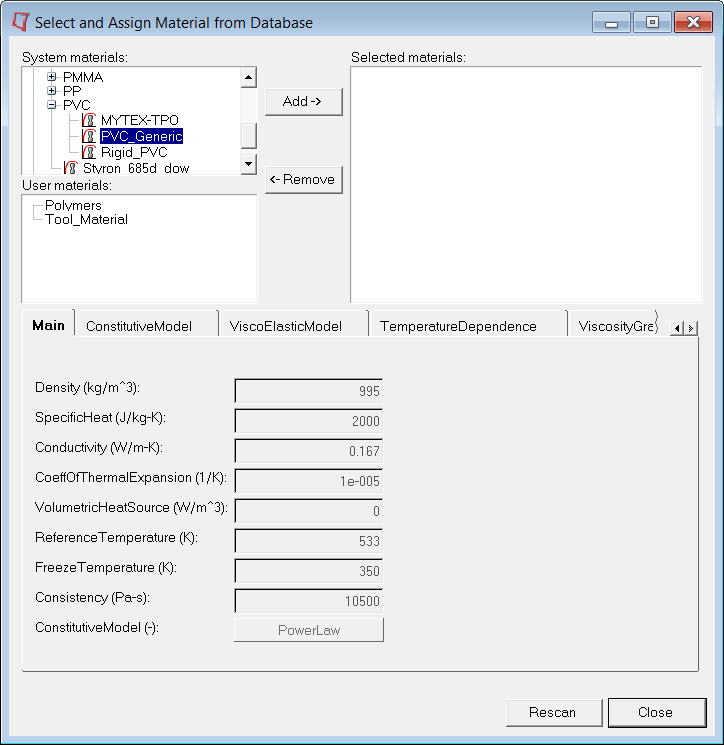
You can access these from the System Material section in the Material Data window. You can select from the list of existing material to add to the list of selected materials and assign it to the relevant components.
| 3. | Expand Polymers, expand PVC and select PVC_Generic. |
| 4. | Click Add to select the material for the Polymer components. |
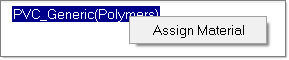
| 5. | Right-click on PVC_Generic in the Selected Materials section to access the Assign Material option. |
| 6. | Assign the material to all of the Polymer components by clicking All. |
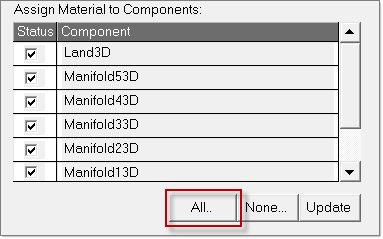
| 7. | Click Update to assign the material. |
|
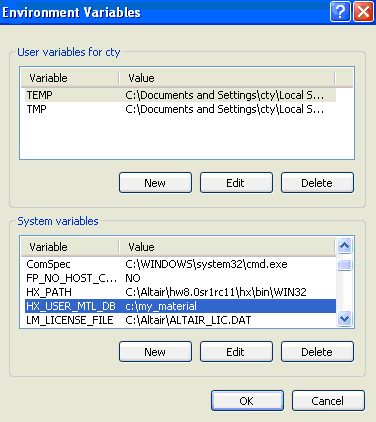
The user material section can be specified using the system environment variable:
Environment Variable
|
HX_USER_MTL_DB
|
Value
|
{user-defined path}
For example:
C:\my_material
|
Upon setting the environment variable, the user material section displays. This section allows you to create material data that is proprietary or point to existing material data.
| Note: | You can also set your own material database/path that co-exists with the default HyperXtrude material database in the installation. Once you have set the material environment variable, click rescan to refresh the Select and Assign Material from Database window. Quitting and re-starting HyperMesh can also activate the new database. |
The following is an example of the system setting on Windows XP:
|
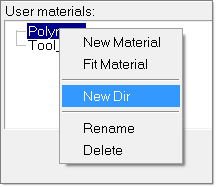
| 1. | Right-click on Polymers under user materials. |
| 2. | Select New Dir. This refreshes the bottom half of the widget and prompts you to enter the name of the new directory. |
| 3. | Enter a directory name (such as user1) and click Create. A new sub-directory called user1 is created under Polymers. |
| 4. | To change the name of a directory, right-click on it and select Rename. |
| 5. | To remove a directory, right-click on it and select Delete. |
|
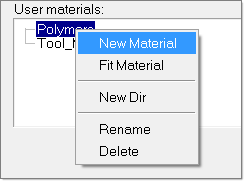
| 1. | Expand the Polymers directory, then right-click on Polymers. This displays options to add new directories or materials to the database. The new material can be added to system materials or user materials. |
| 2. | Select New Material. This refreshes the bottom half of the widget and prompts you to enter the new material name. |
| 3. | Enter a material name (such as Test_Material). |
| 4. | Select Polymer for material class. |
| 5. | Click Next. This displays a panel to select a constitutive model. HyperXtrude supports the following constitutive model for polymers: |
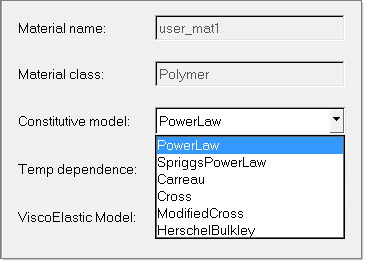
A description of these models is presented in the HyperXtrude User Manual.
| 7. | For Temp dependence select Exp(-Bets(Delta T)). |
| 8. | Click Next. This displays a menu panel to enter material data. |
| 9. | Enter data as appropriate. |
The material properties are grouped into two categories. The density, thermal and strength properties are listed under the Main panel. The coefficients of the constitutive model and flow stress plots are listed under separate property pages.
| 10. | Click create to create the new material. |
Note that the new material is created only when you click Create. Clicking Back allows you to go to previous step(s) to change the selections.
|
Return to Polymer Processing Tutorials


