HWCT-1300: Managed Libraries
In this tutorial, you will learn how to create a new library in the personal repository, create and manage workspaces in a managed library, and use the Organize browser to organize and explore categories and folders.
The model file used in this
exercise is located in the hwe.zip file in the HyperWorks Enterprise directory. Copy the file(s) from this
directory to your working directory.
Create a New Managed Library and Workspace
Create Categories
-
Select the drop-down on the Category Mode/Folder Mode toolbar icon and select
Category Mode,
 .
.

Figure 1. -
Click the drop-down next to the New Content icon,
 , and
select Category,
, and
select Category,  .
.
Create Folders
-
Select the drop-down on the Category Mode/Folder Mode
icon and select Folder Mode,
 .
.
-
Click the drop-down next to the New Content icon, , and select
Folder,
 .
.
-
Click Save.
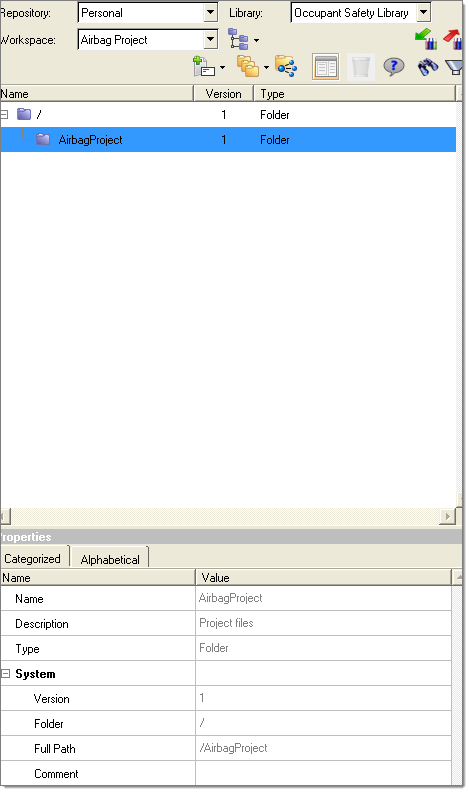
Figure 2.
Populate the Library
-
Click in the Value column of the Category row, click the
browse folder,
 ,
check Results, and click OK.
,
check Results, and click OK.
-
Right-click the root library folder,
 , and
select Add Folder.
, and
select Add Folder.
-
In the Select Files/Folders dialog, click the
Add Folder icon,
 .
.
-
When notified that the indexing is complete, click Yes
to refresh the Organize browser.
The contents are added to the library. Shown in Folder Mode:
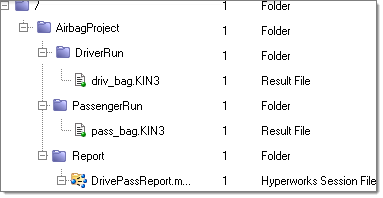
Figure 3.Note: Notice the icon next to DrivePassReport.mvw indicating that it refers to other contents in the library. -
Click the Show/Hide References icon to show the
references, which were automatically created when the contents were added in
bulk.
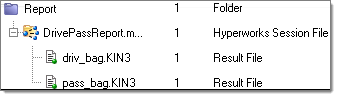
Figure 4. -
Select the drop-down on the Category Mode/Folder Mode icon and select
Category Mode, . View the library contents in
Category Mode, as shown below.
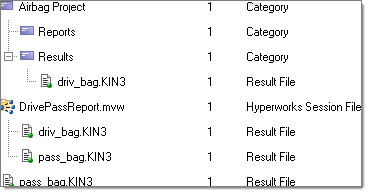
Figure 5.Note: Category assignments do not get created automatically when bulk adding contents. -
Click in the Value column of the Category row, click the
browse folder,
 ,
check Results, and click OK.
,
check Results, and click OK.
Summary
In this tutorial you worked with the Organize browser to add a new library to the out-of-the-box Personal repository.
Both a virtual category structure as well as a physical folder structure were created to organize the contents of the library. Subsequently, this library was populated, and automatic metadata extraction and reference creation was seen, allowing for information capture with no additional effort from you.