As the example contains only one layer (whereas a real airbag has at least two) this example will use the EXPAND operator which will do the entire job. For a more detailed description of the EXPAND operator, please see the EXPAND Operator section.
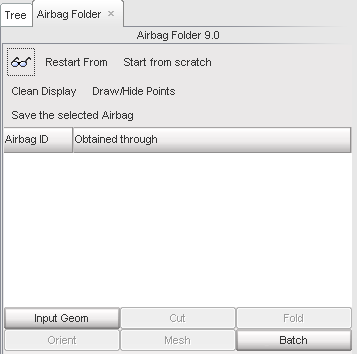
Figure 6: Choosing the geometry input panel.
| 1. | First, click the Input Geom button (Figure 6) which will open the corresponding panel (Figure 7). |
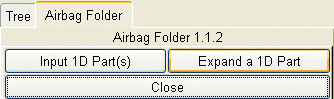
Figure 7: Choosing the expand input method.
| 2. | Next, click the Expand a 1D Part button which opens the appropriate panel (Figure 8). |
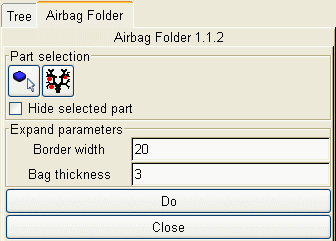
Figure 8: The EXPAND method panel.
| 3. | Now go back to the tree and select the only part as shown in Figure 9. |
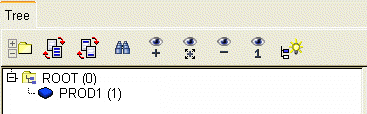
Figure 9: Selecting the part in the tree view.
| 4. | Next, click the tree icon. A message confirming that the part has been selected in the tree will appear at the bottom of the message window. |
| 5. | Enter the parameters' values as in Figure 8 and click Do. The result in the graphic area should be similar to what is seen in Figure 10. |

Figure 10: The airbag obtained by EXPAND.
When this is achieved, the folding process can start.
See also
Initial Geometry Input
Call the Safety Tool
The Fold Definition


