


|
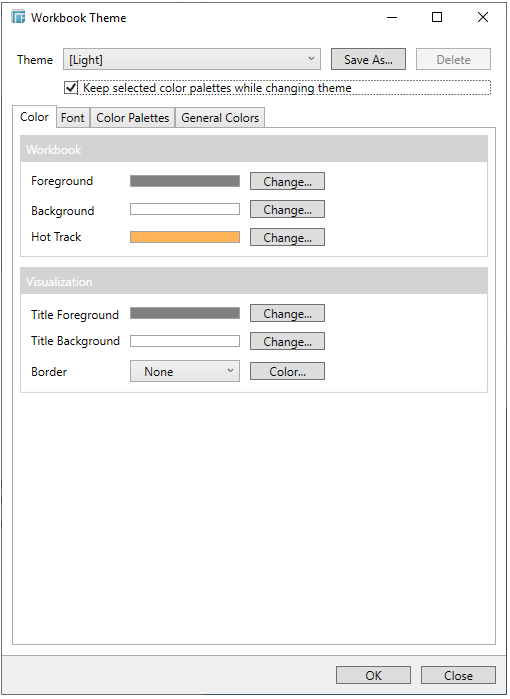
Modifying Workbook Themes
Modifying Workbook Themes
-
Check the Keep the Selected Color Palettes while Changing the Theme box. This means the used color palettes in the current workbook theme will be added to the selected theme, if the palette names are not yet available in it.
NOTE:
This option is used when changing the selected theme in the Theme drop-down and is only available on the Open Workbook Layout. The application level setting is unselected by default.
If left unchecked while switching themes, all of the color palettes used in visualizations are updated with those of the selected theme.
-
Click the Color tab.
-
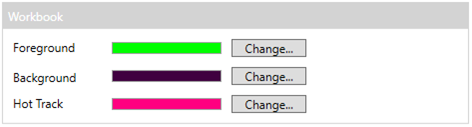
Under the Workbook section, to change any of the Foreground, Background, and Hot Track colors, click their corresponding Change button.
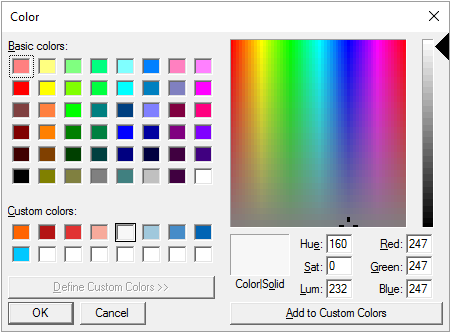
The Color dialog displays.
-
In the Color dialog, select the desired color then click OK.
The selected colors are displayed, accordingly.
-
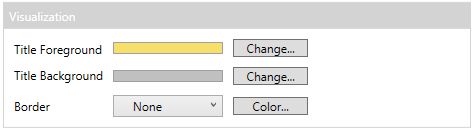
Under the Visualization section, to change any of the Title Foreground and Title Background colors, click their corresponding Change button.
-
In the Color dialog, select the desired color then click OK.
The selected colors are displayed, accordingly.
-
Select the visualization Border in the drop-down list and to change the color, click Color.
In the Color dialog, select the desired color then click OK.
-
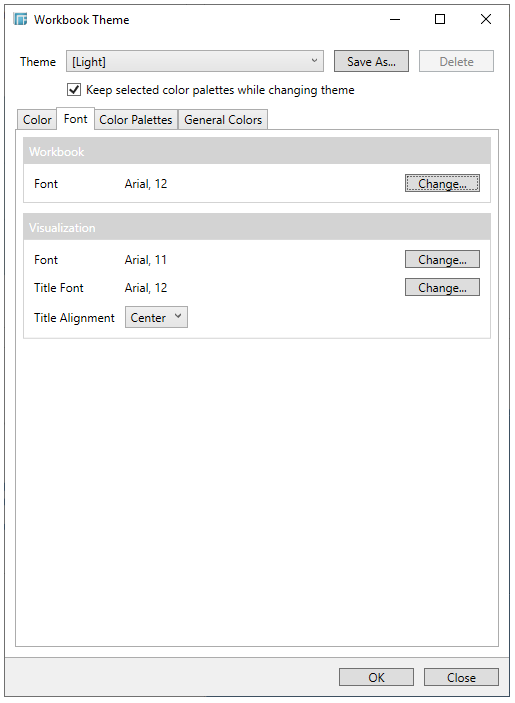
To modify the fonts, click the Font tab.
-
Under the Workbook section, to modify the font, click Change.
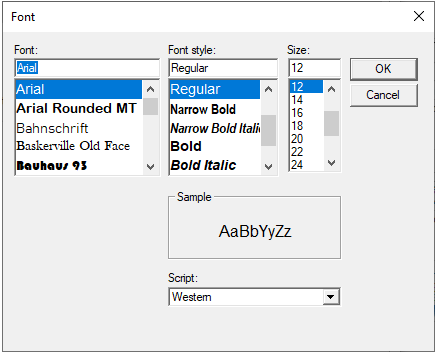
The Font dialog display.
-
Select the font Type, Style, Size, and the Script then click OK.
-
Under the Visualization section, to modify the Font and Title Font, click Change.
-
In the Font dialog, select the font Type, Style, Size, and the Script then click OK.
-
Select the Text Alignment: Left or Center.
-
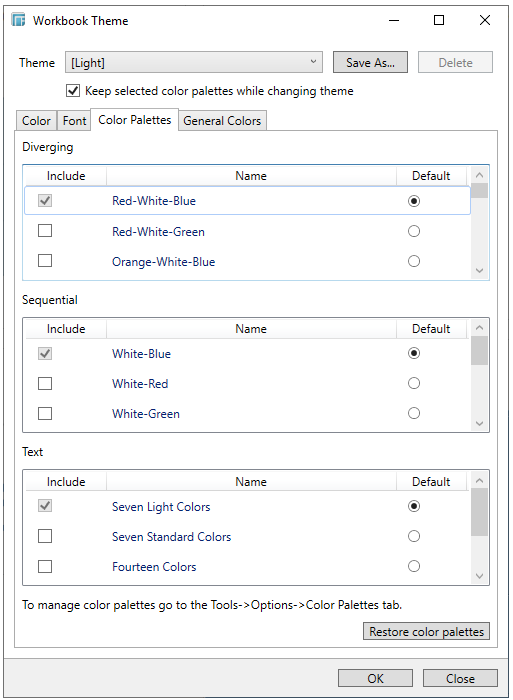
To select the Diverging, Sequential, and Text color palettes, click the Color Palettes tab.
-
Check the boxes of the color palettes that will be included for each category.
-
Click the radio button of the default color palette for each category.
NOTE: To manage the color palettes, go to Tools > Options > Color Palettes tab.
-
Click Restore Color Palettes to update the color palettes used in the workbook with the global color palettes.
This means, if there are any changes made to a color palette from Tools > Options > Color Palettes, they are applied into the color palette inside the selected workbook theme.
-
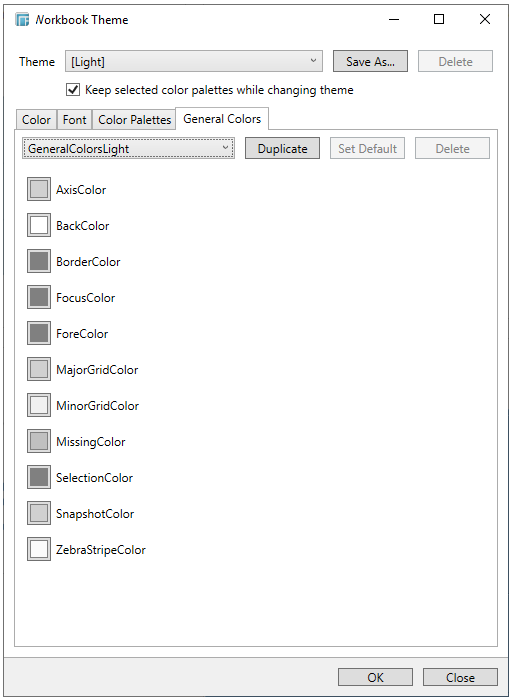
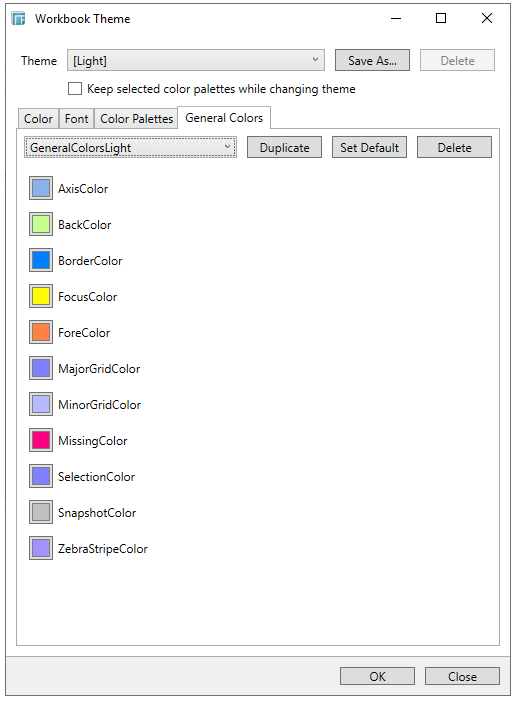
To set the general colors to be used for visualizations, click the General Colors tab.
The default general colors setting is named GeneralColorsLight.
-
Click any of the color boxes to display the Color dialog and select the new color for the general colors: AxisColor, BackColor, BorderColor, FocusColor, ForeColor, MajorGridColor, MinorGridColor, MissingColor, SelectionColor. SnapshotColor, ZebraStripeColor.
For example:
When applied as general colors for the Color variable of a visualization, the graph will be displayed as:

-
Instead of modifying the settings of the default general colors, click Duplicate to create another general colors. It will be added in the General Colors drop-down list.
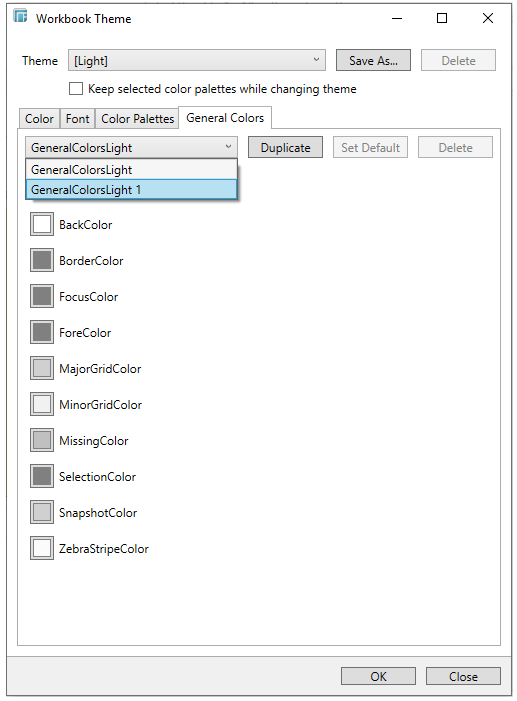
Repeat step 19 to modify the general colors.
All of the defined general colors will be added as an option in the General Colors drop-down list of a Color variable in a visualization.

-
Select any of the duplicate general colors and click Set Default to make it the default.
-
To delete any of the duplicate general colors, select it in the General Colors drop-down list and click Delete.
A confirmation dialog displays.
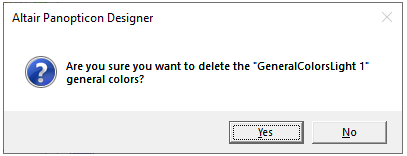
Click Yes.
-
Click OK to save the changes and apply the theme to the workbook.