


|
Altair Panopticon Designer (Desktop) Options
Using the Altair Panopticon Designer (Desktop) Options
-
You can control Panopticon Designer (Desktop) preferences by selecting Tools > Options from the menu bar.
-
-
This displays the Altair Panopticon Options dialog.
-
-
It has the following tabs:
-
-
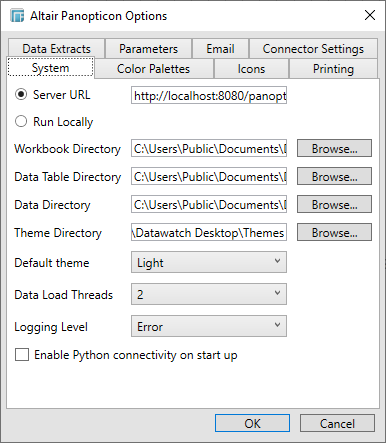
System
-
This tab specifies the following:
-
-
-
-
The URL of the Server to connect to
-
Whether to connect to the Panopticon Visualization Server or run locally
-
If running locally, the option to modify product Activation
-
The default license file path of Panopticon Designer (Desktop) is running locally
-
The default folder to store saved Workbooks
-
The default folder to store saved data tables
-
The default folder to store saved data files (and fallback folder)
-
The default folder to store saved workbook themes
-
The default workbook theme
-
The number of data loading threads to be used.
-
The logging level for Panopticon Designer (Desktop).
-
Whether to enable the Python connectivity on Designer startup.
-
-
-
-
Color Palettes
-
-
-
Icons
-
Printing
-
Data Extracts
-
Parameters
-
Email
-
Connector Settings
-
-
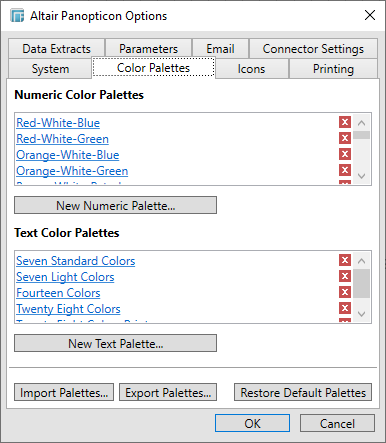
Select the Color Palettes tab to define the color palettes that will be available for use within workbooks.
-
You can either click the following buttons:
-
-
New Numeric Palette
-
-
-
New Text Palette
to create additional color palettes.
-
-
Clicking on an existing color palette displays its details allowing easy modification.
-
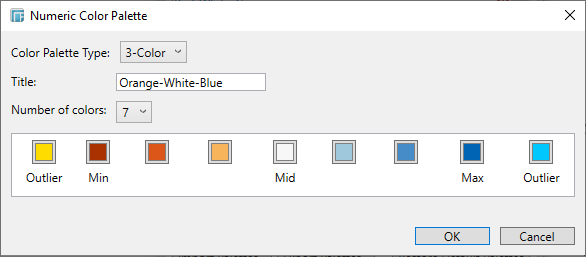
Click New Numeric Palette to create a new palette.
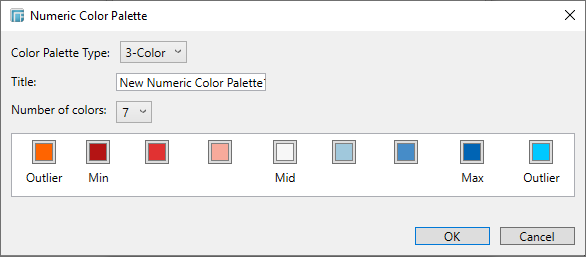
-
Confirm the name then click any color box to display the Color dialog and select a new color. Click OK to add this new palette to the Panopticon Designer (Desktop).
Palettes can be imported and exported through the appropriate buttons. To restore the default settings, click Restore Default Palettes.
-
Select the Icons tab to define the icons that will be available for use within workbooks.
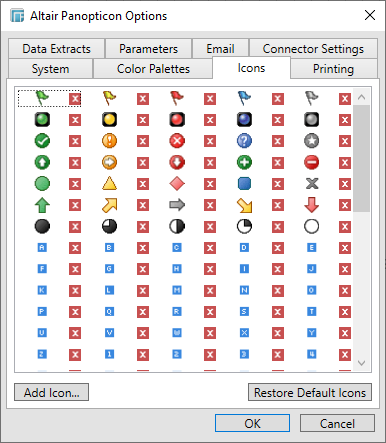
-
Additional Icons can be added from external images by clicking the Add Icon button and browsing to an external image file.
Existing icons can be removed by clicking Delete to the right of the selected icon.
-
Select the Printing tab to define the output style of printed workbook dashboards, including Header, Footer, and Margin.

-
Select the Data Extracts tab.
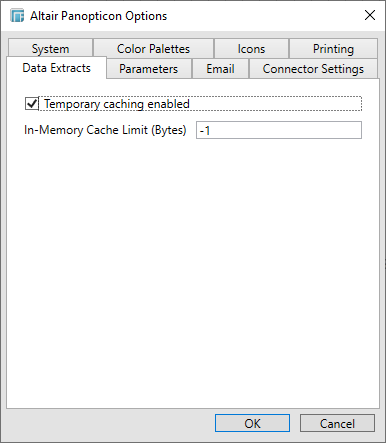
You can do any of the following options:
-
enable the temporary caching of static data by checking the Temporary Caching Enabled box. Uncheck the box to disable.
-
define the In-Memory Cache Limit (Bytes) of the BTF cache
The default value is -1 (infinite) which may result to the system's poor performance because of high memory utilization. Modifying the limit value can help in resolving this problem.
Once the cache exceeds the set limit, older entries will get evicted from memory and will be reloaded from disk next time they are requested.
-
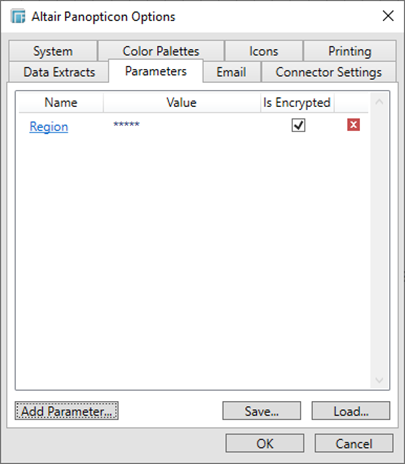
Select the Parameters tab to define parameters and their values that can be applied by default to open workbooks. This functionality in the Panopticon Designer (Desktop) mirrors that of passing parameters into the URL of the web client.
It is commonly used for storing parameterized data source connection details, so that they are maintained outside of the workbook.
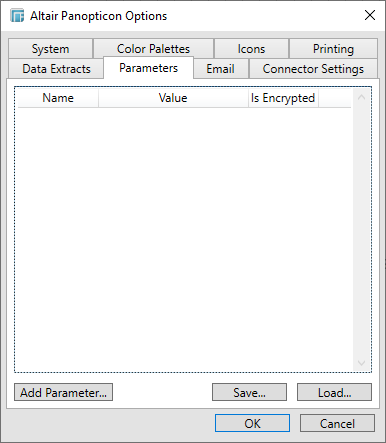
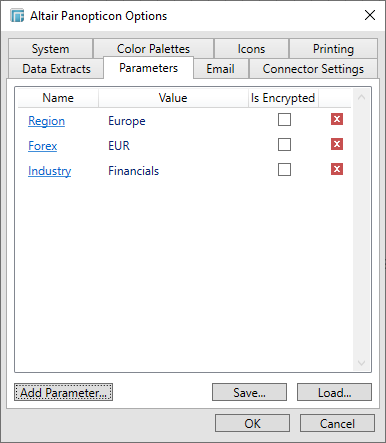
New parameters can be added by clicking the button Add Parameters…
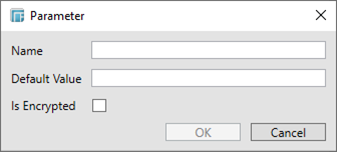
And then entering the appropriate Name and Default Value. Then enabling the encryption.
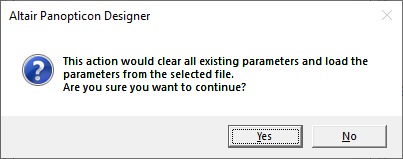
The DefaultParameters.xml file that controls the global parameters for the Panopticon Visualization Server can now be easily loaded in the Panopticon Designer (Desktop) by clicking Load.
Click Yes in the notification dialog that displays.
Select the DefaultParameters.xml file located in the App_Data folder (e.g., c:\vizserverdata) in the Open dialog box.
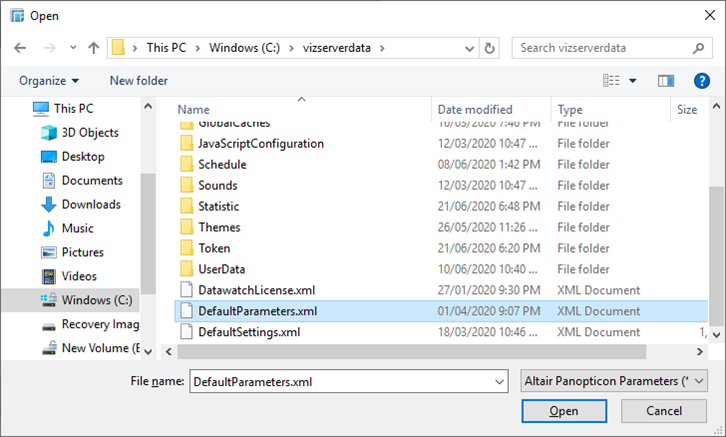
The default parameters are loaded in the Parameters tab.
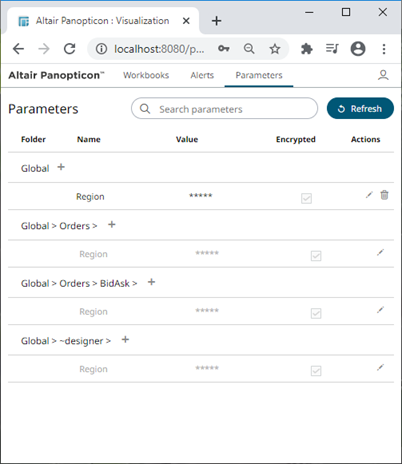
From
Panopticon Server:
|
To
Panopticon Designer (Desktop):
|
NOTES: Encrypted parameters are set to empty, hence you need to manually enter their parameter values in Panopticon Designer (Desktop).
To edit and manually enter the parameter values, click on the link. The corresponding Parameter dialog displays.
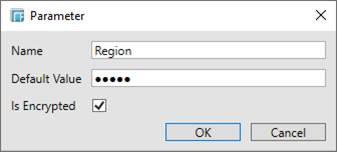
Uncheck the Is Encrypted box and enter the Default Value.

Click OK. The parameter value is displayed. Repeat until all default parameter values are entered.
To save the default parameters (DefaultParameters.xml fie), click Save. Locate the App_Data (e.g., c:\vizserverdata) folder in the Save As dialog.
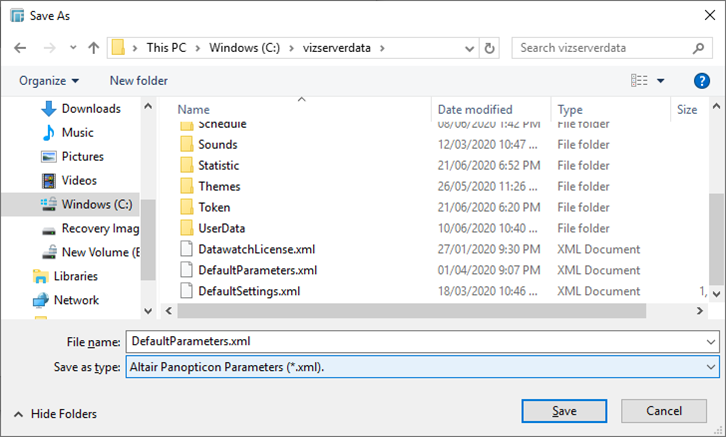
Then click Save.
NOTES: If there are encrypted parameters that were set in Panopticon Designer (Desktop) and you save them to replace the DefaultParameters.xml in the App_Data folder, you need to manually enter their parameter values in the Panopticon Visualization Server.
-
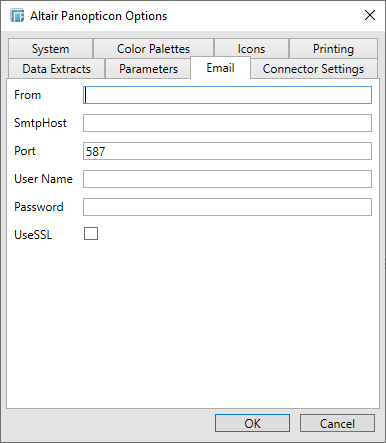
Select the Email tab to define the mail properties that will be used to send Alerts, including the following:
-
-
return address of the aforementioned user
-
SMTP mail server host name
-
Port number of the SMTP mail server
-
User Name to use when connecting to the mail server
-
Password to use when connecting to the mail server
-
Activate or deactivate the SSL to establish an encrypted link between the mail server and mail client
-
-
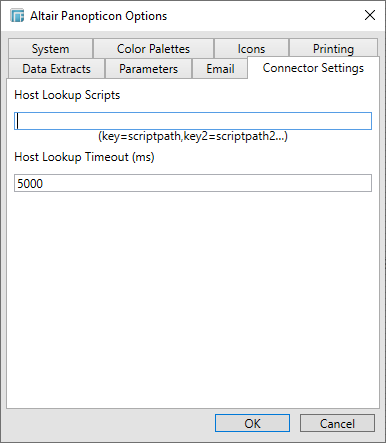
Select the Connector Settings tab.
The Connector Settings tab is where the authentication script settings and timeout for host lookup are defined.
-
-
Host Lookup Scripts
-
List of comma-separated key-value pairs, where key and value are separated by an equals sign (e.g., key=scriptpath,key2=scriptpath2…)
-
Key is any given name to a host lookup script.
Used inside connector UI as Host Lookup Script.
NOTES: Host Lookup Script can be parameterized.
When a key is used in the connector, it is searched in the Altair Panopticon Connector Settings and the corresponding shell script is run to get the host information.
An exception is thrown if the key used in the connector is not configured in the Altair Panopticon Connector Settings.
-
Value is the full path of the shell script that is accessible on the local machine.
Examples:
-
For Windows
local=E:\\Data\host.bat,formatted=E:\\Data\hostFormatted.bat
There are two keys specified in this property which are local and formatted.
The shell script for the local key is host.bat which is:
@echo off
echo %1
After executing the host lookup script, the received connection details are the values entered in the connector UI.
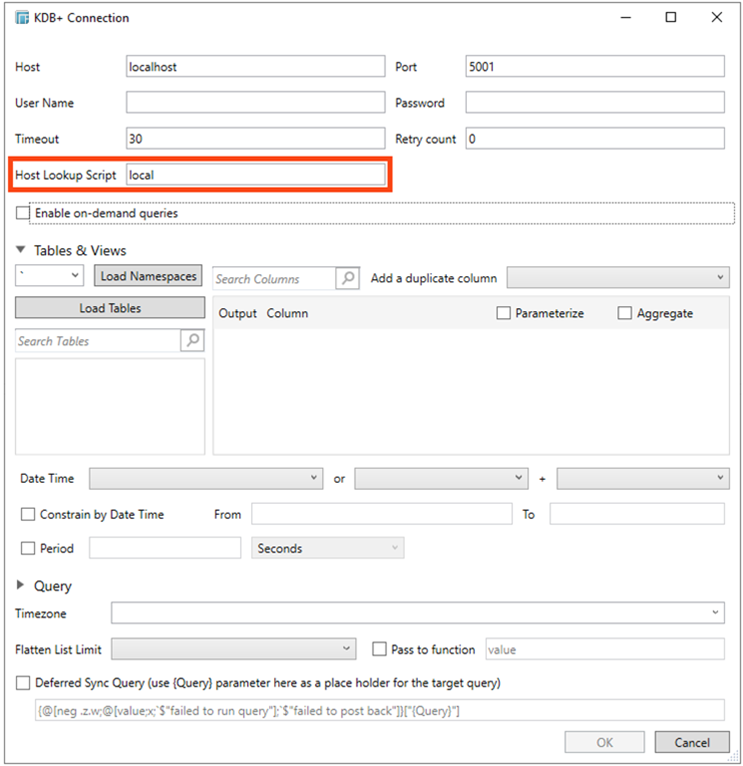
{ "host": "localhost", "port": 5001, "username": "", "password": "" }
NOTES:
-
The port should be a number and has no double quotes. This is done to avoid unwanted casts.
-
Only host and port are mandatory.
The shell script for the formatted key is hostFormatted.bat which is:
@echo off
echo {
echo "host":"localhost",
echo "port":5001,
echo "username":"john",
echo "password":" Pass1w0rd"
echo }
Specifying the formatted key as the Host Lookup Script value, the Host, Port, User Id, and Password entries in the connector dialog will be disregarded.
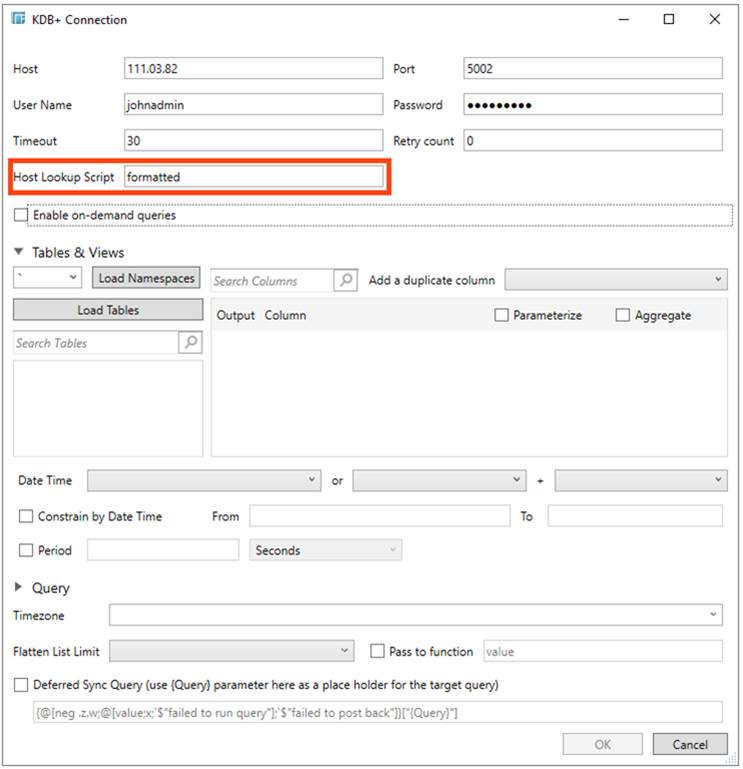
The connection details from the host lookup script will be used instead.
{ "host": "localhost", "port": 5001, "username": "john", "password": "●●●●" }
-
For Linux
local=/etc/panopticon/appdata/host.sh,formatted=/etc/panopticon/appdata/hostFormatted.sh
There are two keys specified in this property which are local and formatted.
The shell script for the local key is host.sh which is:
echo $@
After executing the host lookup script, the received connection details will be the values entered in the connector UI.
{ "host": "localhost", "port": 5001, "username": "", "password": "" }
The shell script for the formatted key is hostFormatted.sh which is:
echo {
echo \"host\":\"192.168.1.172\",
echo \"port\":5001,
echo \"username\":\"john\",
echo \"password\":\"Pass1w0rd\"
echo }
Specifying the formatted key as the Host Lookup Script value, the Host, Port, User Id, and Password entries will be disregarded.
The connection details from the host lookup script will be used instead.
{ "host": "localhost", "port": 5001, "username": "john", "password": "●●●●" }
-
-
Host Lookup Timeout (ms)
-
The timeout (in milliseconds) to wait for the host lookup script to run and return the host info. Default is 5000.