Creating Gap Contacts
This feature enables you to create gap contacts between two tool parts. This tool automatically detects possible contacts in your model for the displayed parts.
Defining Surface Contacts
-
Display the necessary tool parts where contacts need to be applied.
-
From theTool Deflection ribbon, click the
Contacts tool.

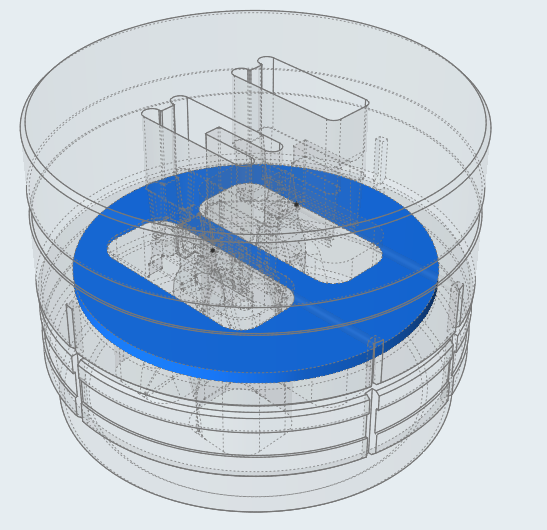
Inspire Extrude automatically finds the contact region and displays the contact surface in blue. A guide bar is populated.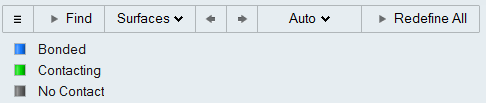
Note: Inspire Extrude supports only contacts with Surfaces. -
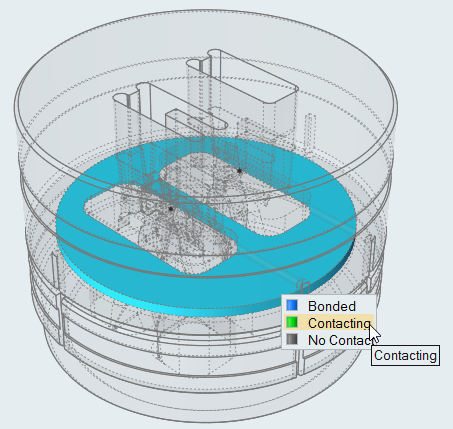
Click the contact surface in the model.
A microdialog to change the contact type will appear.
Contact Type Details No Contact This contact type is not supported by Inspire Extrude. If selected, the behavior will be the same as Bonded contact type. Contacting In data deck creation, gap contact BCs will be created between the two parts. Bonded In data deck creation, connected mesh will be created between the two parts. -
Click Contacting to create gap contacts between the
parts.

Auto Search Distance
-
Click the Find Options icon
 on the guide bar to
change the Auto search distance.
on the guide bar to
change the Auto search distance.
- To change the search distance, deselect the checkbox and enter a value in the text box.
Any contacts with a minimum separation less than the entered search distance will be found. (The minimum separation is the exact minimum distance between the two parts.)
Friction Coefficient
-
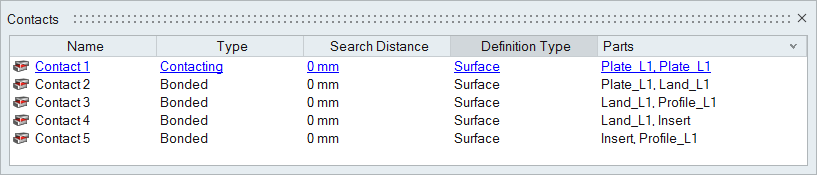
On the Contacts icon, click List
Contacts.

-
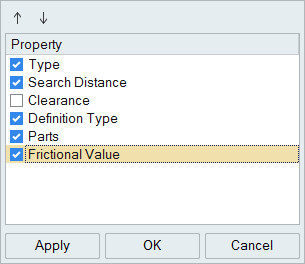
Right-click on the Property heading row.
-
Select Frictional Value to enable it, and click
OK.
-
Define the friction coefficient for any contact with type
Contacting.
