Organizing the Model
The model has to be organized as layers based on the materials.
Layer organization plays a vital role in co-extrusion models.
The term layer is used to denote a coextrusion layer. It is made of solids/parts that form a conduit for each polymer from the inlet to exit. It should be noted that the interface between two layers is an immiscible interface for material flow. In simple words, parts/solids of the same polymer type go into a single layer. There is no specific sequence required to add a part/solid to the layer.
-
Click the Organize icon.

The model is automatically grouped into layers based on inlet boundary conditions. It starts from each inlet and recursively moves toward the exit, marking all connected solids into a layer.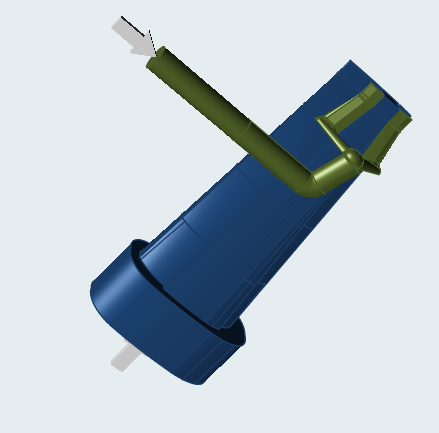
-
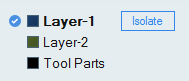
Select a layer in the legend to make it the active layer.

Note: Tool Parts are only automatically identified if the user has extracted the flow volume, else they can be added manually. -
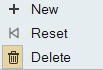
Right-click on any layer in the legend to create a new layer to add parts to,
to reset that entire layer to undefined, or to delete the layer and its
part.
-
Click Isolate next to any layer in the legend to see
only its parts, or click All to show all layers
again.
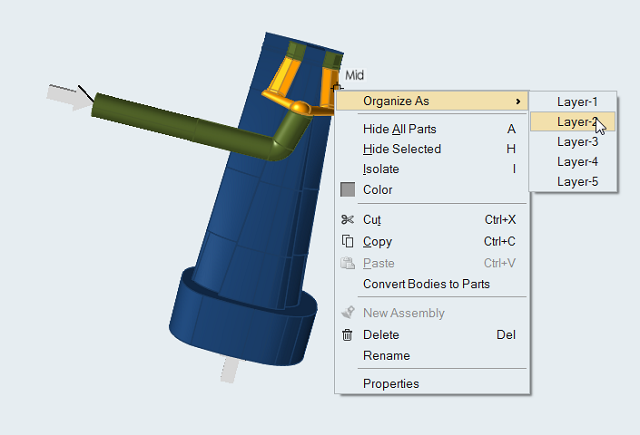
Note: You can organize layers outside of the Organize context by right-clicking on any part and selecting Organize As, and a layer, to add that part to the layer.