Fit PolyNURBS to the Generated Shape
Once optimization has been run, you can ft a PolyNURBS to the generated shape.
Click the Fit PolyNURBS button on the Analysis Explorer to fit a PolyNURBS to the generated shape. It is best to smooth the results before attempting to fit a PolyNURBS to the results. You can do this by turning on the Smooth Results option.
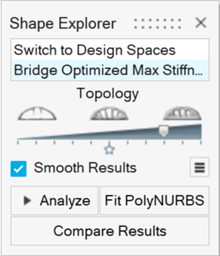
Click the ![]() icon to change the following options:
icon to change the following options:
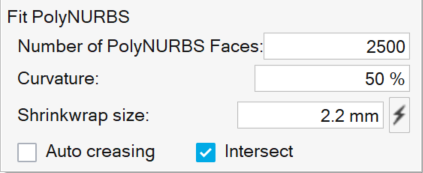
- Number of PolyNURBS Faces
- Reducing the Number of PolyNURBS Faces will increase the size of the PolyNURBS cages, but will capture less detail. In general, you want to use the fewest number of PolyNURBS faces that still captures the geometry. The defualt is 2500.
- Curvature
- Entering a higher percentage for the Curvature will capture more features. The default is 50%
- Shrinkwrap Size
- Inspire shrinkwraps both design and non-design spaces together in order to perform the PolyNURBS fit. A default value is given, but you can enter your own value if you want more control over the results.
- Auto Creasing
- When enabled, high sharpening will automatically be applied to sharp edges.
- Intersect
- Intersects the PolyNURBS part with the original design space to ensure the new part is aligned with the non-design regions and doesn't extend beyond the original design space volume.
-
Intersect Examples 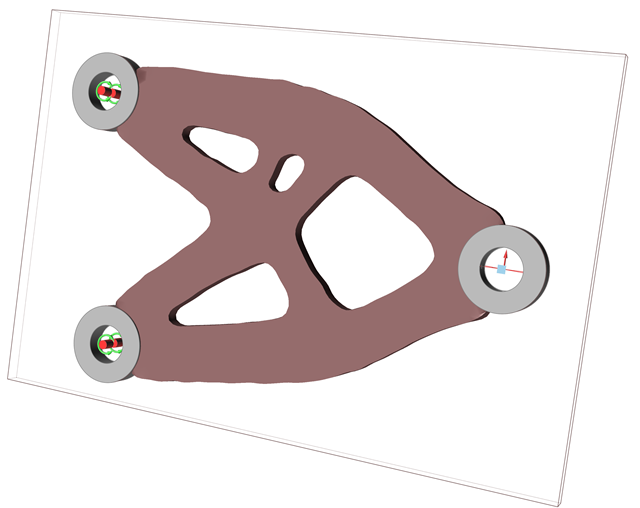 Figure 1. Design Space
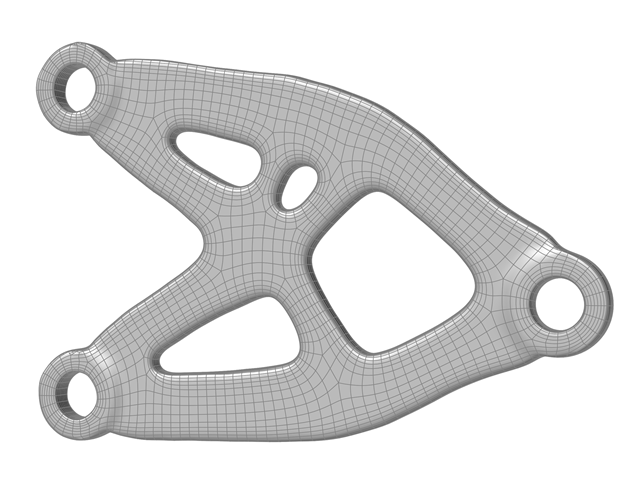 Figure 2. Fit PolyNURBS with Intersect Off
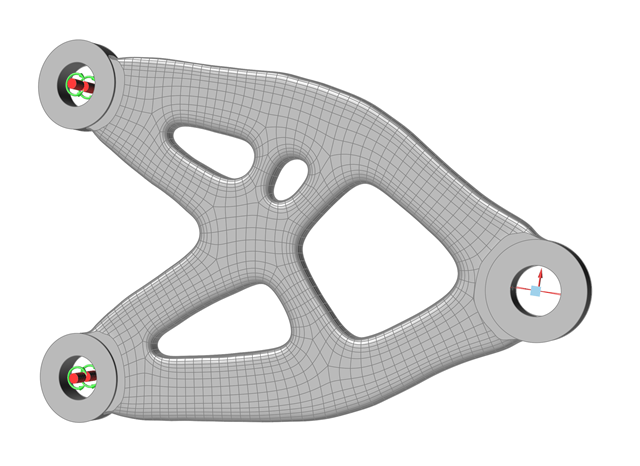 Figure 3. Fit PolyNURBS with Intersect On
If the fit operation is successful, the result appears in the Model Browser with the name PolyNURBS Fit and you are placed in PolyNURBS editing mode. Exit the PolyNURBS tool to generate the PolyNURBS geometry, which can take up to a minute. This geometry can be exported to most CAD systems.