


|
Adding and Assigning Items to the Process
1. To add items to the process, drag the needed item from the Process Designer Library, and drop it on the Workspace panel. Alternatively, you can double click the selected item in the Library.
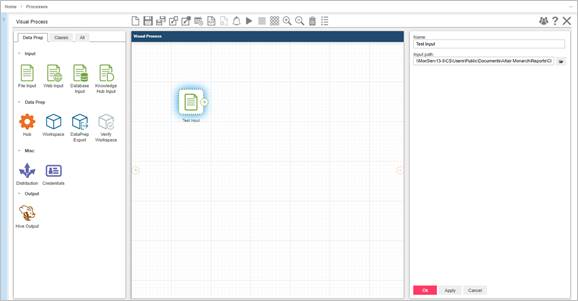
2. Add an input item (e.g., File Input) to your process. Input elements are data sources used for exporting. For this tutorial, we will use the same files used in Standard Processes above.
Enter the element's name (e.g., Test Input), and indicate the file path (e.g., C:\Users\Public\Documents\Altair Monarch\Report\ClassJan.prn).
Click Apply.
|
|
NOTES When using a Database as an input item, you need to indicate the connection string and table name. When using a Web input, you need to add valid item credentials. |
|
|
|
|
|

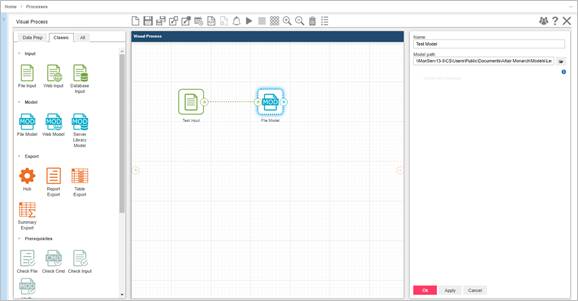
3. Add a model item (e.g., File Model), and connect your input item to it. Model elements, found under the Classic tab in the Library, are sets of instructions how input files are parsed by Automator.
Enter the model name (e.g., Test Model), and indicate the file path of the model (e.g., C:\Users\Public\Documents\Altair Monarch\Models\Lesson8.dmod). You may also select the required model from the available models in the Server Library.
Click Apply.
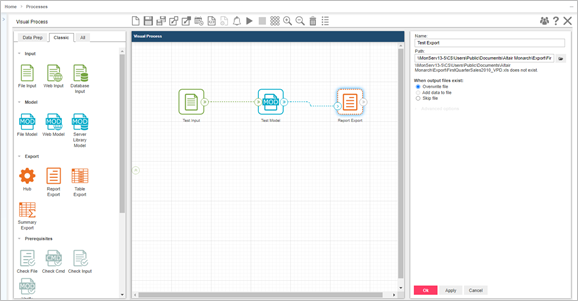
4. Add an export item (e.g., Report Export), and connect your model to it. Export elements, found under the Classic tab in the Library, are sets of instructions about how the parsed data are exported by Automator.
Enter the element's name (e.g., Test Export), and indicate the file path (e.g., C:\Users\Public\Documents\Altair Monarch\Export\FirstQuarterSales2010_VPD.xls).
Click Apply.
5. Add a distribution item (e.g., Distribution), and connect your export item to it. Distributions, found under Misc in the Library, specify actions that distribute or handle files and information outside of Automator.
Enter the element's name (e.g., Test Distribution), select the required action, and indicate the necessary settings.

The Available Sources panel shows the sources that are available for distribution. In this case, the “Test Input” and “Test Export” sources are shown.
For the other configurations, you can refer to Lesson 4. For this part of the tutorial, let us choose the Log distribution.
|
|
NOTES To get an email with specific macros (for example, Item File Path, Directory, Name, Extension, or URL) and/or attached files, add a dashed connector (dashed orange line) between the export item and distribution item for sending data. |
|
|
|
|
|
6. Click the Save icon  to save your process.