


|
Configuring a Project File Export
The next step is to configure our project export.
A project export specifies the table or summary data that will be exported when the project is run, what filters or sort orders (if any) will be applied to the data, and the output file (or database) to which the data will be exported.
Project exports are configured via the Export Wizard. Depending on the view you wish to export (i.e., report, table, or summary) and the output export format (e.g. XLS, PDF, or TXT), a different set of screens will be displayed by the Export Wizard.
For instance:
q If you export a Summary, you will be asked to select the summary, drill state, and measure.
q If you export a Table, you will be asked to select the table to export.
q If you opt to export to PDF, you will be asked to supply information about PDF security, such a password to use and permissions to apply.
q If you opt to export a Table to a spreadsheet (XLS), you will be asked to select fields to export and the columns to map to.
The following steps describe a simple case of exporting a table to a spreadsheet.
Steps
1. Select the Exports tab of the Project Editor to display it.
2. On the Exports tab click the Add icon  to display the Export Wizard.
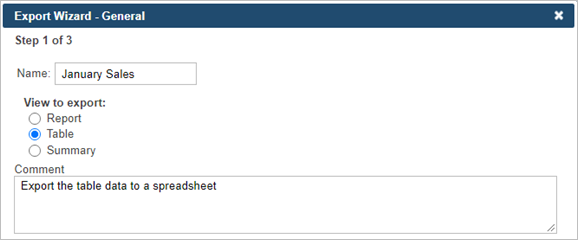
On the displayed General screen we can:
· Name the export
· Select the view to export: Report, Table, or Summary
· Enter a comment to annotate the export
3. In the Name field, enter January Sales.
4. Under View to export, leave the Table option selected as is by default. This means we want to export the table data. We could also select:
· Report, if we wanted to export the report(s) to a file
· Summary, if we wanted to export the data of a particular summary
5. In the Comments field, enter any comment, such as Export the table data to a spreadsheet.
6. Click the Next button. The Table View screen is displayed.
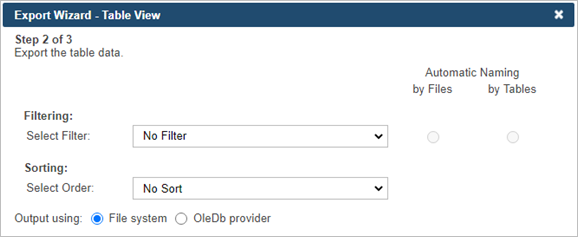
On the displayed Table View screen we can:
· Select a filter to apply to the export
· Select a sort order to apply to the export
· Specify an output method for the export (i.e., either file system or OleDb provider)
7. Select No filter and No Sort for filtering and sorting correspondingly.
8. Leave the output as File system.
9. Click the Next button. The Output File screen is displayed.
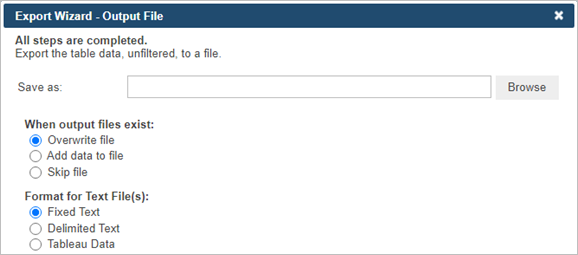
This dialog box allows you to:
· Specify where we want the table to be exported to
· Select a When Output Files Exist option, which tells Automator how to handle an already existing output file of the same name
· Set the format for text files, which is, either fixed length or delimited
10. Click the Browse button and use the dialog box that displays to select the export location:
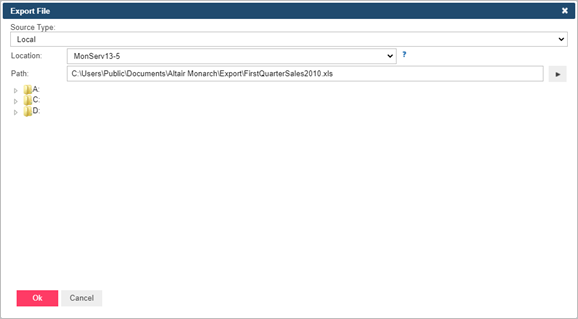
· Select the Local data source type from the drop-down list.
· In the Local field select the location type.
|
|
NOTES If the required server is not on the list, you need to create it. For the information about adding a new location, refer to the Locations Management topic in the web help. In case of a single server configuration, refer to Monarch Server Configurator Guide to change location settings. |
|
|
|
|
|

· In the Path field enter C:\Users\Public\Documents\Altair Monarch\Export\FirstQuarterSales2010.xls.
11. Under the When output files exist option, leave the option Overwrite file selected. This tells Automator that if the current project file is run more than once, data from subsequent exports should overwrite any data found in the existing output file.
|
|
NOTES We are selecting this option because, during the tutorial, we will utilize this project file several times. |
|
|
|
|
|
12. Under the Format for Text File(s) option, leave the option Fixed Text selected.
|
|
NOTES When creating a new export job or modifying a non-text export job, the default text export format is fixed-length for "txt" extensions and delimited for other extensions. This assures backward compatibility with old projects. |
|
|
|
|
|
13. Click Next to display the Table Info screen. We’ll use this screen to name the table we want to export the data to.
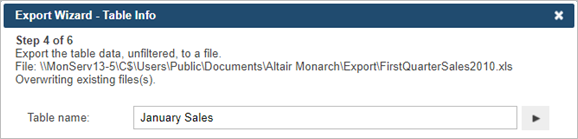
14. Highlight Untitled in the Table name field and then type in January Sales.
15. Click Next. The Column Info screen is displayed.
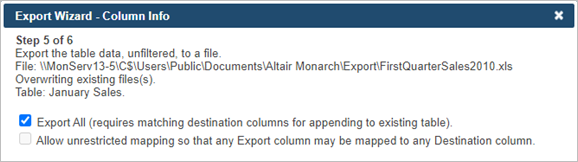
16. You will be asked to specify how many columns to export and map to the Excel spreadsheet. Ensure that the Export all option is selected.
17. Click Next to set Excel advanced features. The Excel Advanced Features screen is displayed.
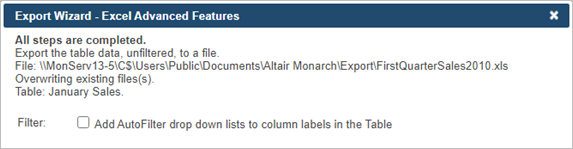
18. Since we do not wish to specify any advanced options for now, click the Finish button.
Automator saves the export settings and closes the Export Wizard. Note that our export, which we named January Sales, is now listed on the Project Editor’s Exports tab. On the Prerequisites and Script Editor tabs we could specify process prerequisites and define project-specific scripts for pre-export or post-export operations. On the Login Credentials tab we could enter the credentials necessary to send the export to an FTP site or website. At this point, we can save the current project settings and close the Project Editor.
19. Click the Save button to save the project file and close the Project Editor.
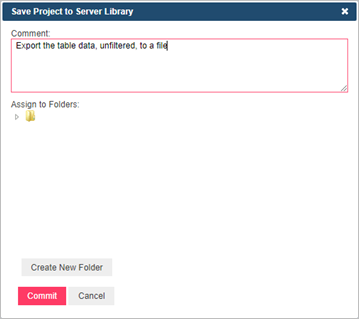
20. In the displayed Save Project to Server Library dialog box, type in any comment, such as Export the table data, unfiltered, to a file, and click the Commit button. The Automator Projects page is displayed.
21. Click the Save button save the project file to the Automator database.
Now that we have configured a project file to extract the January 2010 sales data from the ClassJan report and export it to a FirstQuarterSales2010 spreadsheet, we can go on to Lesson 2, where we will learn about processes, create a process, and then assign our project file to it.