


|
Setting Margins for Reports
The margins determine how close text is allowed to print to the edge of the page.
Steps:
-
Select File tab and then Page Setup to display the Page Setup dialog.
-
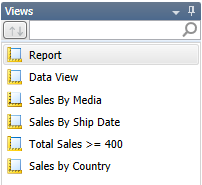
Select the Report object on the Views selector.
-
Enter the Top, Bottom, Left and Right margins.
-
Choose OK to accept the new margin settings.
Top: specifies the distance from the top of the paper to the first line of text.
Bottom: specifies the distance from the last line of text to the bottom of the paper.
Left: specifies the distance from the left edge of the page to the beginning of each line of text.
Right: specifies the distance from the end of each line of text to the right edge of the paper.
If a line of text will not fit on the paper, Monarch Classic truncates the text at the right margin; it does not wrap the text to the next line. If your printout is truncated at the right margin, you can set the left and right margins smaller to fit more text on the page, set the paper orientation to landscape or select a smaller font for the text. See Selecting paper size and orientation and Selecting a font.