Submitting a Job
Define and run an analyis using the Run Analysis tool.
The model setup should be completed before submitting job for analysis. Save the model in a new folder with the desired project name. Analysis will be performed in this folder based on user preference under Run Options.
-
From the Calibration ribbon, click
 on the Analysis tool in the
Run group.
on the Analysis tool in the
Run group.
-
In the Analysis Parameters dialog, define parameters
accordingly.
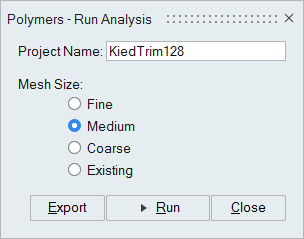
Analysis Parameters Settings
- Project Name
- The data deck is written with "name" as a prefix. It is written in the same folder where the model is saved. Avoid using special characters as files will be created using this name.
- Mesh Size
- Medium is the preferred option. If the model has many fine features, selecting fine is recommended. If it is a simple model, coarse option can be used. To start from existing mesh, click on Existing and select the mesh file.
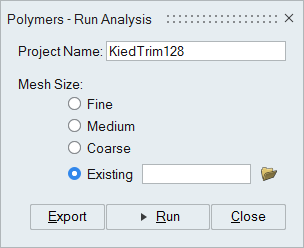
Start from Existing Mesh
-
Click Existing under Mesh Size
options.
-
Enter the path to the mesh file or browse to it.
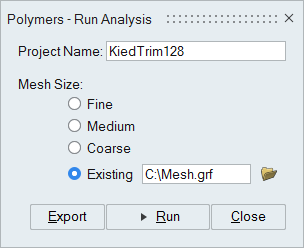
Note:Supported data formats:
*.grf, *.bdf, and *.fem
Specifications:
- The length unit of mesh must be the same as the user unit.
- The meshed part name should be the same as the solid part name, with optional suffix "3D". For example, if the solid part name is DiePlate, then choices for meshed part names would be DiePlate3D or DiePlate.