|
»Click here to display Table of Contents«
|

Quality Index Panel |

|

|

|

|
|
Quality Index Panel |
|
|

|

|
|
»Click here to display Table of Contents«
|
Quality Index Panel |
|
|
|
|
|
Quality Index Panel |
|
|
|
|
Use the Quality Index panel to calculate a single value to represent the quality of the displayed shell (2-D) model. Criteria settings are stored and retrieved using a criteria file. You can save the results from the Quality Index (QI) panel to a summary file.
When you open the Quality Index panel, HyperMesh changes the color of the elements according to how well they adhere to the pre-set quality requirements, rather than according to their component or any other visualization mode chosen.
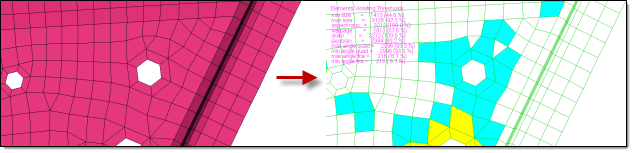
On the right-hand side of the panel, you can review the compound Quality Index, as well as the number of elements and the percentage of elements that failed a quality check. To highlight elements falling at or below a certain quality level, move the display thresholds slider. Lastly, you can access the cleanup tools and save a list of failed elements.
The left-hand portion of the Quality Index panel consists of four pages; the current page number displays in the upper-left corner of the panel. To either side of the page number, a small arrow button allows you to page forward or backward to view the other pages. In addition, one column on pages 1 and 2 includes a toggle at the column heading; use this toggle to switch the column between displaying the worst quality value found for each quality check, or the total Q.I. value generated by each check.

There are no subpanels on the Quality Index panel, but there are three pages of criteria accessed via the page arrow buttons.
Panel Inputs
|
Panel Inputs
|
The following action buttons appear:
|
CommentsAs you move the node, the colors of the attached elements will change, as its Q.I. changes. If the elements you brought into the element cleanup module are attached to a surface, then the node is constrained to move only on that surface. Otherwise, a surface from the mesh of elements is inferred and constrains the node to move only on the mesh. As you hold down the mouse button on a node and manually move it, the comp QI displayed in the results page reflects the local QI of all the elements that are attached to the node you are moving. The # of quads, # of trias, % trias, and # failed also reflect the local elements that are affected. Once you release the mouse button after positioning your node, the panel is updated to reflect the QI of all the elements (not just the local element).
|
CommentsFor a pair of trias, there are two possible positions for their shared edge. For a pair of quads, there are three possible positions. For a quad and a tria, there are six possible positions. Each time you pick the edge, it switches to the next valid configuration.
|
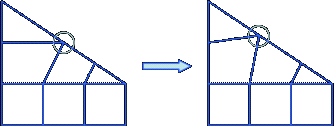
HyperMesh automatically moves the selected node to an optimized position.
Comments:The node placement is optimized to obtain the best QI for all the elements surrounding that node. The element optimization also works similarly. It optimizes the position of all the nodes of the element, attempting to make the element more geometrically balanced. Thus quads will become squarer, and trias will become closer to being equilateral triangles. This function also honors the feature lines (using feature angle from the options panel) and free edges. Thus the nodes are moved only along those lines. For example, on a 2-D surface with a crease in it, a node located on the crease will not move off of the crease. The resulting element may still be imperfect, but this is preferable to an element that extends over bends in the surface or beyond the surface’s free edges.
|
|
CommentsThis function replaces elements that were previously on the user mark. Once the failed elements have been saved, the user mark can be loaded into other panels.
|
Criteria and Parameters Files Editor
HM-3300: Checking and Editing Mesh