DesignAI Overview
A brief description of how to launch and use DesignAI.
- Altair Marketplace - Search for DesignAI application in the Altair Marketplace by selecting
My Apps.
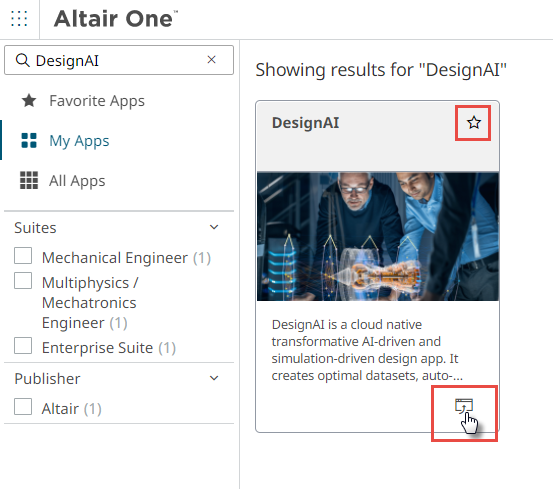
Figure 1. Launch DesignAI from MarketplaceClick to launch the DesignAI application.Note: Click
 to mark this application as favorite to
display this application in Altair One Homepage.
to mark this application as favorite to
display this application in Altair One Homepage.Upload an input file by creating a folder in the DesignAI application.
- Altair One Homepage - Click DesignAI application
from the Favorite Apps list.
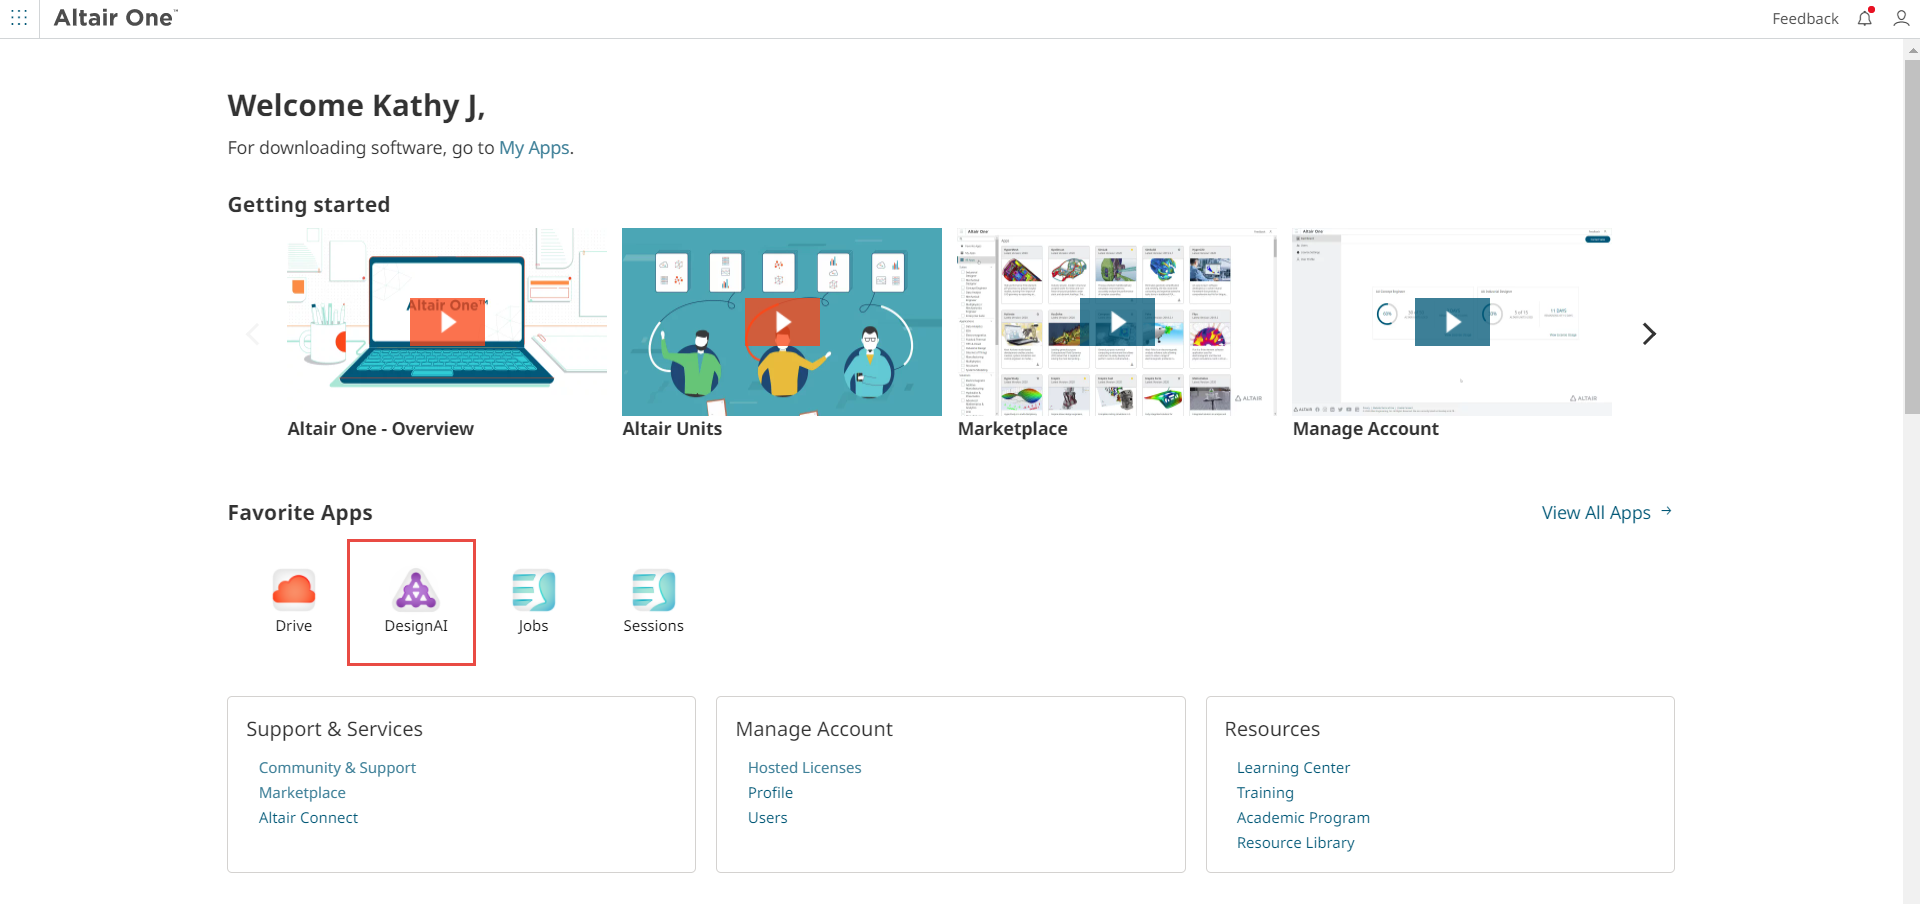
Figure 2. Launch from Altair One HomepageUpload an input file by creating a folder in the DesignAI application.
- Altair Drive - Hover over the folder which contains the input file for
simulation, click
 > Open With > DesignAI.
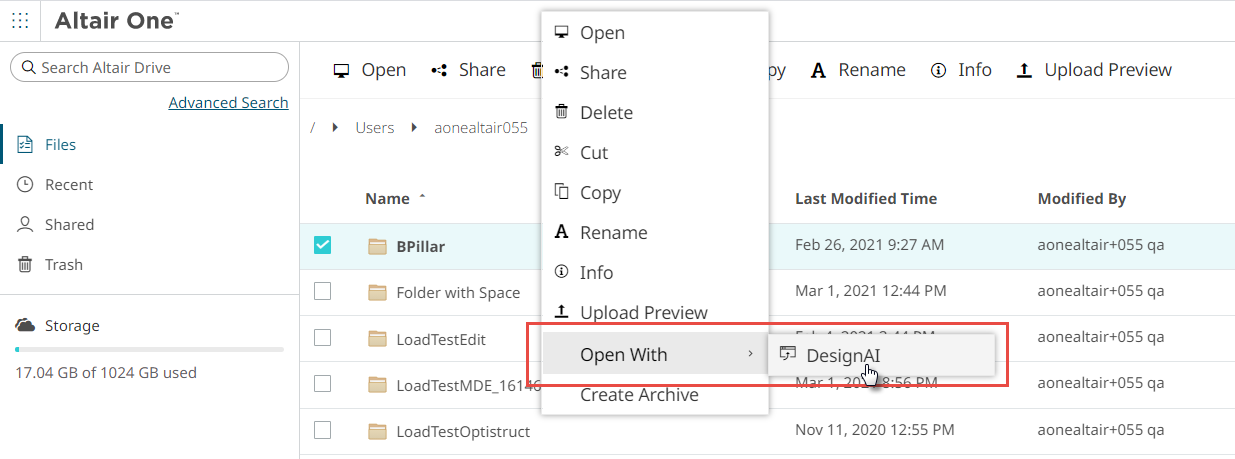
Figure 3. Launch from Altair Drive
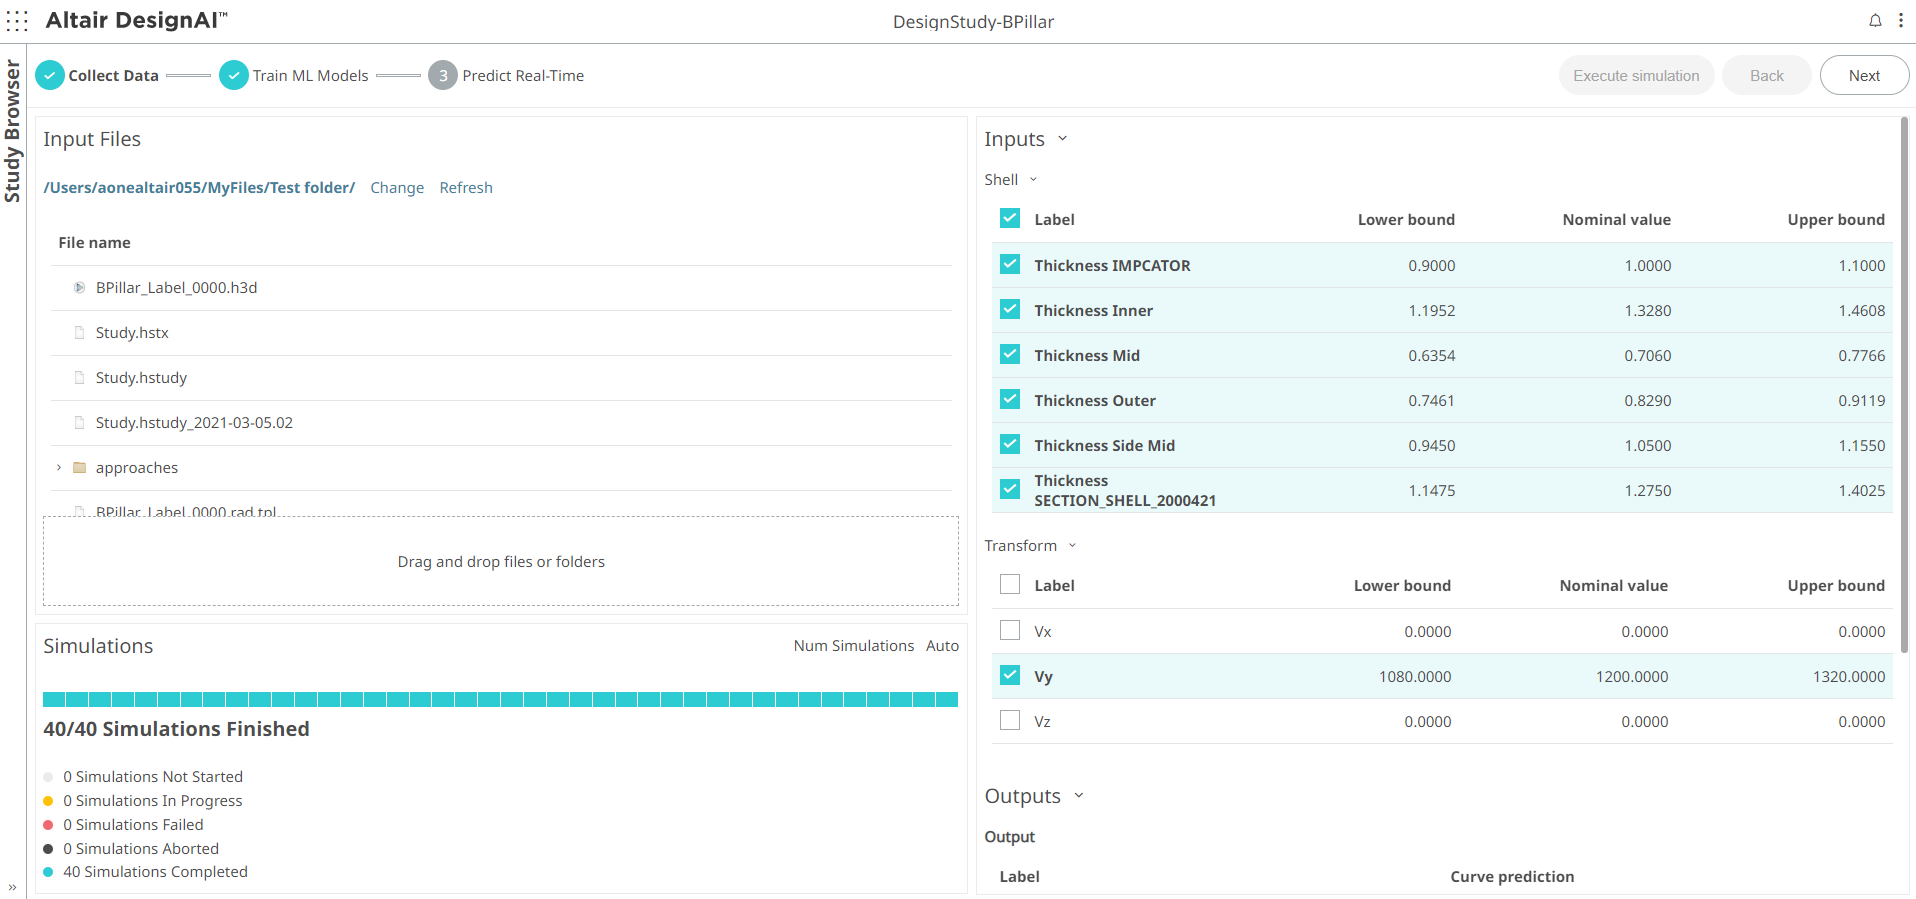
Figure 4. DesignAI Page
The DesignAI page displays the Study Browser on the left and Workflow on the right.
Study Browser
The Study Browser provides a list of studies for making real-time predictions.
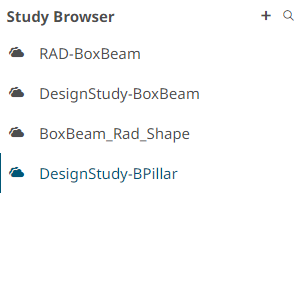
Figure 5. Simulation Study Browser
The workflow will be displayed on the right once you select the study folder in the Study Browser.
You can create a new study folder by clicking ![]() and upload input files in the Input
Files pane that is displayed on the right.
and upload input files in the Input
Files pane that is displayed on the right.
DesignAI Workflow
- DesignAI Workflow - consists of 3 steps:
- Collect Data
- Train ML Models
- Predict Real-time

Figure 6. DesignAI Workflow
Supported Solvers, Inputs and Outputs
| Solvers | Files Required | Inputs | Outputs |
|---|---|---|---|
| OptiStruct | filename.fem file If there are shape variables, then the two shape files (filename_Shape.optistruct.node, filename _Shape.shp) should also be dropped. |
|
|
| RADIOSS | Either filename.rad, or
filename_0000.rad,
filename_0001.rad are needed. If there are shape variables, then the two shape files (filename_Shape.radioss.node, filename _Shape.shp) should also be dropped. |
|
|
| Flux | filename.F2G file and a filename.F2G folder with two files are needed (MESH_FLU.PFL and PROBLEM_FLU.PFL) | Inputs listed in the filename.F2G | Outputs listed in the filename.F2G |