Manage Groups
Manage groups to assign licenses, set license priority for a group of users, mark group as a default group.
-
Click Groups.
A list of groups is displayed.
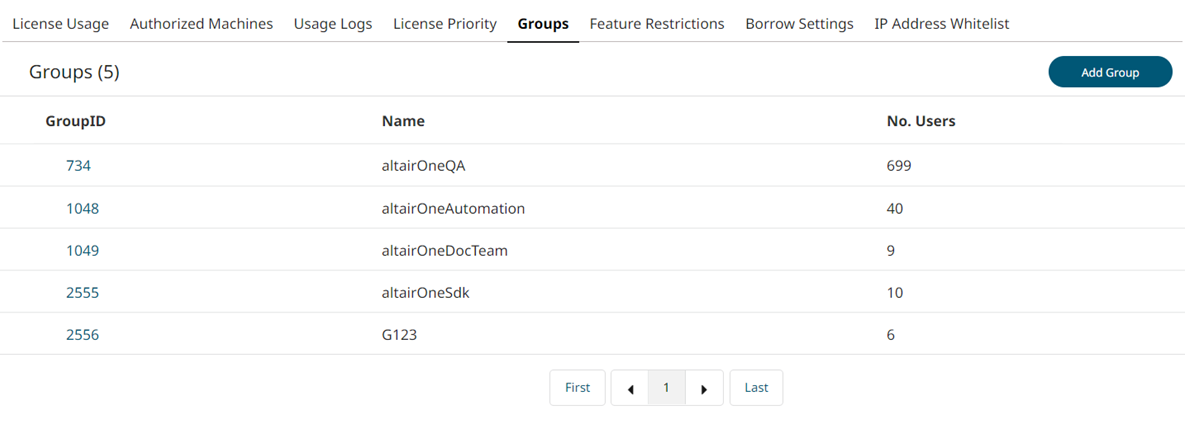
Figure 1. Add Group -
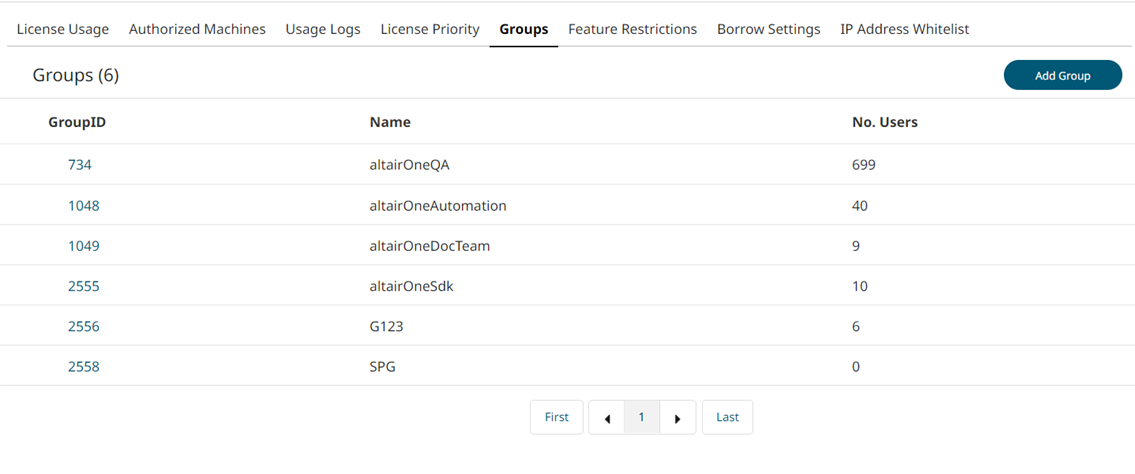
Click Add Group.
The Add User Groups dialog box is displayed.

-
Click Submit.
The new group is added to the list with the group id.
-
Click the new Group ID link you created.
A panel with the group name is displayed on the right.
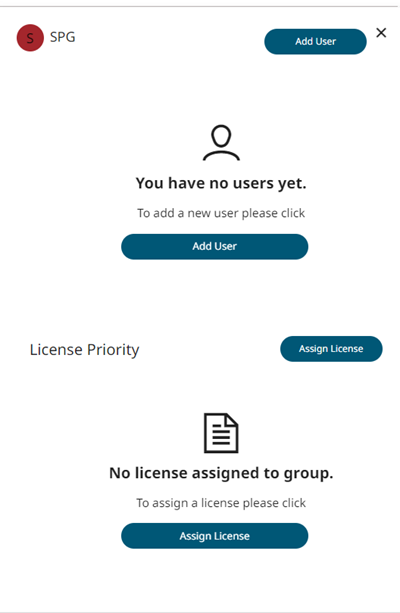
Figure 2. New Group -
Click Assign License.
The Assign License to Group dialog box is displayed.
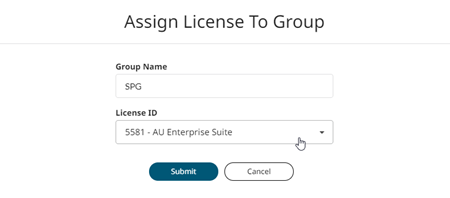
Figure 3. Assign License to Group -
Click Submit.
Use the
 to change the priority of the license.The selected license is assigned to the group.
 - Optional:
Click Make Default Group.
The selected group is marked as a default group.
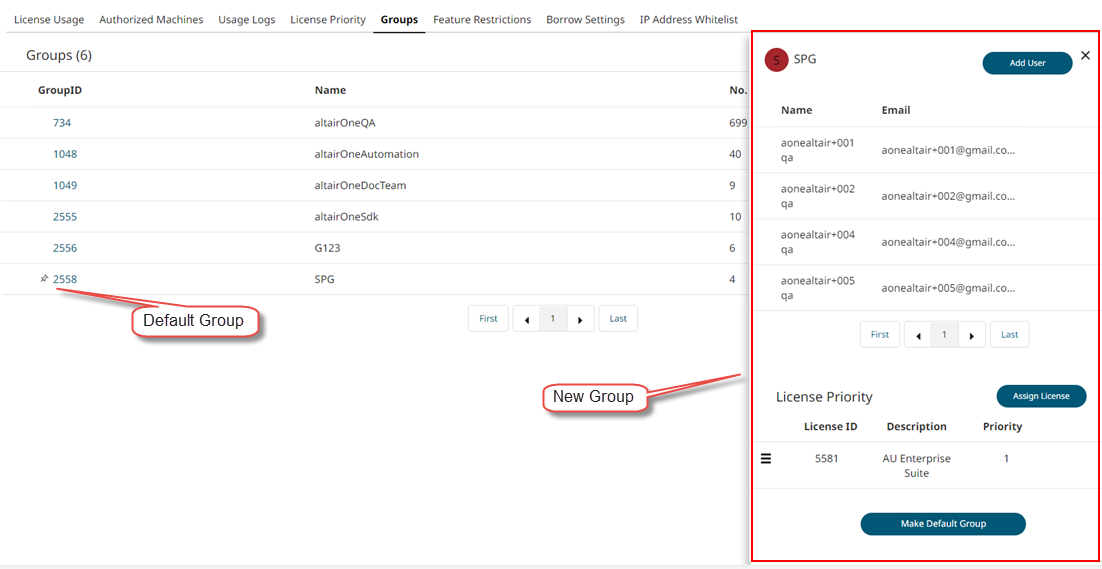
Figure 4. New Group marked as a default group