Background Images in 2D and 3D Views
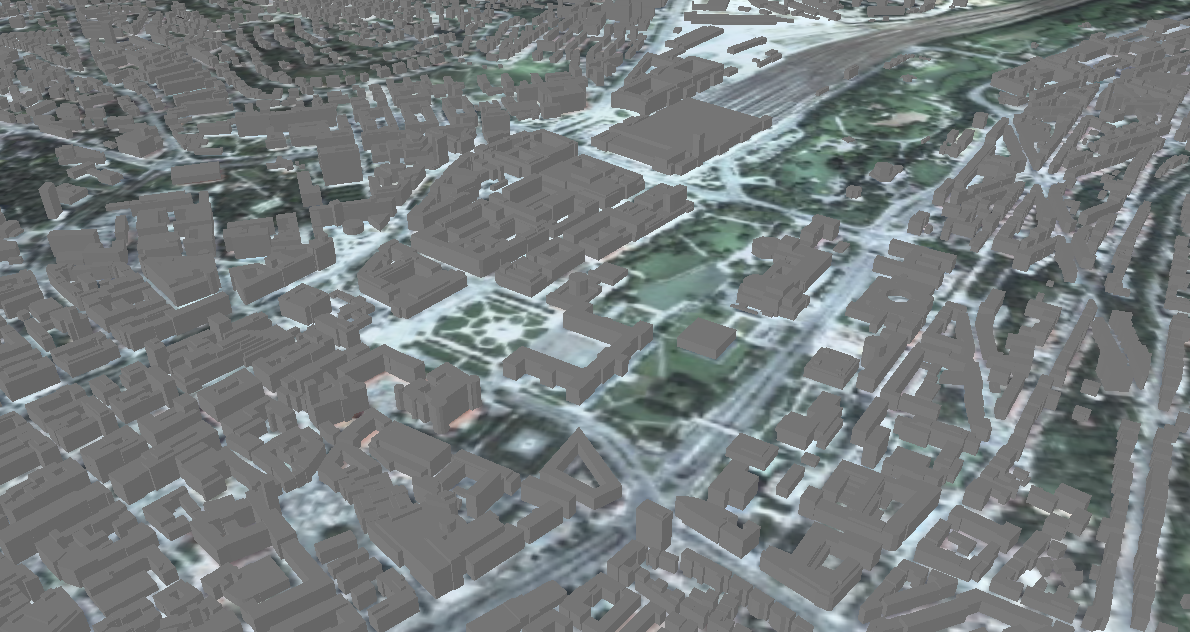
Figure 1. Urban database (Stuttgart, Germany) with background Image on X / Y plane.
WallMan can display image files together with a database. This is very useful to draw databases manually or to get additional information about the database. WallMan supports all common graphics file formats like .bmp, .png, .jpg, .gif and .tiff.
![]() To configure background images select from the menu or click on the corresponding icon in the toolbar.
To configure background images select from the menu or click on the corresponding icon in the toolbar.
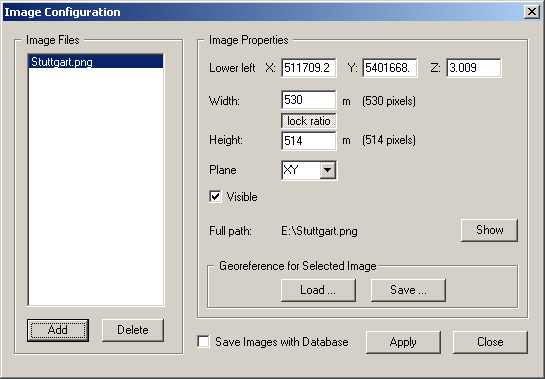
Figure 2. The Image Configuration dialog.
Scale and Move the Images with the Mouse
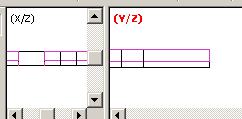
Figure 3. Non-active (left) and active (right) view.
| Move Image ( from the menu): When the left mouse button is pressed the image is moved with each mouse movement. | |
| Scale Image ( from the menu): Pressing the left mouse button and moving the mouse resizes the image. Depending on where the mouse pointer was when the left mouse button was pressed the image is scaled in different directions. For example, clicking on the upper-left corner of the image and moving the mouse will shrink or enlarge the image at the upper-left corner (the lower-right corner remains where it was). |
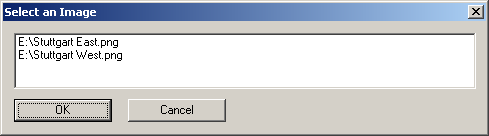
Figure 4. The Select an Image dialog.
Edit Images
Images can be edited in WallMan as well. After selecting Edit Image from the Images menu, a dialog opens, where different edit tools can be selected.
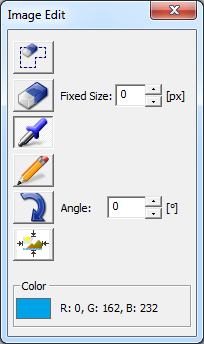
Figure 5. The Image Edit dialog.
The Polyline Rubber tool offers the possibility to erase contents of the image by defining a polyline. The individual points of the polyline can be specified with a left mouse click. A right click will close the polyline and erase the image data which is located within the polyline.
The second option to delete image data is to use the Rectangular Rubber tool. In case the fixed pixel size is set to zero, the user can define an arbitrary rectangle with the mouse. Otherwise, the user-defined fixed rectangle size will be used for the rubber rectangle.
The Pipette tool can be used to obtain the color of a certain pixel. If this tool is active and the user clicks with the left mouse button, the corresponding color will be displayed in the lower part of the Image Edit dialog.
The color of pixels can be changed using the Pen tool. The color to be set has to be selected in the color section in the lower part of the dialog by clicking on the coloured rectangle.
Images can be rotated at an arbitrary angle using the Rotation tool. After defining the angle and pressing the button, the image will be rotated clockwise.
The Trim tool cuts the overlaying background of an image.