Tutorial: Rendering
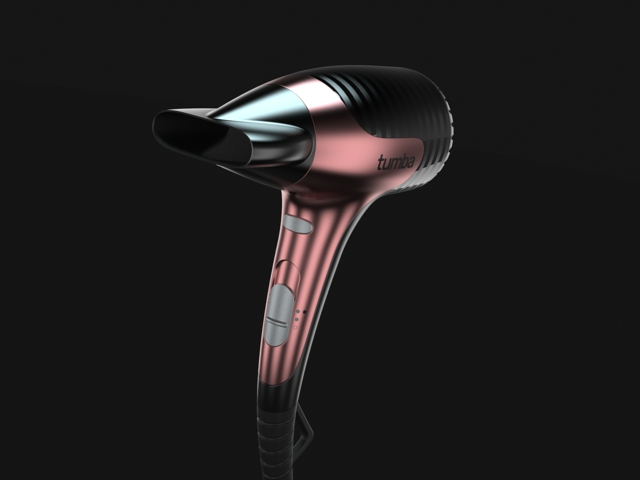
Learn about the basics of rendering: materials, labels, and lighting.
In this lesson you will learn how to:
- Apply materials from the Material Library
- Create custom materials
- Position textures
- Work with labels
- Create custom lighting environments using emitters
- Modify the default environment
Open the File
-
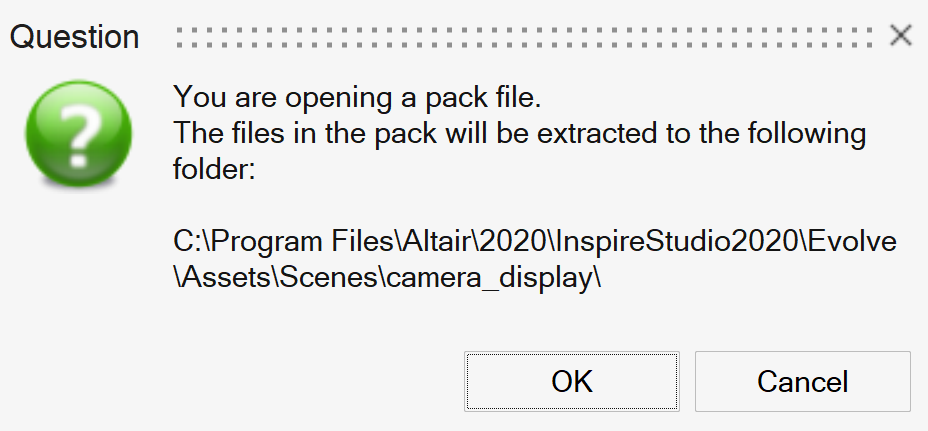
Open the camera_display studio pack file.
A prompt is displayed asking if you'd like to extract the pack to the same location as the pack file.
-
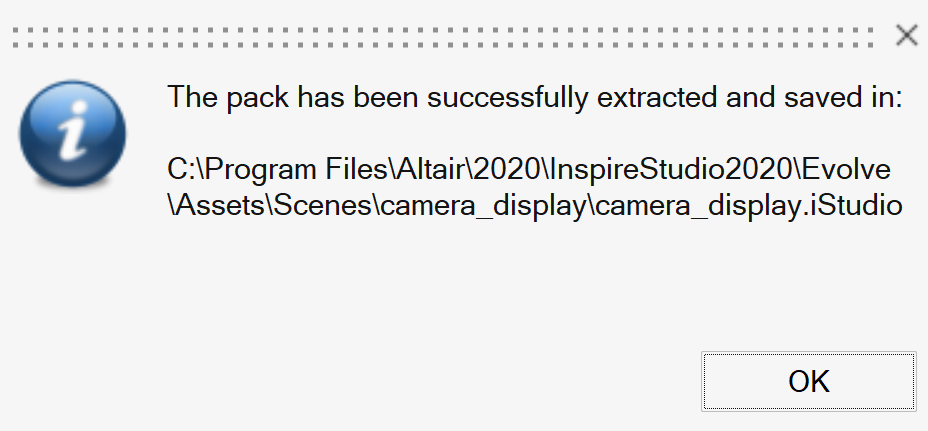
A dialog is displayed confirming that the pack has been extracted. A folder
with the same name as the pack file is created in the same location as the pack
file.
-
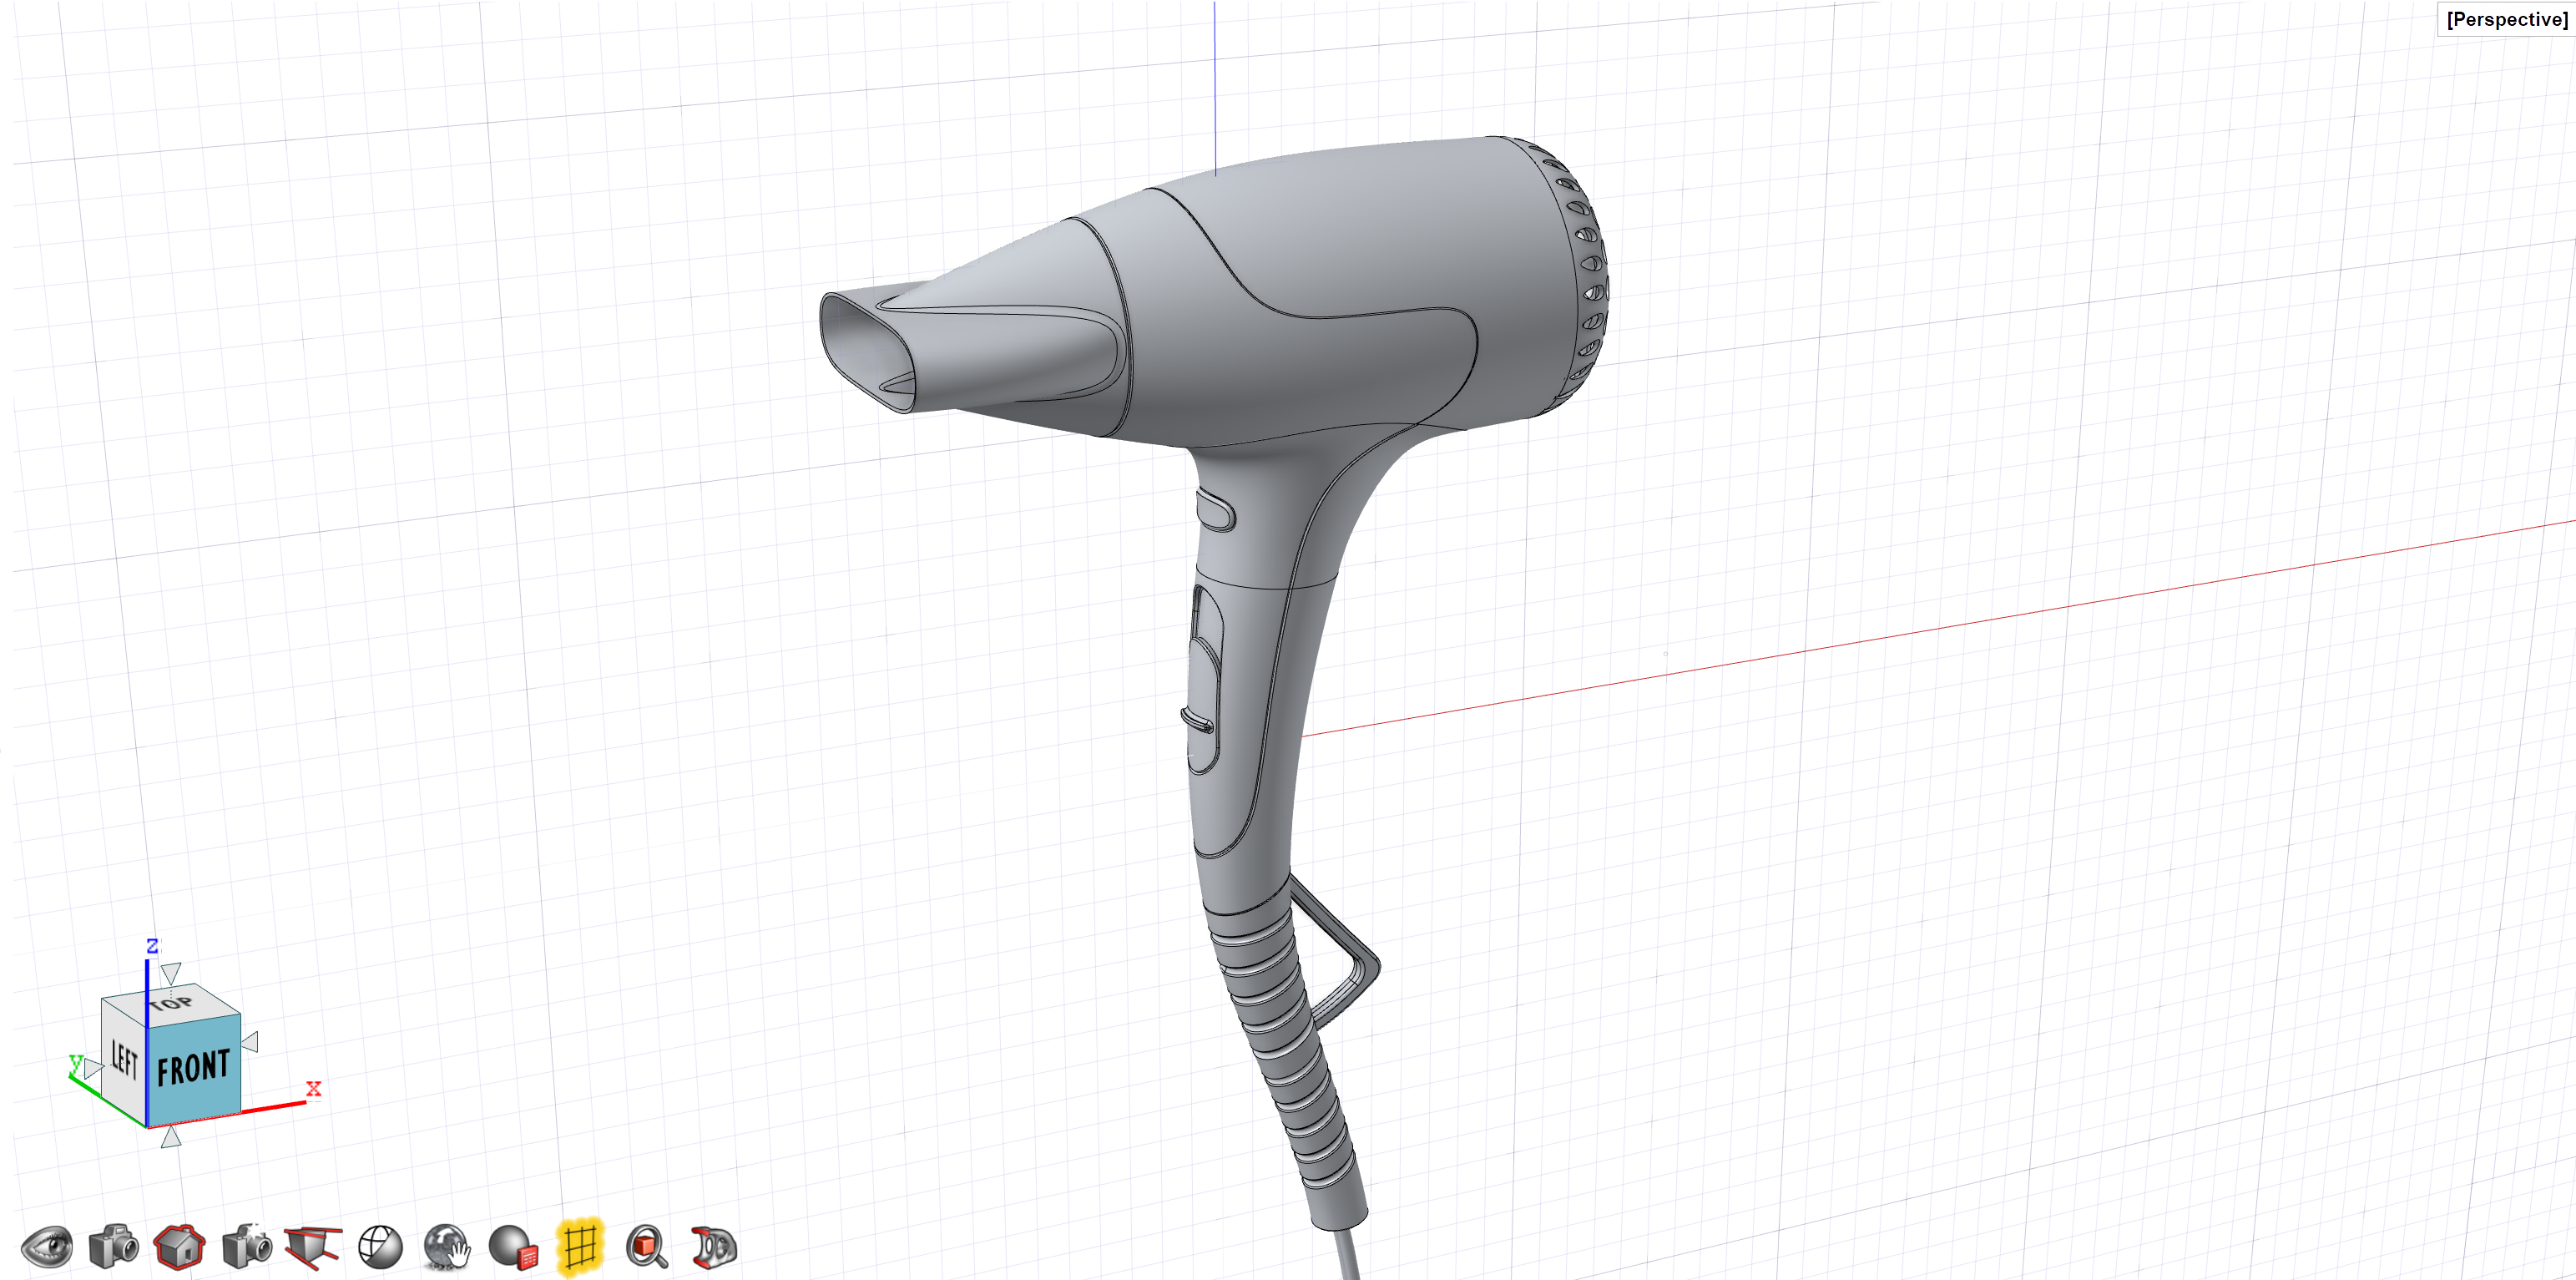
The scene is loaded.
Add Cameras
-
In the view controls, click the Camera List
 icon.
icon.
-
Click
 .
A new camera is added to the 3D scene. It is identified by progressive numbering (Camera #1, Camera #2, etc.) in the camera list and Model Browser.
.
A new camera is added to the 3D scene. It is identified by progressive numbering (Camera #1, Camera #2, etc.) in the camera list and Model Browser. -
Set the selected view as the Home view by holding down
Ctrl while clicking
 .
.
Add Materials
There are several ways to apply materials to objects in Inspire Render:
- Select preset materials from the built-in material library.
- Create simple materials.
- Create custom materials using different color, texture, and map combinations.
Apply a Customized Material from the Library
First, let's see how to apply a preset material and edit the color and roughness.
-
Click the Material Library icon.
 The Material Library dialog is displayed.
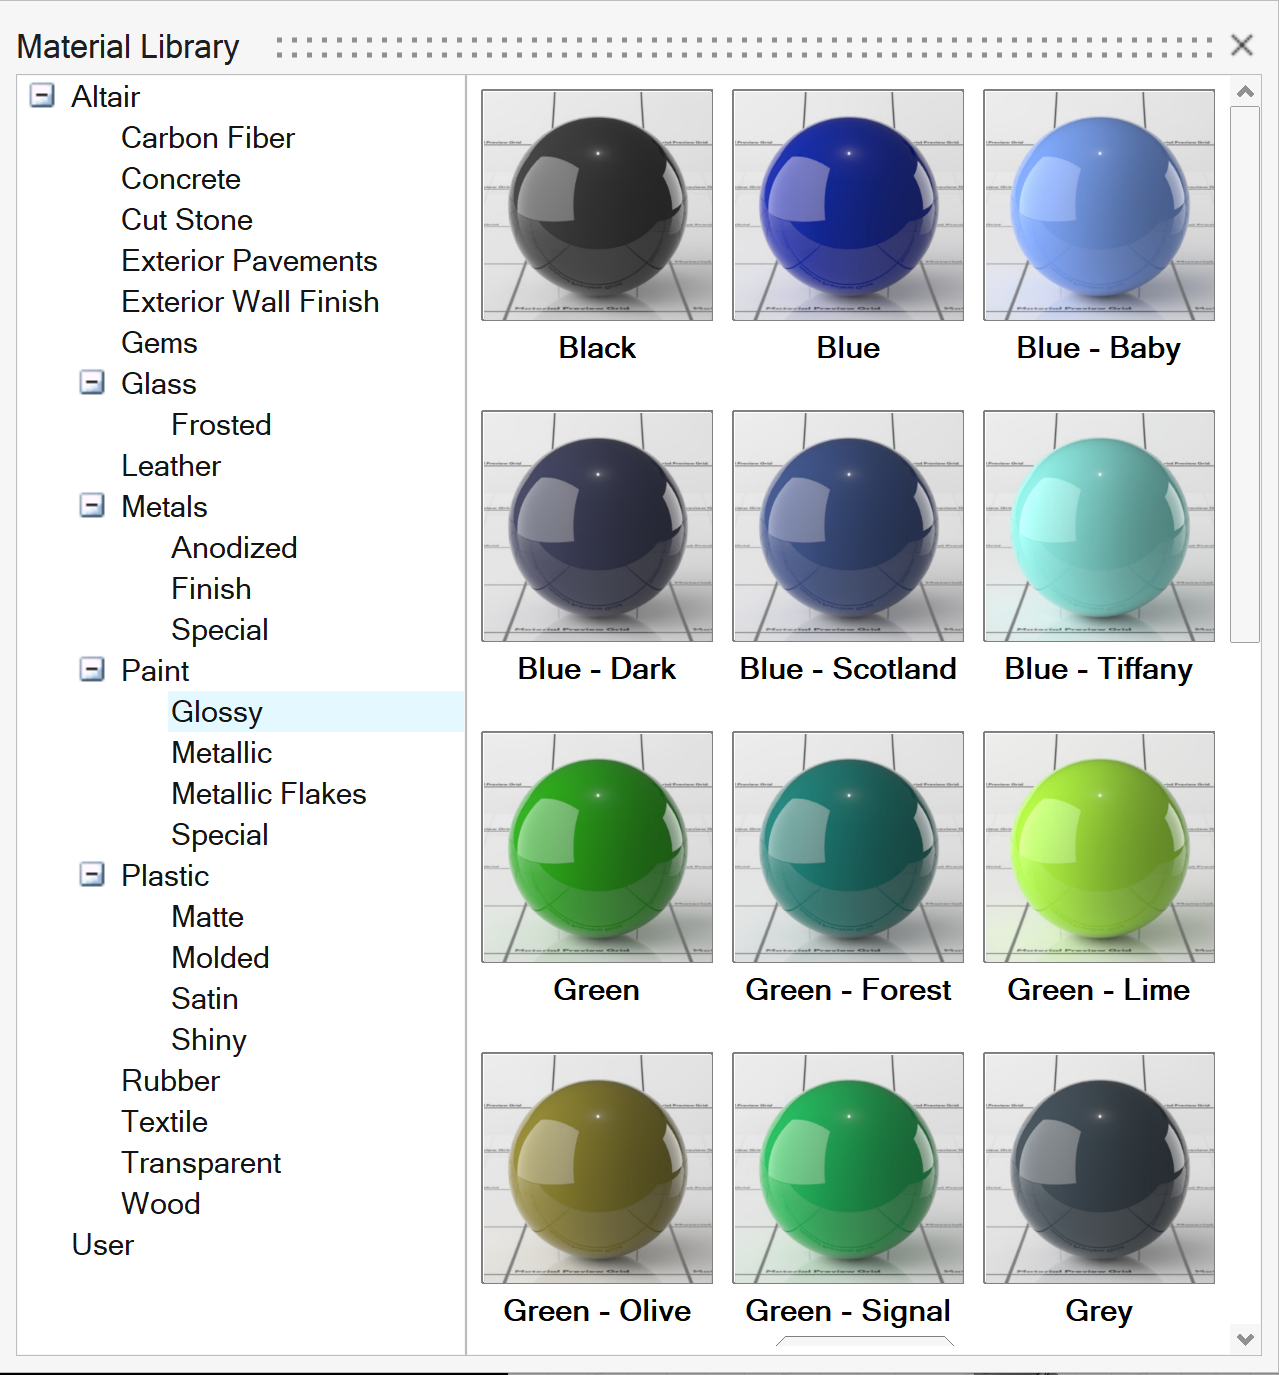 Note: To resize the thumbnails: Hover over the bottom of the dialog box to bring up the Preview size slider. Drag the slider to zoom in or out.
Now let's customize the preset material by editing the default material properties.
-
Turn on one of the Interactive Rendering modes
 (press 6), so you
can see the changes as they are applied.
(press 6), so you
can see the changes as they are applied.
Apply the Saved Material to Other Objects
The Anodized Rose Gold material is now ready to be applied to other surfaces.
Create a Simple Material
Next, we will look at creating a simple material.
-
Click the Material icon.

Clone a Material
Add More Materials to Other Parts
We can apply some more materials from the library to the hair dryer's On/Off and speed buttons.
Add Labels
The Texture Positioning tool allows you to quickly add multiple labels to surfaces with a high degree of control.
In this tutorial, we'll use a saved PNG logo file.
-
Click the Texture Positioning icon.

-
To add a label, click
 , browse to the desired folder, and select the file.
Create Dramatic Lighting
Here are some tricks for creating dramatic lighting.
The final look and feel of the materials rely on the lighting and environment. Inspire Render offers a lot of flexibility to create very dramatic lighting by leveraging the surfacing tools.
In this tutorial, we'll create a quick replicate of a plane around the hair dryer and assign an emitter material to it.
Create Emitter Lighting
Modify the Default Environment
-
Click the Environment icon.

-
Set the planes that are emitting light as ghosts so that they'll still emit
light but won't be rendered:
- Select the planes that are emitting light.
-
On the Rendering tab, select the Object
Properties tool.

- Turn on Ghost.