In this tutorial you will learn how to submit a run starting with a model which is
already organized.
Import the geometry
Identify the parts
Launch HyperXtrude solver to run Inspire Resin Transfer Molding analysis
Post process the results
Open the Tutorial Model
Data files are available in the tutorial_models folder in the
installation directory in Program Files\Altair\2021\InspireExtrude2021.1\tutorial_models\rtm\tutorial-1\.
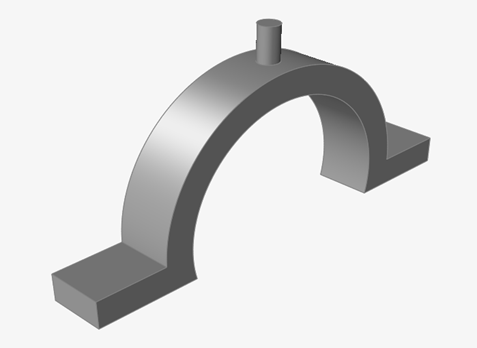
Open the curved-plate.x_t tutorial model file.
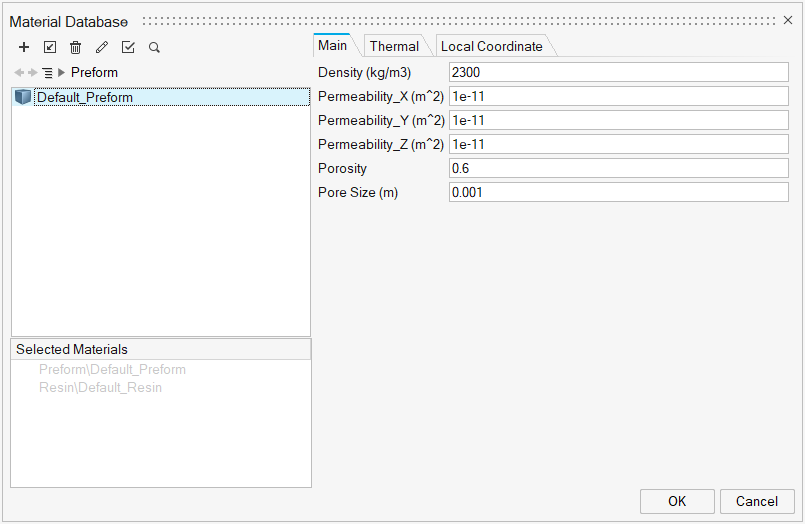
Select Materials
From the Resin Transfer Molding ribbon, click the
Materials tool.
Ensure that you are using the default material data for this analysis.
Click OK to confirm.
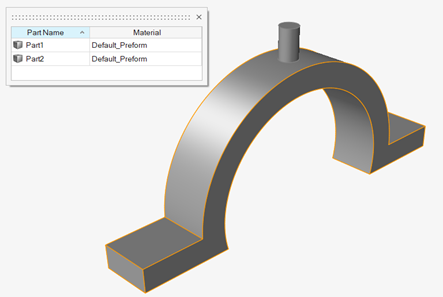
Identify the Parts
Click the Part icon.
Select parts in the model,
and select the materials in the microdialog.
Right-click and mouse through the check mark to exit, or double-right-click.
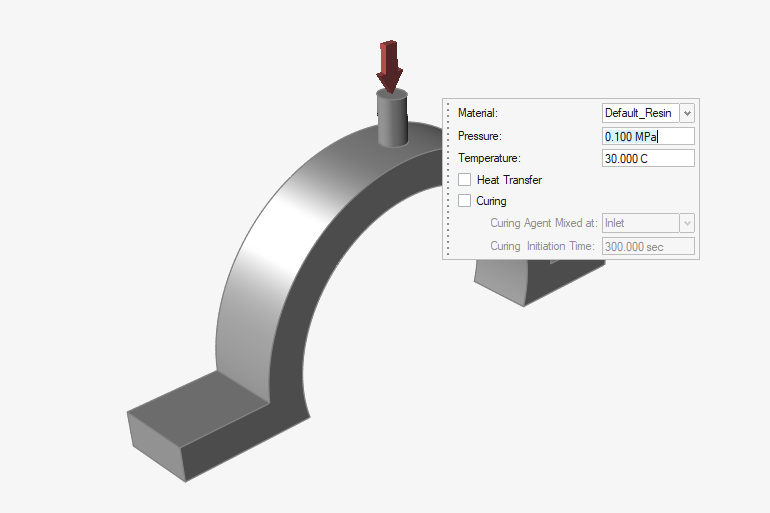
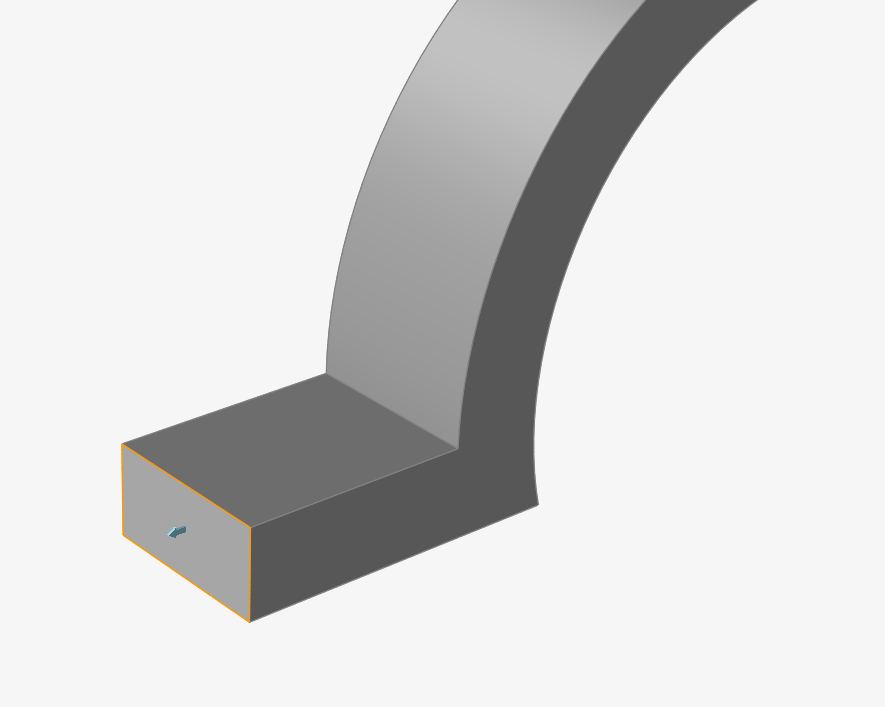
Identify Injection Point
Click the Process Data icon.
Click the Injection icon.
Select the injection face.
Right-click and mouse through the check mark to exit, or double-right-click.
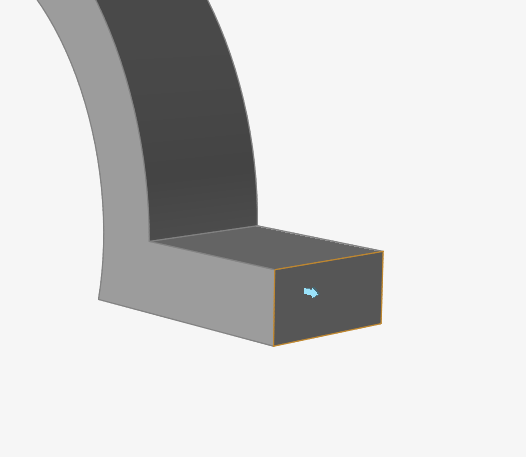
Identify Vents
Click the Process Data icon.
Click the Vent icon.
Select the vent faces.
Right-click and mouse through the check mark to exit, or double-right-click.
Submit the Job for Simulation
Click the Analysis icon.
Specify the parameters of the analysis process.
Click Run.
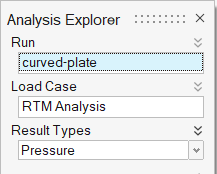
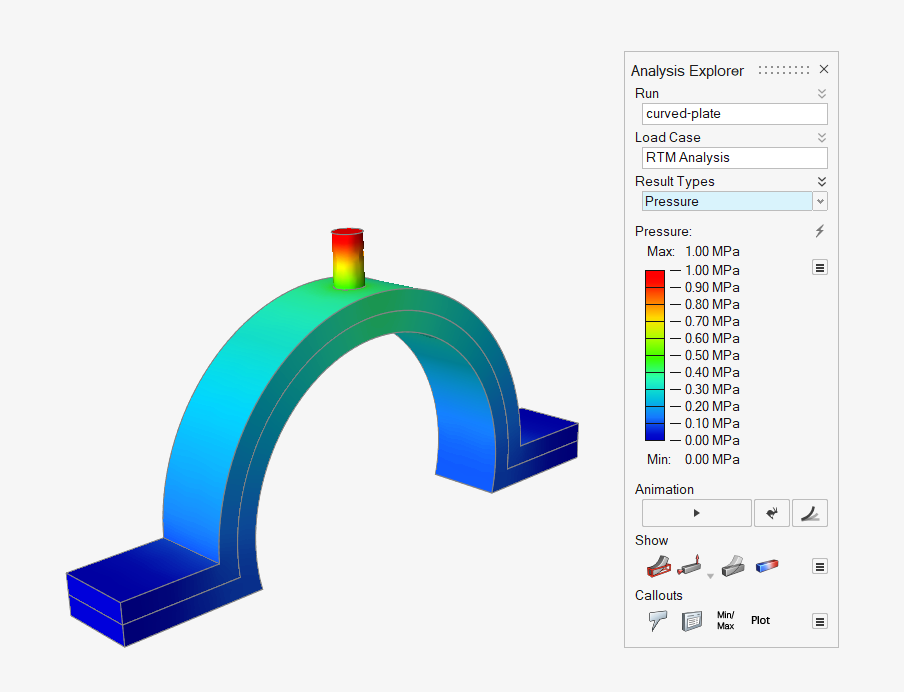
View Simulation Results
When the analysis is complete, double-click the name of the run to review
simulation results in the Analysis Explorer.