Learn how to translate and rotate parts, snap to points and other objects, and
organize your model.
In this lesson you will learn about:
Opening and importing models
Moving parts
Snapping to points
Copying and pasting
Translating and rotating
Organizing a model
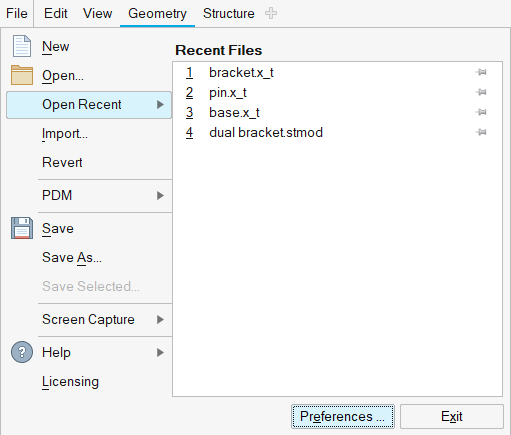
Import Parts
Press F7 to open the Demo Browser.
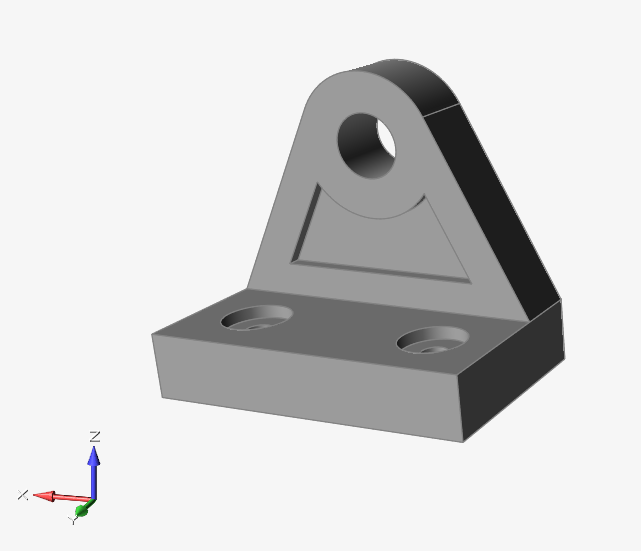
In the Structures folder, double-click the bracket.x_t
file to load it in the modeling window.
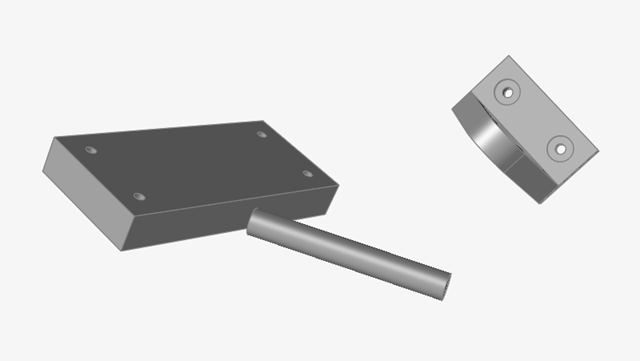
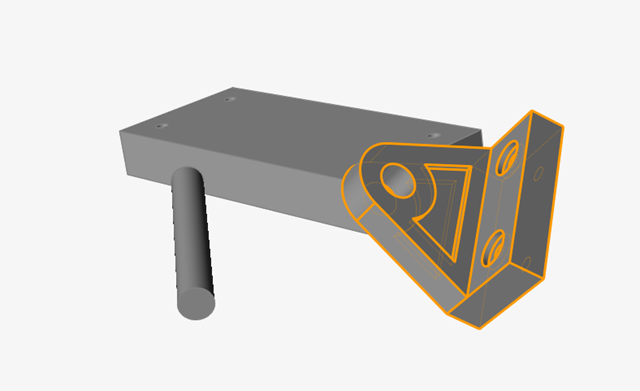
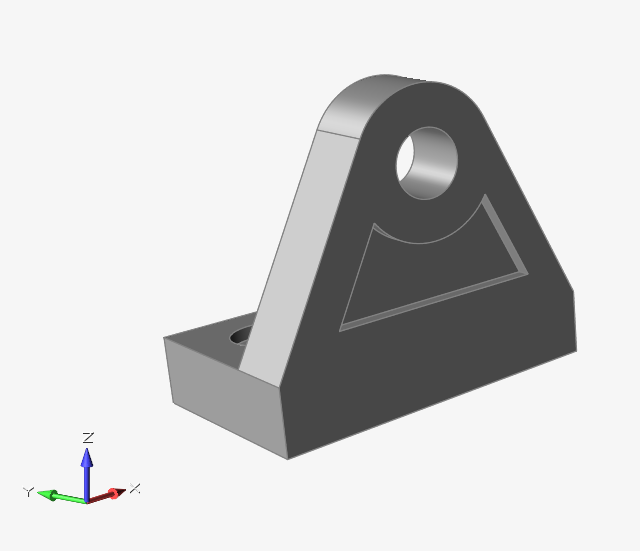
Adjust the view so the bracket is positioned as shown below. (Use the
middle mouse button to rotate the object,
right mouse button to pan, and the scroll
wheel to zoom.)
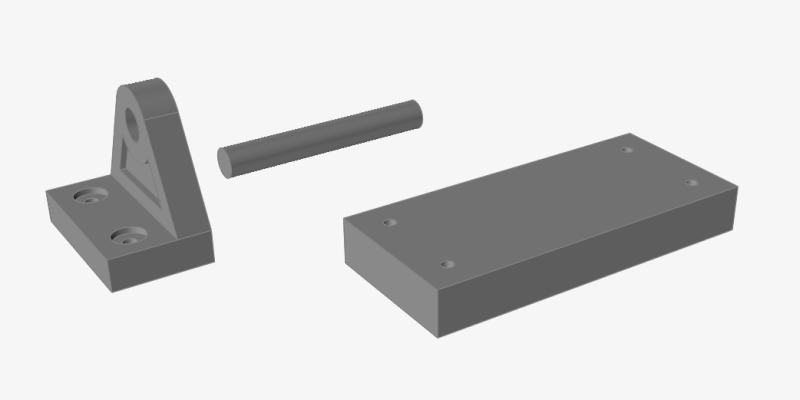
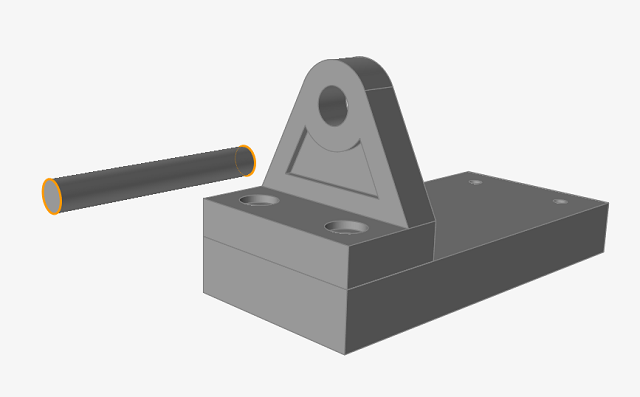
Drag-and-drop the base.x_t and
pin.x_t files in the Demo Browser to open them in the
modeling window.
Align the Bracket by Snapping to Points
Select the bracket by left-clicking it in the modeling window.
Press M to open the Move tool, or click the
Move tool on the ribbon.
Move your mouse over the selected part. Snap points are shown as the cursor
moves near end points, center points, mid points, and the quad points of
circles. Snap points are used to precisely relocate a part.
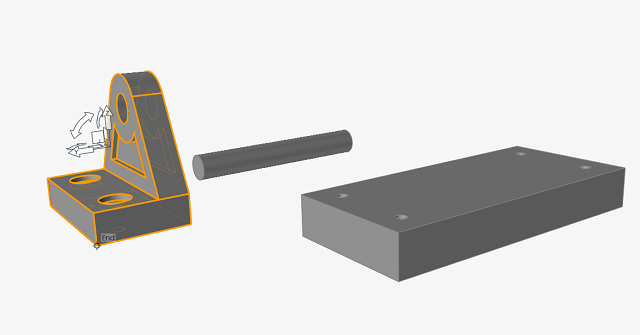
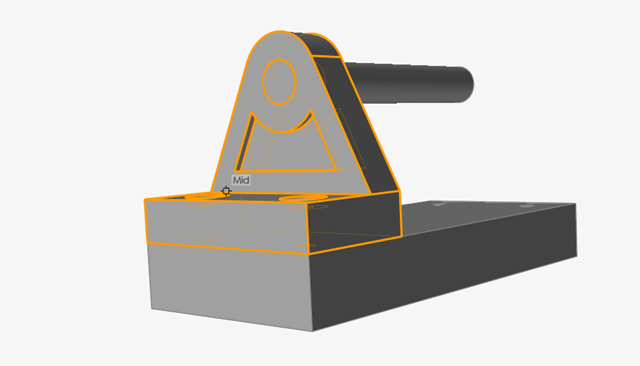
Move your mouse over the bottom front corner of the bracket. An End snap point
appears, as shown below:
Click and drag the End snap point, and move the bracket
over the base part. Another End snap will appear at the corner of the base as
the cursor nears the front corner. Release the mouse over the snap hint to
precisely locate the bracket at this corner point.
Right-click and mouse through the check mark to exit, or double-right-click.
Align the Pin
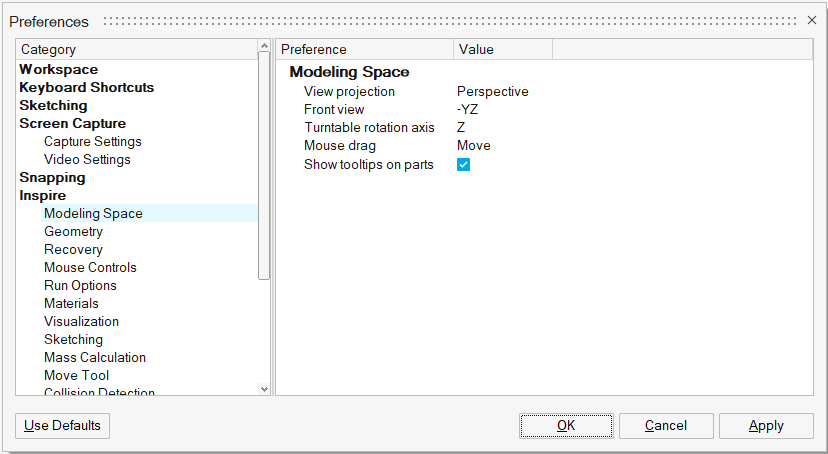
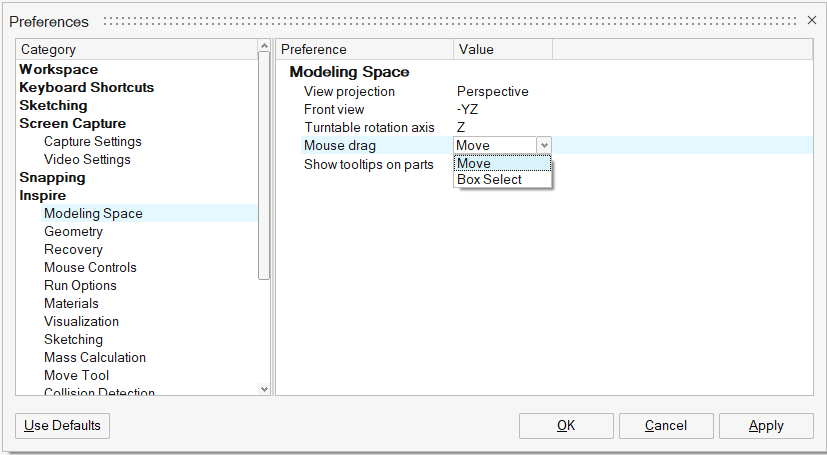
Click the File tab on the ribbon.
Click the Preferences button to open the Preferences
window.
Under Category, select Modeling
Space.
For Mouse Drag, select Move. This
option is used to determine whether a left-click and drag is used to translate
objects or perform box selection of multiple objects.
Click OK to close the Preferences
window.
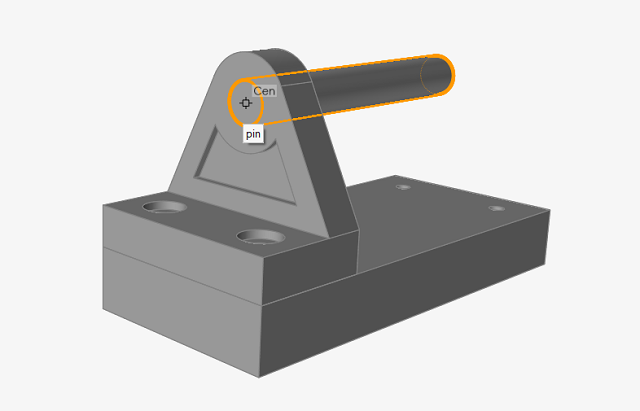
Select the pin in the modeling window.
Click and drag the pin by its center point and align it with the center of the
bracket's top hole.
Copy, Translate, and Rotate the Bracket
Select the bracket.
Copy and paste the bracket by pressing Ctrl+C then
Ctrl+V. The copied part appears superimposed over the
original part, and the Move tool is automatically displayed.
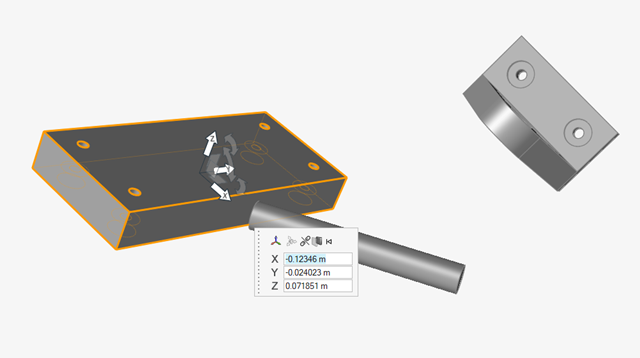
Click and drag the Move tool's y-axis to move the copy of the original bracket
toward the back of the base.
Double-click the center of the Move tool to enter editing mode. Click and drag
the tool by its center to the left bottom corner of the bracket.
Right-click to exit editing mode.
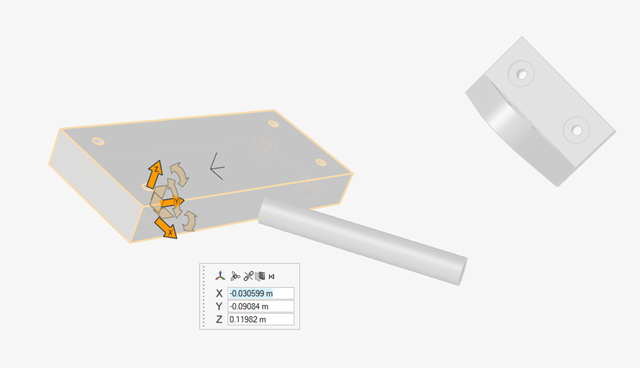
Click and drag the center of the tool along the bracket to the top right corner
of the base part.
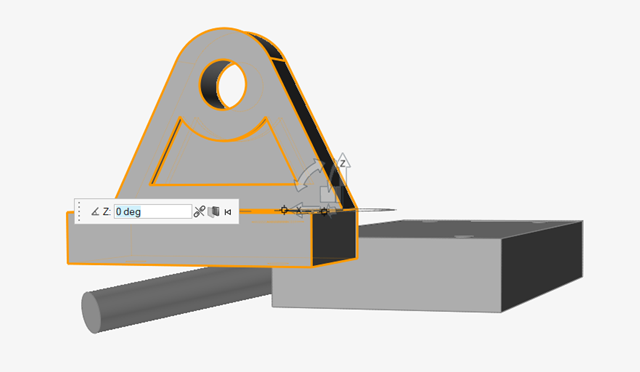
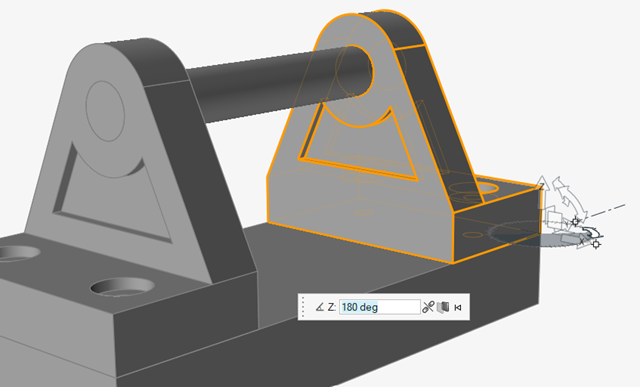
Left-click to select the tool's Z rotator, as shown
below:
Type 180 in the microdialog and press
Enter. The part will rotate 180 degrees.
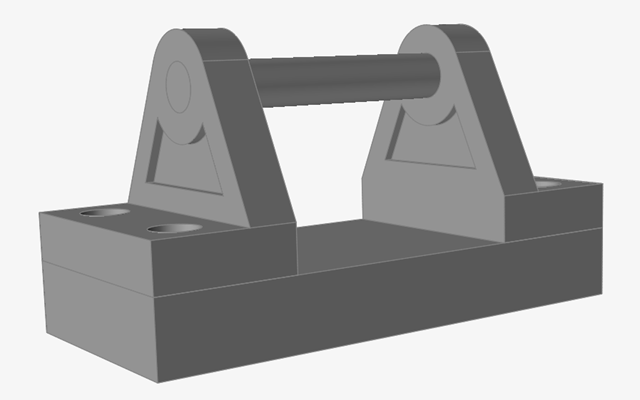
Right-click and mouse through the check mark to exit, or double-right-click. Left-click to deselect the copied
bracket.
Note: Copying and rotating the bracket can be accomplished more easily using the
Mirror tool. We used the Move tool in this tutorial to show how to enter
editing mode and reposition the center of the tool.
Align the Move Tool to the Global Axes
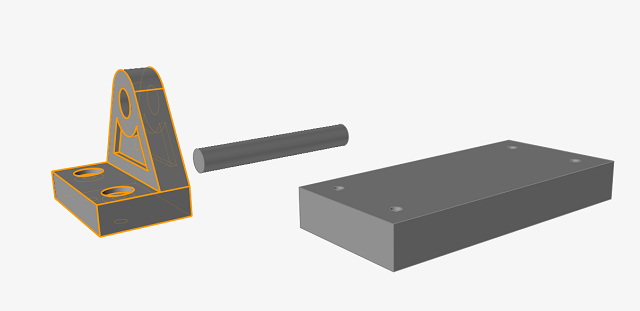
In the Demo Browser, double-click the move tool
alignment.stmod file to open it.
Adjust the view so the parts are positioned as shown below.
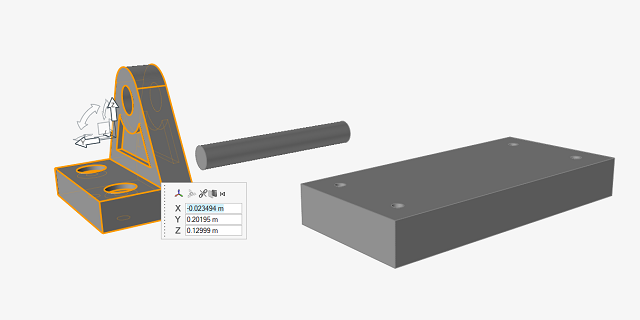
Select the Base part and press M
to open the Move tool.
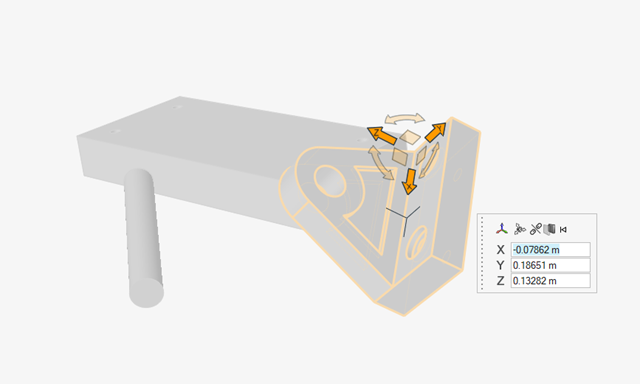
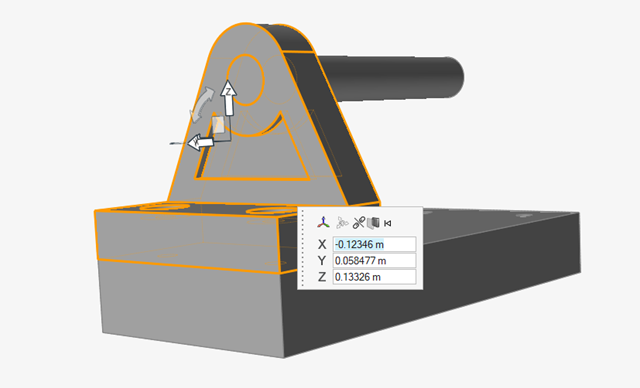
Double-click the center of the move tool to enter editing mode, and drag it to
the top front corner of the base part.
Right-click to exit editing mode.
Select the center of the Move tool and click the Align to Global
Axes icon on the microdialog to align the base part with the
global axes.
Right-click and mouse through the check mark to exit, or double-right-click.
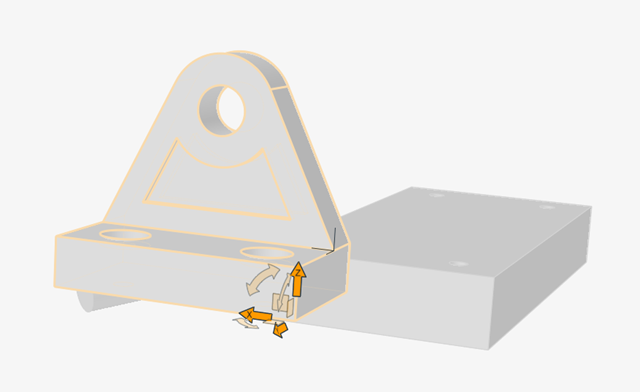
Align the Base to the Bracket
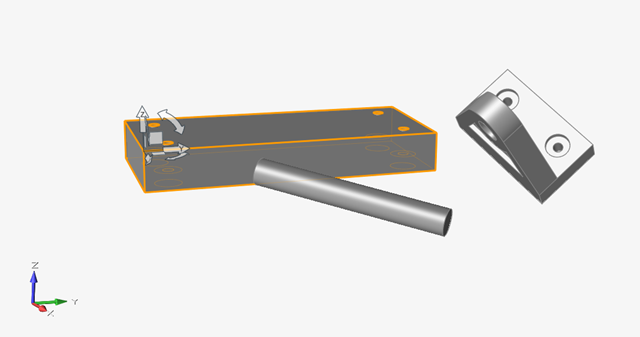
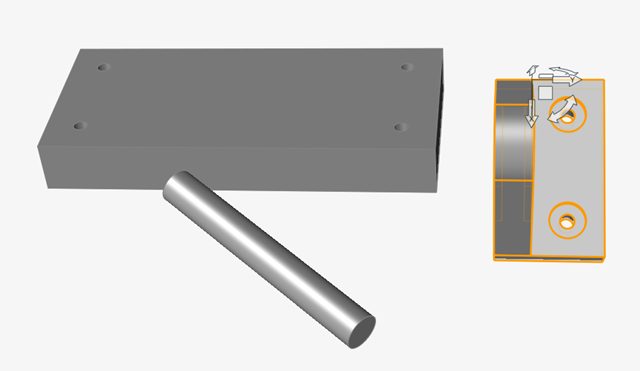
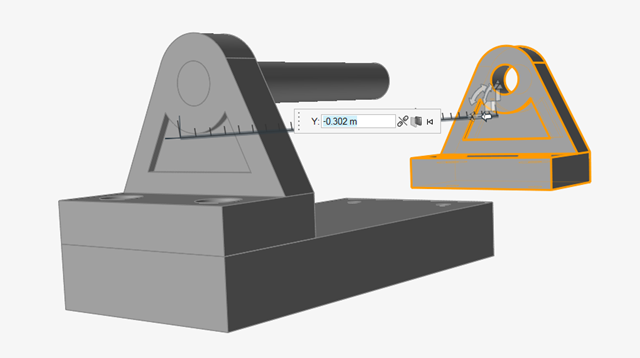
Rotate the model and select the bracket.
Press M to open the Move tool.
Double-click the center of the move tool and drag it to the position shown
below.
Right-click to exit editing mode.
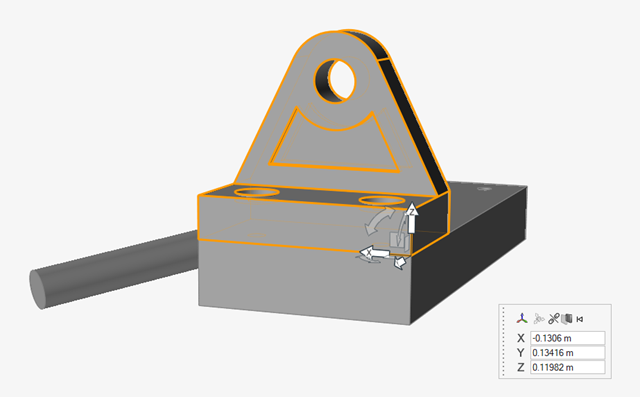
Select the tip of the y-axis on the Move tool, then select the side face of the
base closest to the bracket. This will align the bracket parallel to the
face.
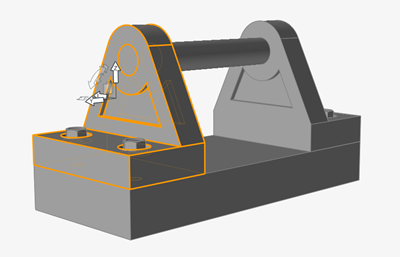
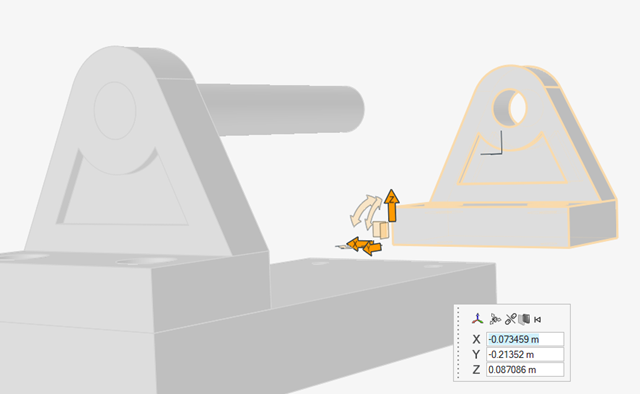
Select the tip of the z-axis on the Move tool, then select the top of the base.
This will rotate the bracket to align it to the top face of the base part as
well.
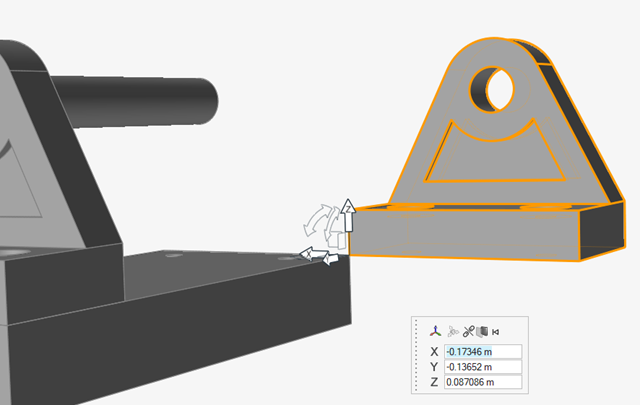
Double-click the center of the Move tool and drag it to the bottom corner of
the bracket as shown below
Right-click to exit editing mode.
Click and drag the snap point on the bottom corner of the bracket to the snap
point on the top corner of the base, as shown below.
Right-click and mouse through the check mark to exit, or double-right-click.
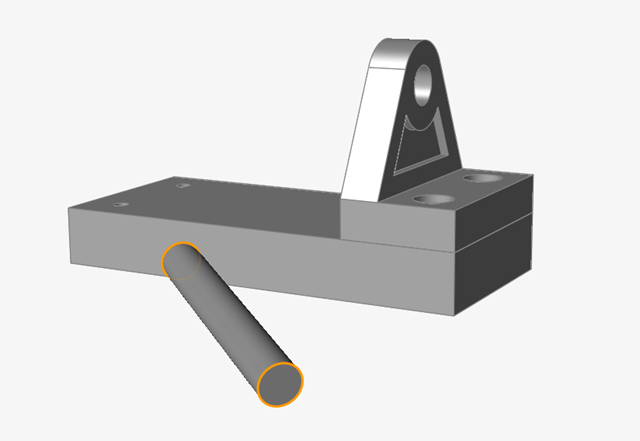
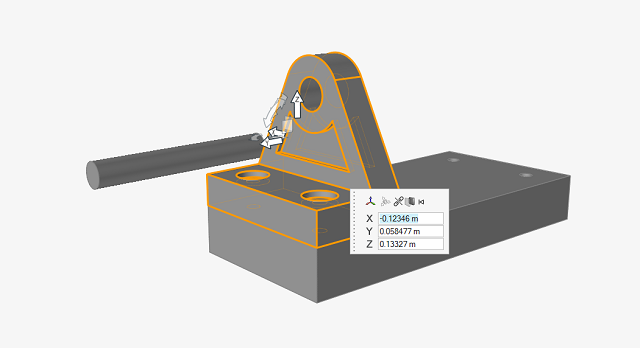
Align the Pin to the Bracket
Rotate the model and select the pin.
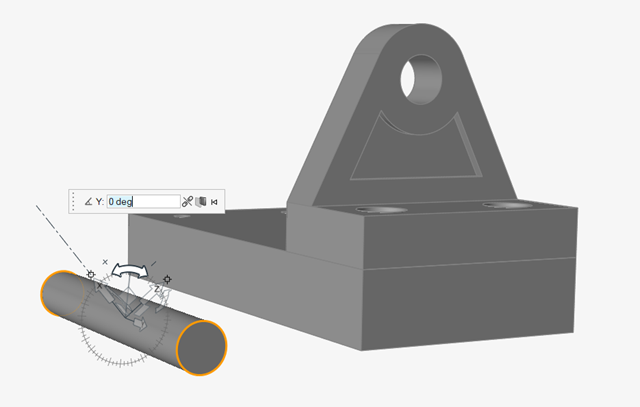
Press M to open the Move tool.
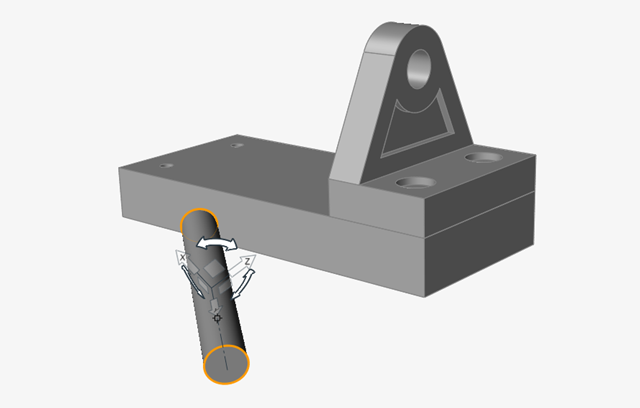
Click the tip of the Y axis on the Move tool.
Click the interior face of the top hole on the bracket to align the pin to the
bracket. Make sure to select the interior face, not the center point of the
hole.
Right-click and mouse through the check mark to exit, or double-right-click.
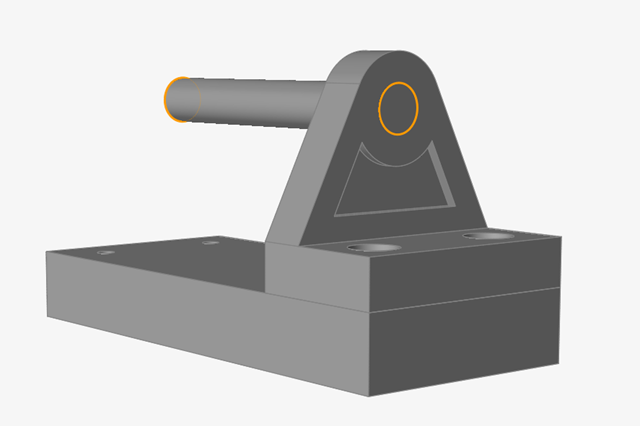
Click and drag the center snap point on the end of the pin, and drag it to the
center snap of the of the hole in the bracket. The pin and bracket are now
aligned.

 Note: Copying and rotating the bracket can be accomplished more easily using the Mirror tool. We used the Move tool in this tutorial to show how to enter editing mode and reposition the center of the tool.