Wizard
Using the project wizard it is possible to create new projects using a template for a particular case. If the simulation conditions are known, they save time by setting the default values for a project, such as units, simulation frequency and number of processors to use during the meshing and simulation stages.
To create a new project using the template wizard, use the New | Wizard menu entry. The wizard window will open presenting the list of available project templates. Each template is based on a particular solver and may use different parameters in order to optimize it for a particular kind of project. Select a template of your choice and press Next to continue to the next step.
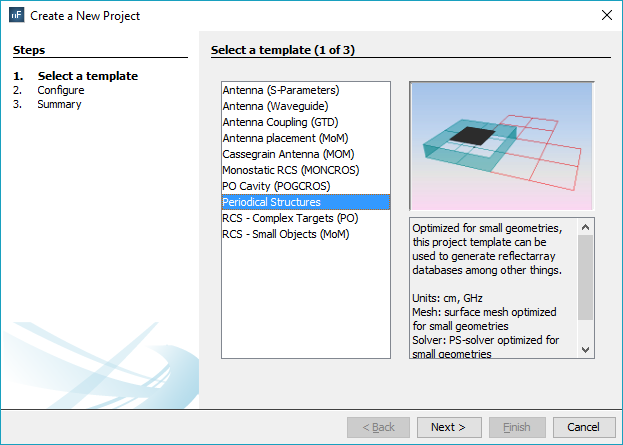
Figure 1. Step 1— Choosing a project template through the wizard.
The next step is to select what kind of project create based on this template. There are two possible choices:
- Create a new empty project use this option to create a brand new project using the optimized default parameters for the particular template selected in the previous step. It is still possible to modify some of the parameters using the controls below, such as the default units, the number of processors (a number that is set by default to the number of processors in your system), or the project simulation frequency.
- Open a master project using this option, a new project is bootstrapped from an example project, containing sample geometries and possibly other project features such as antennas or observation points. They can be used to test the meshing and simulation process, or they can be deleted once the project is created to replace them by your own geometries and project settings.
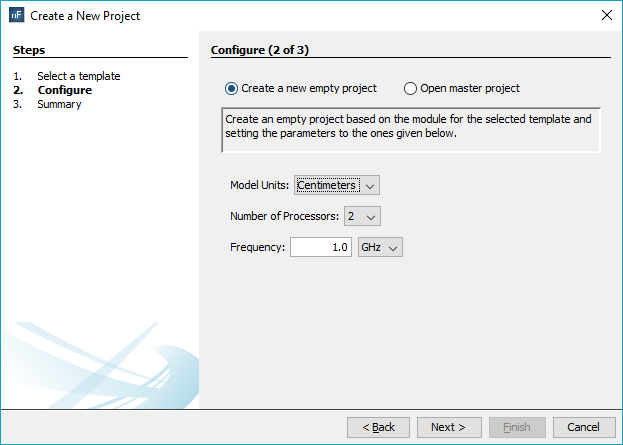
Figure 2. Step 2— Setting the new project parameters.
Once the selection is made, press Next to jump to the last step.
The last step presents a summary for the choices made in this project, including information about the template and the default values set by the template or changed by the user. Press Finish to confirm the selection and to create the project.
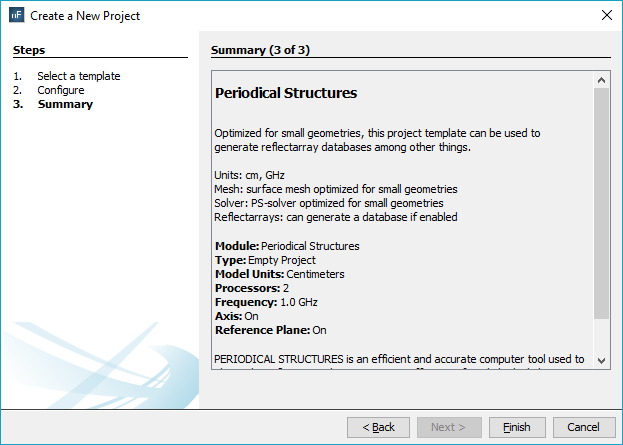
Figure 3. Step 3— Project summary.