Tutorial: Morphing
Any object in Inspire Studio can be morphed using cages. Cages can affect either the entire object or a portion of it. With PolyNURBS, you have additional control of morphing because you can apply various strengths of cages and visualize the effects.
- Setting up a cage
- Editing a cage
- Defining the area that will be deformed by the cage
- Adding, duplicating, and removing cages
- Resizing the cage to morph the desired area
- Morphing the object
Open the File
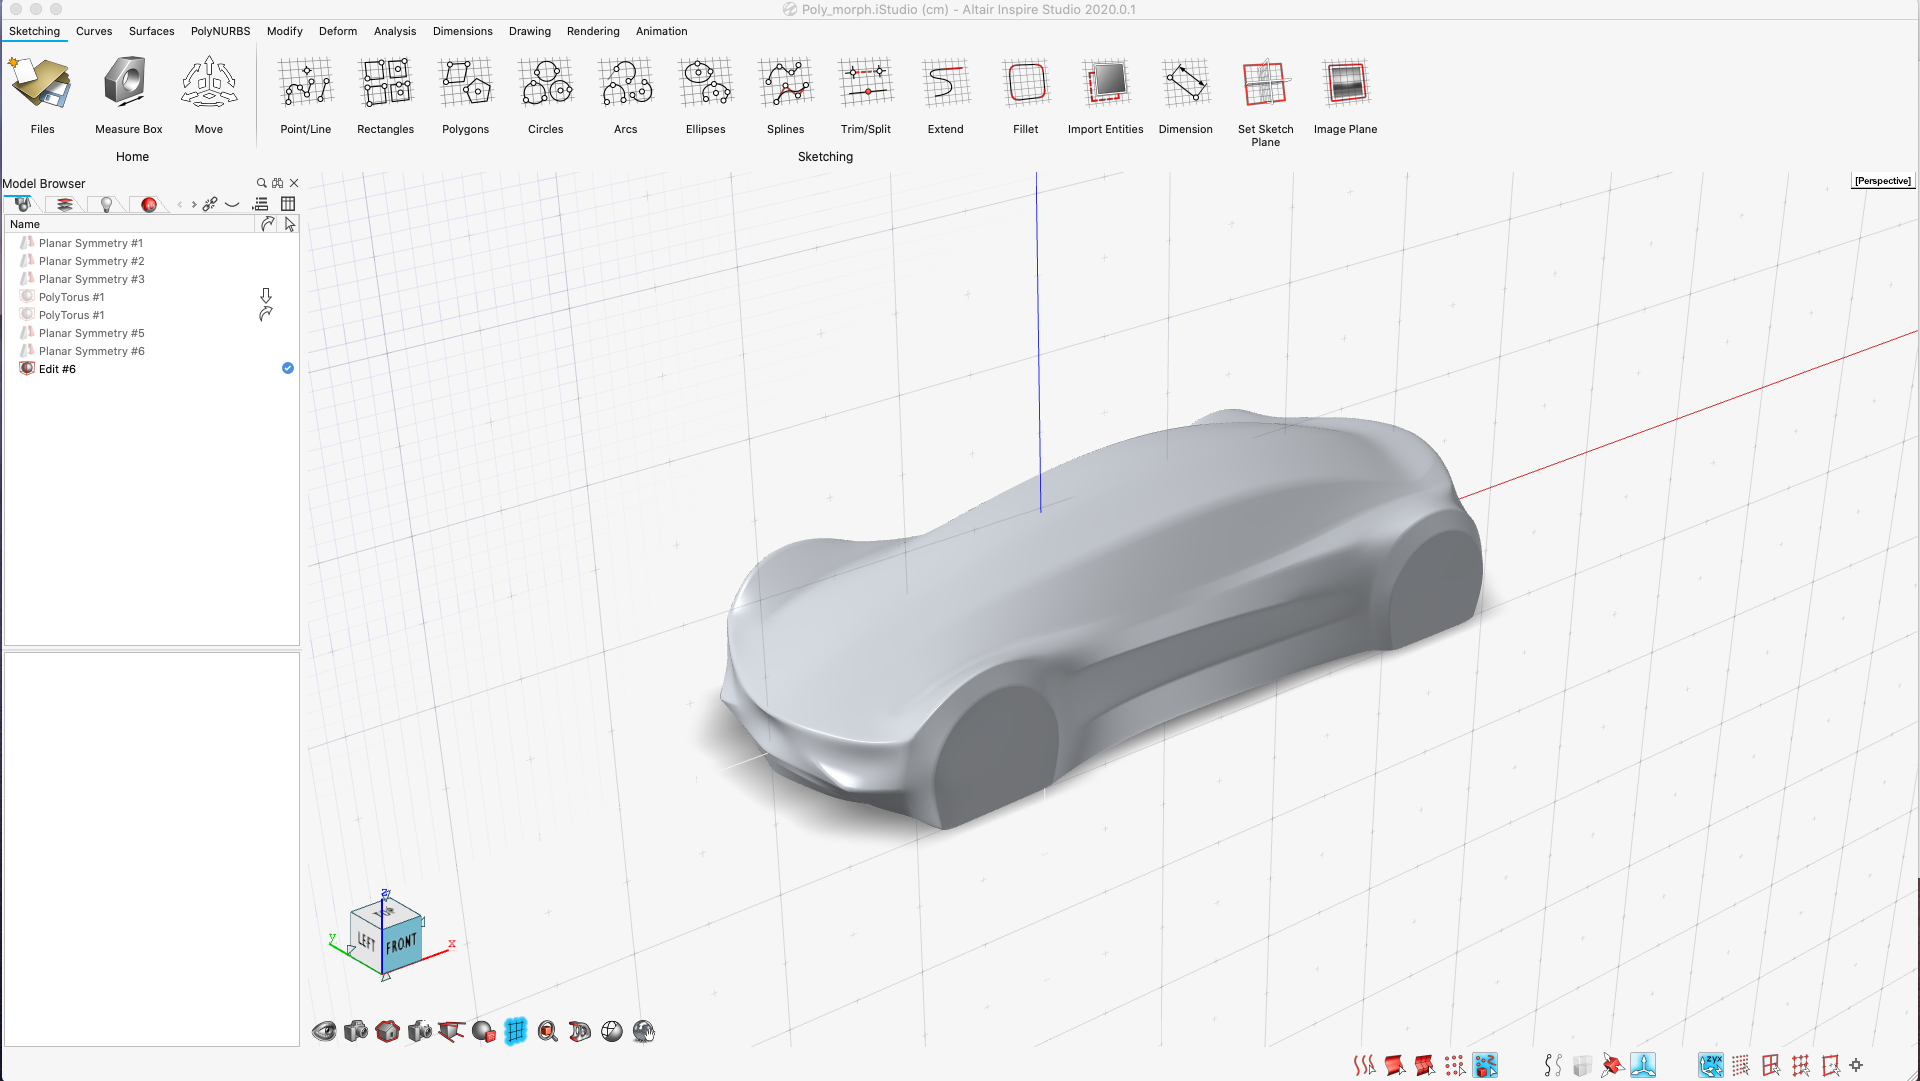
First, let's open an existing PolyNURBS file so that we can create cages around the geometry that we want to morph.
-
Open the poly_morph.istudio file.
The model is loaded.
Set Up the Cage
-
Click the Cage icon.
-
Select the car, and then right-click to confirm.
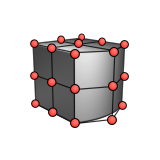
A cage is created around the entire car. By default, the cage starts out as a box with four points along each side with a degree of 3.

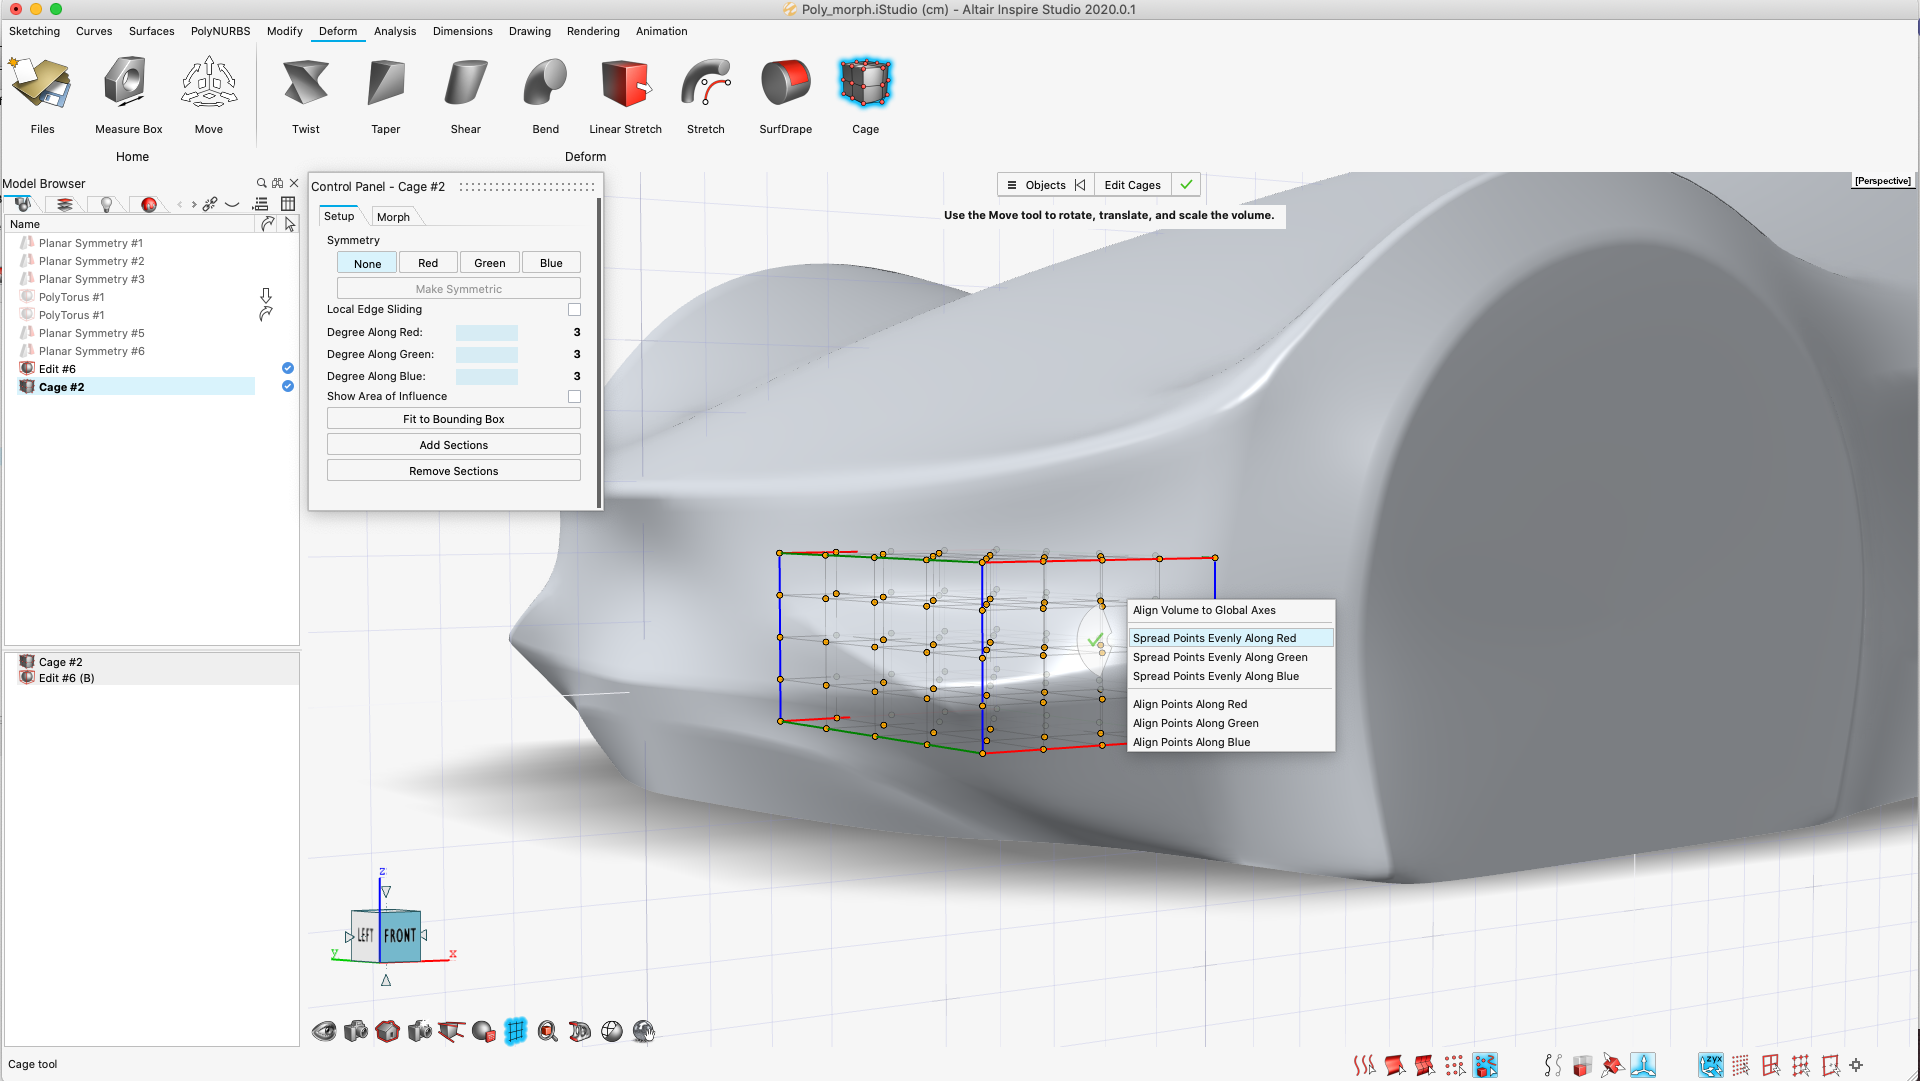
Edit the Cage
To more precisely control the underlying mesh, we need to add sections to the default cage.
- Optional:
If the sections aren't distributed evenly:
- Select all points of the cage.
- Right-click, and then select Spread Points Evenly Along Red, Spread Points Evenly Along Blue, or Spread Points Evenly Along Green.
Define the Area of Influence
Add, Duplicate, or Remove Cages
You can add multiple cages to increase your control over deforming the geometry.
Morph the Object
In this step, we'll deform the object while modifying the cage.
Displace the Cages
Once you have morphed cages, you can control the displacement (i.e, the degree of morphing from 0–100%). This parameter is important if you use the Design Table tool and HyperStudy to make your model more aerodynamic.