|
Server Integration
The DataPrep Export element in Automator’s Visual Process Designer allows data to be exported in various formats. Before exporting Power BI file types, the API settings of the connector need to be modified. Use the Server Integration page to configure the settings for Power BI API.
To access the Server Integration page
-
On the Navigation Tree, click System Settings, and then select System Preferences.
-
At the top of the page under Automator Settings, select the Server Integration tab.
For the settings of Power BI, the following details should be provided:
-
Client ID: It is a string that carries user information as provided during registration in Power BI. It is used by these connectors to identify Automator once it is registered. The Client ID is public information that goes hand in hand with the Client Secret Key.
-
Client Secret Key: It is used to authenticate Automator when it requests access to user accounts in Power BI. It goes hand in hand with the Client ID and should be kept private.
Note: To get the Client ID and Client Secret Key for Power BI, click here.
-
Host Name: It is the full name of the machine on which Automator is installed.
-
Port: It is the value of the port on which Automator is installed.
-
Redirect URI: It is the URI to which Power BI directs after authenticating the user. The field is automatically filled after supplying the Client ID, Client Secret Key, and host name.
-
Other settings
-
Save: Click this button to save the application settings.
-
Clear: Click this button to remove the information in the fields.
Power BI API Keys
To get a Client ID and Client Secret Key for Power BI
-
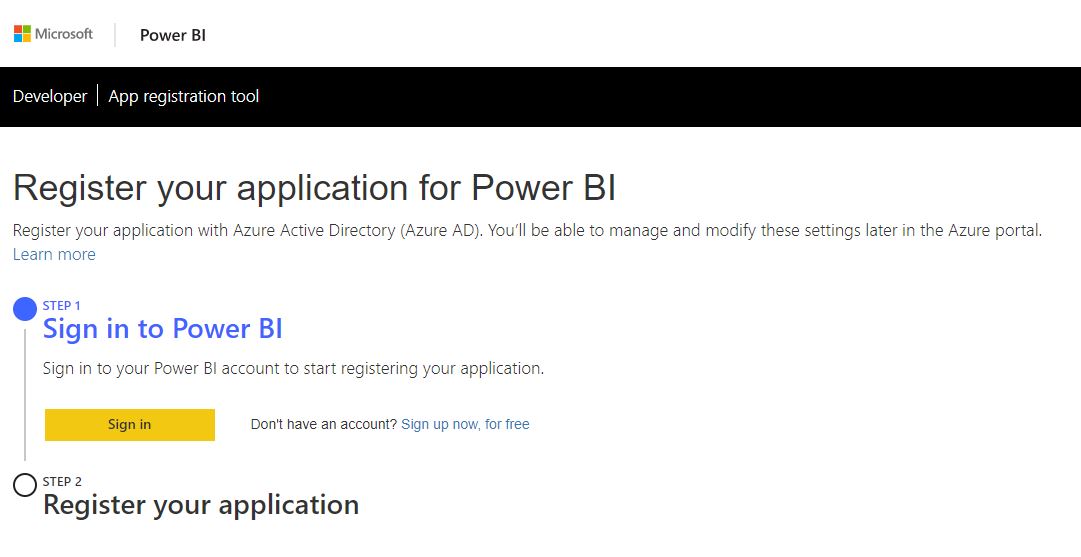
Access Power BI’s Registration Tool at https://dev.powerbi.com/apps.
NOTE: The registration process in Power BI requires an Azure Active directory, an organizational user, and a Power BI service account. To sign up for an Azure subscription or to log in using an account with such subscription, click here.
To learn how set up your Azure Active Directory and organizational user, click here.
-
Sign in using your Power BI account in Step 1 of the Registration Tool.
-
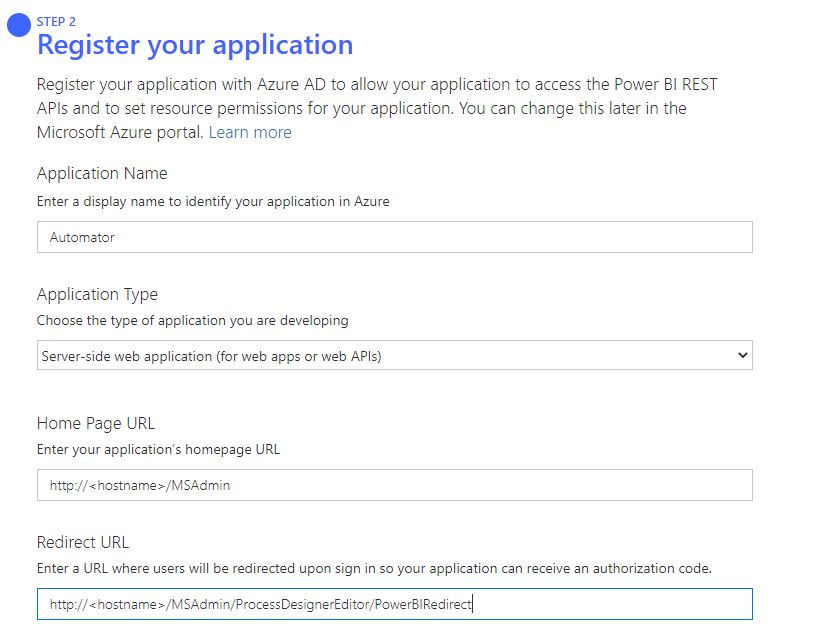
Provide the following details:
-
App Name – The name of your app, i.e., Automator.
-
App Type – Choose “Server-side Web app.”
-
Redirect URL – This provides Power BI with more details about the app requesting the authentication. An example of a redirect URL is http://<hostname>/MSAdmin/ProcessDesignerEditor/PowerBIRedirect.
-
Home Page URL – Use the sign in page of Automator, i.e., http://<hostname>/MSAdmin.
-
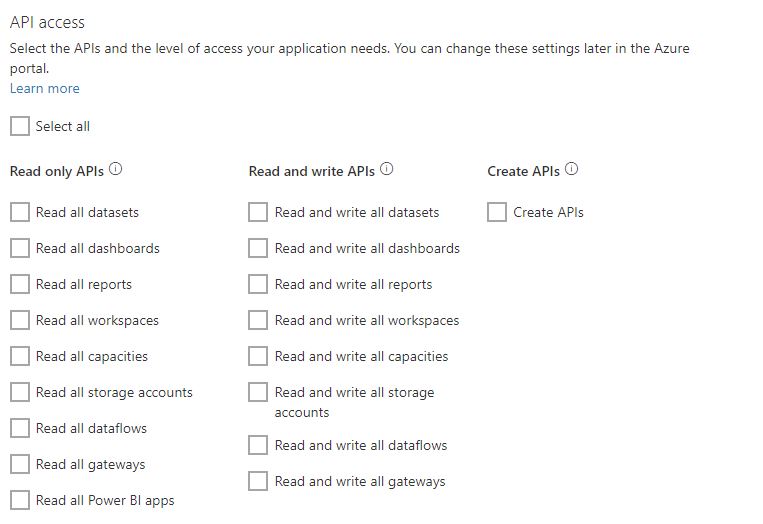
Select the APIs you need as well as the level of access required. For details about permissions in Power BI, click here.
-
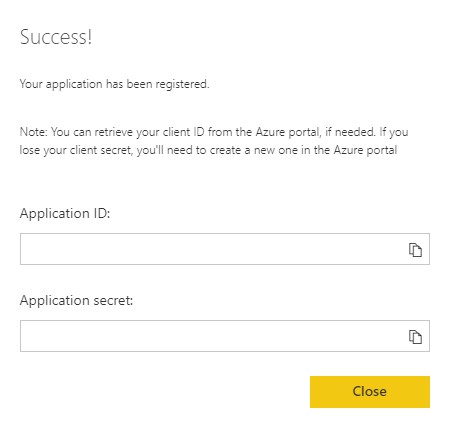
Click Register App.
The Registration Tool generates a Client ID and a Client Secret Key. Use these keys to configure the API settings for Power BI in Automator.