


|
Managing Authors and Descriptions in Binary Models or Projects
Monarch saves relevant information each time a Model or Project file is created.
This information includes the author of the model as well as its description, all defined templates, fields, filters, sorts, and summaries, and general input settings, among others.
In most cases, model/project information cannot be edited by design. However, Monarch Utility provides an easy way to change such information.
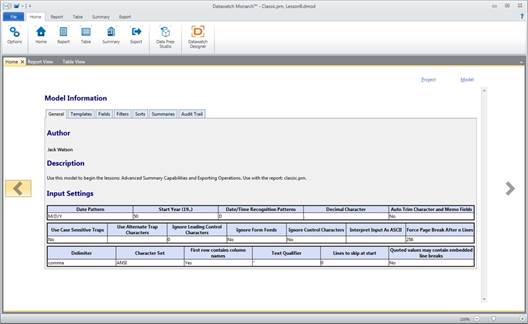
Figure 24-11. Viewing model information in Datawatch Monarch.
Steps:
1. Launch the Monarch Utility wizard and ensure that the button for Manage authors and descriptions in binary models or projects is selected. Press Next when you are finished.
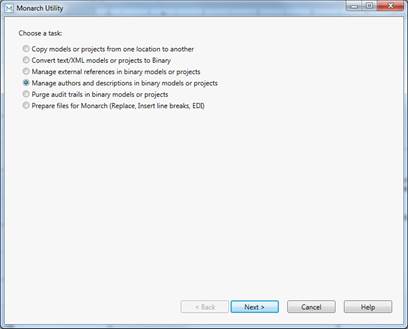
Figure 24-12. Managing authors and model/project descriptions in Monarch Utility.
2. In the next screen that displays, enter
the path to the source folder containing the model and project files
you want to edit in the Source Folder screen. You can use the
Browse  button
located beside this field to search for the appropriate folder.
button
located beside this field to search for the appropriate folder.
3. Check the box for Include subfolders if you wish to modify the authors and description of models and projects in all subfolders as well.
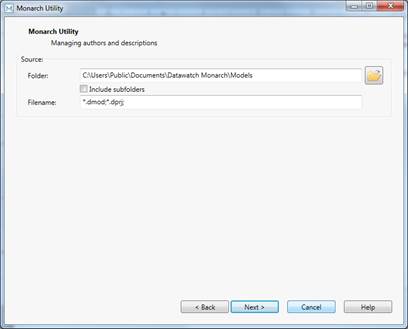
Figure 24-13. Specifying a source folder for revised models or projects.
4. Select Next when you are finished.
The next screen displays all of the models and projects for which you can edit authors and descriptions.
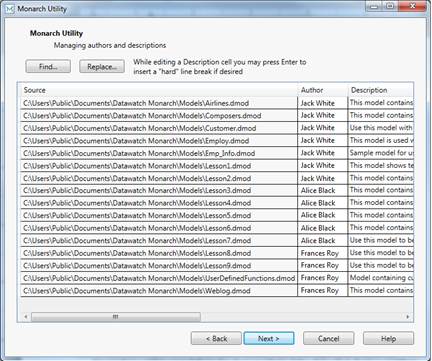
Figure 24-14. A list of models or projects for which you may manage authors and descriptions displays.
5. To find keyword(s) in any of the fields in this list, select the Find button, enter the keyword you wish to search for in the Find what field of the dialog that displays and then select Find Next. Continue selecting Find Next to see all instances in which your keyword(s) appears.
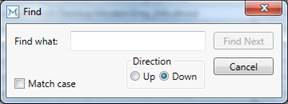
Figure 24-15. The Find dialog.
6. To replace an author name, select the Replace button. Enter the author name to be replaced in the Find what field of the dialog that displays and then enter the name of the name to be used as a replacement in the Replace with field. Select Replace to replace only the next instance of the name indicated in the Find what field or Replace all to replace all instances of this name.
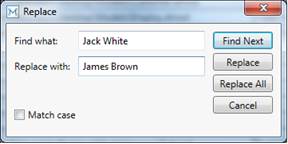
Figure 24-16. The Replace dialog.
7. Selecting the Replace all button yields the screen below.
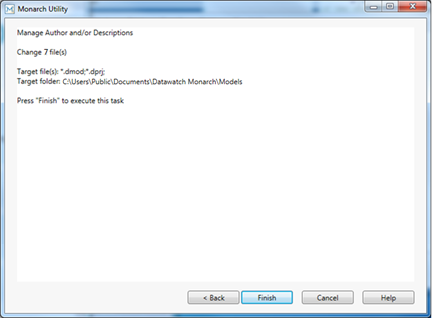
Figure 24-17. Summary of instructions for managing model/project authors and descriptions.
You can also select the author name you wish to replace by highlighting it in the Author column of the model/project list and then typing in your replacement name. Select Next when you are finished.
8. Press Finish to execute the replace all operation.
To replace model/project descriptions, highlight the description of the model/project you wish to replace in the model/project list, type in your desired description and then select Next. You will need to select Finish in the next screen that appears to perform the replacement operation.