


|
Adding Digital Signatures to an Excel File
Steps:
1. Select the Table tab.
The
Table view for the report displays. Select Autosize Columns
 from the Table tab to view all
the data properly.
from the Table tab to view all
the data properly.
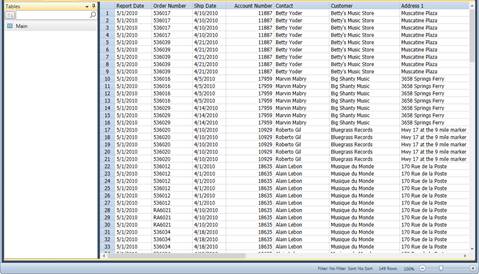
Figure 21-2. The Table view for Classic.prn report and Lesson8.dmod model.
2. Select the Export tab and then click the Create Export button.
The Create Export dialog displays.
3. In the File name box, enter Digital1.
4. Ensure that Table is selected in the Source View box and then select Microsoft Excel XLSX (*.xlsx) from the Export File Type box.
5. Name the table DigiCert in the Table Name box.
6. Click the Edit Advanced Options button to launch the Export Design view.
7. Click the Advanced tab of the Excel Output panel.
The Excel Advanced Features options of the view display.

Figure 21-3. The Excel Advanced features panel in Export Design view.
8. Check the Digital Signature box.
When you do this, the Certificate drop-down list is activated. This list contains options that allow you to select where the digital certificate you are applying is located. Let’s say that your digital certificate is stored in the same machine in which Monarch is installed.
9. Select Change to Certificate from File from the Certificate drop-down list.
10. Select the digital certificate you wish to apply to the export, and then click OK.
Depending on the settings of your digital signature, you may or may not be asked to set a password for the certificate. If prompted to do so, simply provide one.
11. Click Accept  when
you are finished to close the Export Design view and return to Export
view.
when
you are finished to close the Export Design view and return to Export
view.
12. Run the export you have just defined. Refer to Chapter 17 – Exporting Operations of this learning guide if necessary.
13. Select File, and then click Exit Monarch. Select No when prompted to save changes to the model and the project.