


|
Installing Monarch
Steps:
-
After downloading the installer, run (or double-click on) the install program.
A series of prompts will lead you through the installation process.
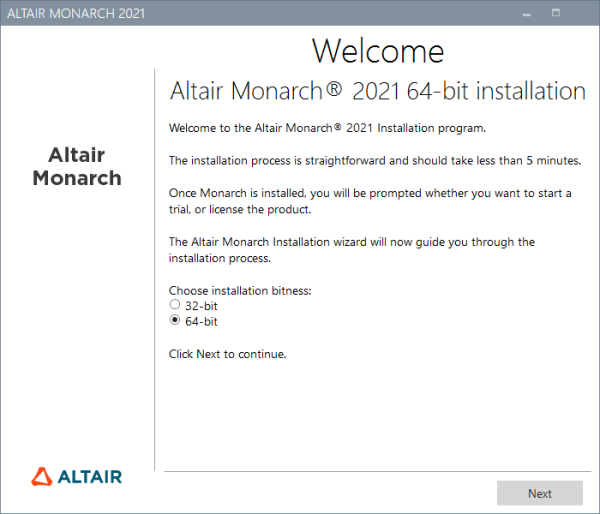
The first of these prompts introduces you to the installation program and reminds you of the need to either activate your copy of Monarch or use Monarch on a trial basis after you finish installing the application.
You must select a Monarch bitness to install before proceeding to the next screen.
Once a bitness has been selected, subsequent installations or upgrades will apply this selection automatically; the installer will no longer ask you to select a bitness.
-
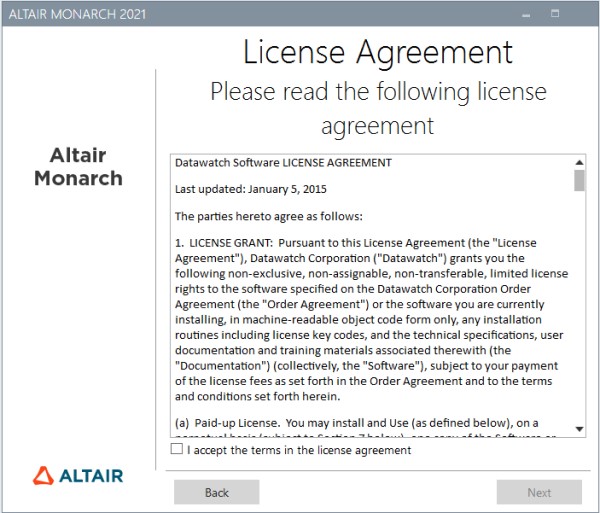
The second prompt requires you to accept the Monarch end-user license agreement before proceeding with the installation.
-
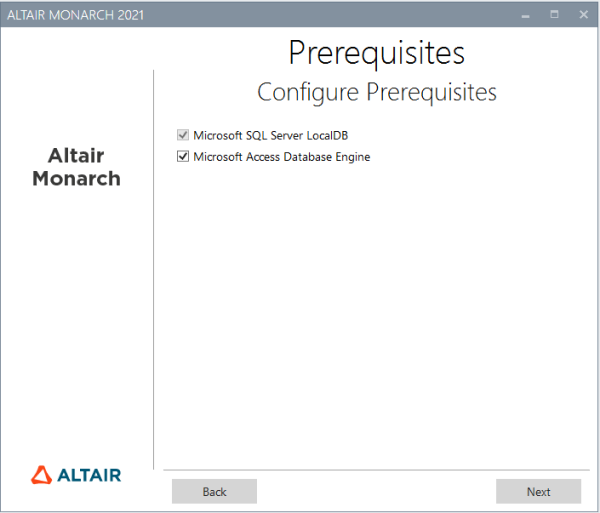
The third prompt allows you to specify whether Microsoft Access Database Engine should be installed with the application.
-
The fourth prompt asks you to specify a folder in which to store application files and whether or not the sample lesson files must also be installed.

-
When you click Install in the third installer prompt, the installation proper begins. This step may take some time.
NOTE: Installing Prerequisites
The installer will check if your machine has all the prerequisites necessary to install Monarch. If some prerequisites are not available, the installer will attempt to install these. You will need to confirm these installations before proceeding with installing Monarch.
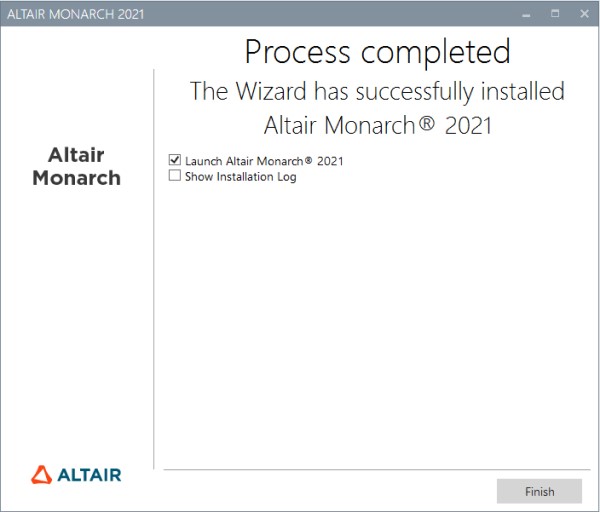
When installation is successfully completed, the following screen displays.
The first time you run Monarch, the Monarch License Manager displays the following screen.
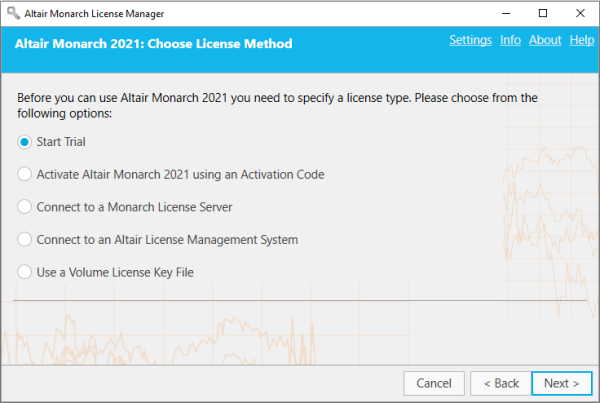
To be able to use Monarch after the trial period, you will need to activate it.
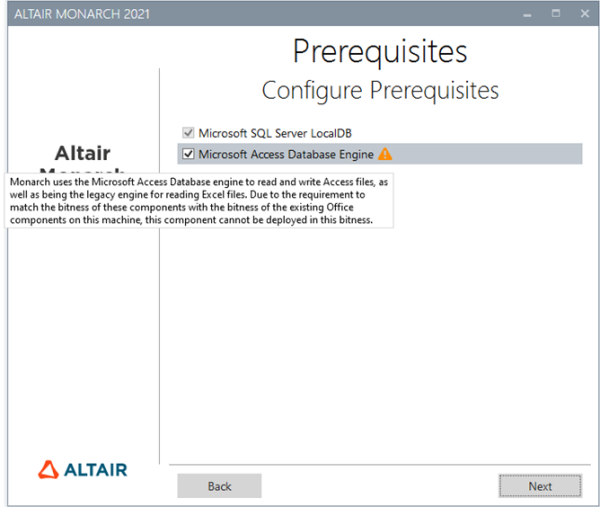
Deselecting the Microsoft Access Database Engine option displays a warning icon. Hovering over this icon shows the following message.
If you wish to proceed with the installation, click Next.