|
Using the User Profile Manager (UPM) in Citrix Server
The Monarch application uses LocalDB to cache the logon data of users. This database is stored in a user’s local profile. During a Monarch session, UPM actively works in the server to cache the data in the user’s local profile. In some cases, Monarch is unable to detect the location of LocalDB and, therefore, cannot launch properly. The following steps describe how to specify user profiles via an ADM template file and the location of LocalDB to allow Monarch to launch.
Steps
-
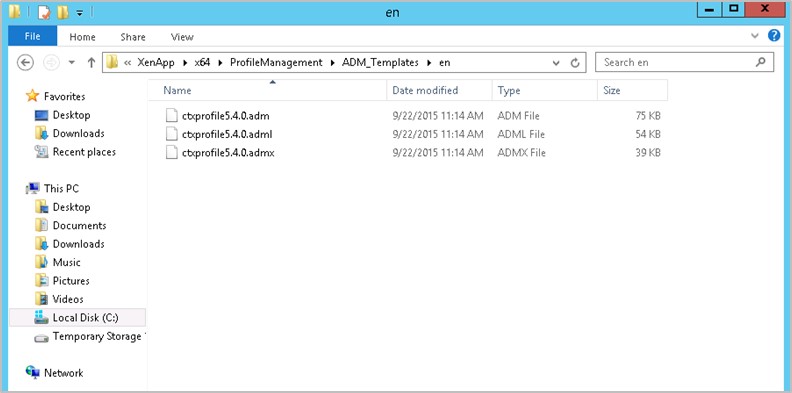
In the machine installed with Monarch, locate the ADM template file (C:\XenApp\x64\ ProfileManagement\ADM_Templates\en) and copy the files to this folder.
-
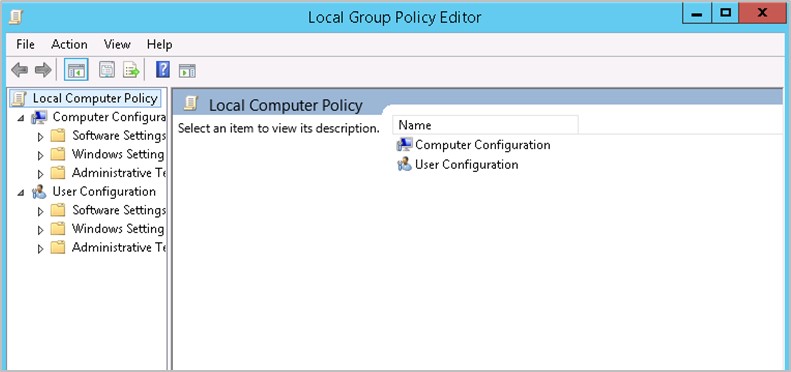
Using your command prompt, run GPEDIT.MSC.
-
Right-click on Administrative Templates and then select Add/Remove Templates. Then, in the Add/Remove Templates dialog that displays, select Add.
-
In the Policy Templates window that displays, paste the path you copied in Step 1. Click on the .adm file that displays and then select Open. Close the Add/Remove Templates dialog when you are finished.
-
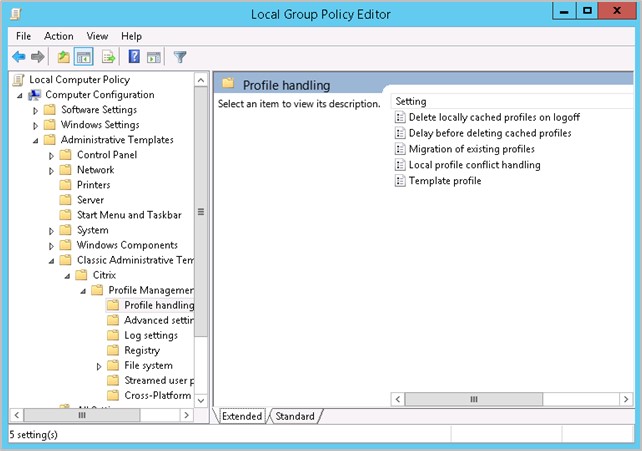
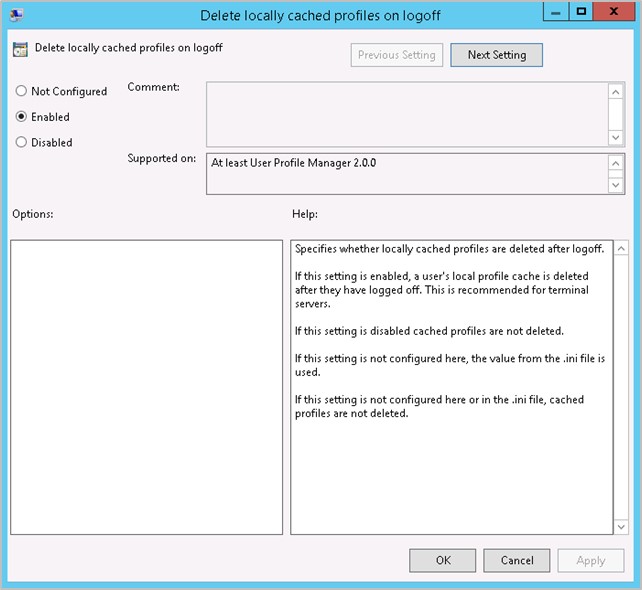
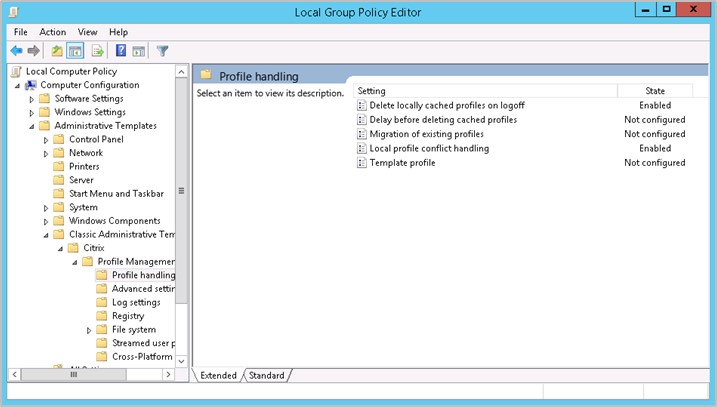
In the Local Group Policy Folder, go to Administrative Templates > Classic Administrative Templates (ADM) > Citrix > Profile Management > Profile handling.
-
Select Delete locally cached profile on logoff and, in the middle pane that displays, select Edit policy setting. Ensure that this setting is Enabled.
-
Repeat the step above to enable local profile conflict handling.
-
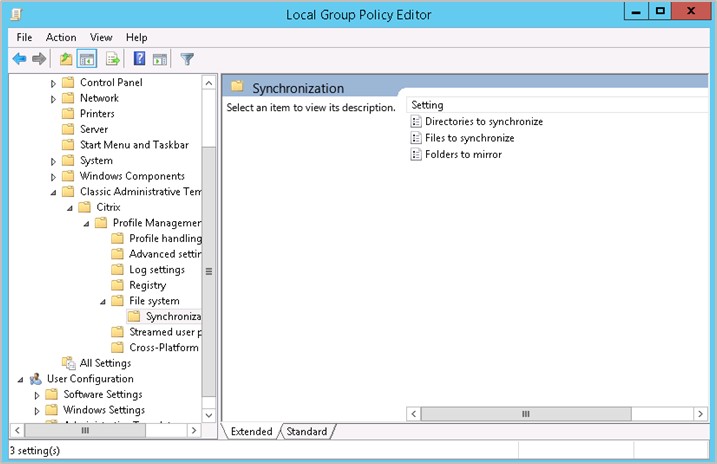
In the Local Group Policy Folder, go to Administrative Templates > Classic Administrative Templates (ADM) > Citrix > Profile Management > File system > Synchronization.
-
Click on Directories to synchronize, and, in the middle pane that displays, select Edit policy setting. Ensure that this setting is Enabled.
-
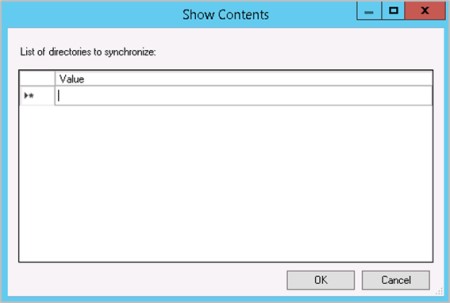
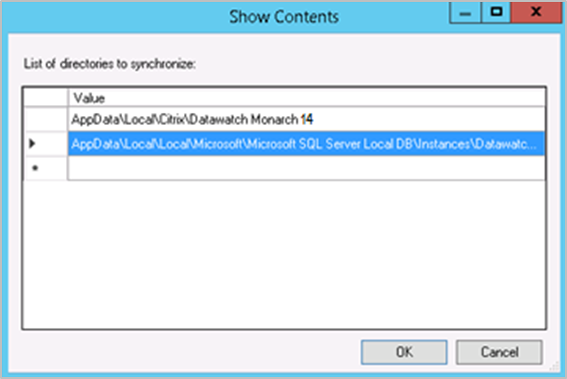
Click the Show button. A list of directories to synchronize displays.
-
Add the following entries:
-
AppData\Local\Citrix\Altair Monarch 17
-
AppData\Local\Local\Microsoft\Microsoft SQL Server Local DB\Instances\Datawatch.Engine
-
-
Select OK when you are finished and then click OK once more on the Directories to synchronize window to close it.
-
Select Files to Synchronize from the Synchronization screen and opt to edit its policy setting.
-
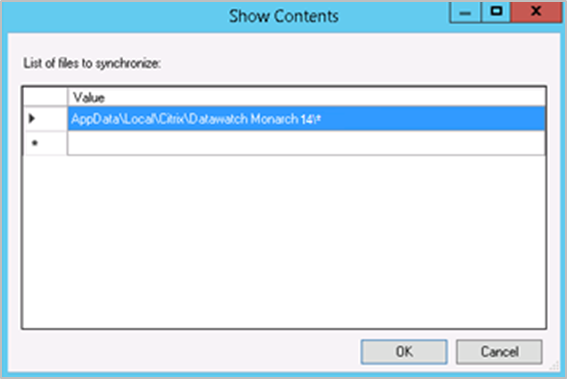
Ensure that the policy is Enabled, and then click Show to display a list of files to synchronize.
-
Add the following entry: AppData\Local\Citrix\Altair Monarch 17\*
-
Select OK when you are finished and then click OK once more on the Files to synchronize window to close it.