|
Modifying Tables
PDF Table Extractor allows you to modify and tweak a table definition that was automatically defined.
You can:
-
define a new table,
-
create a new column,
-
delete columns,
-
exclude values from a table,
-
combine tables,
-
define a table title,
-
modify headers,
-
delete spaces from header and table values.
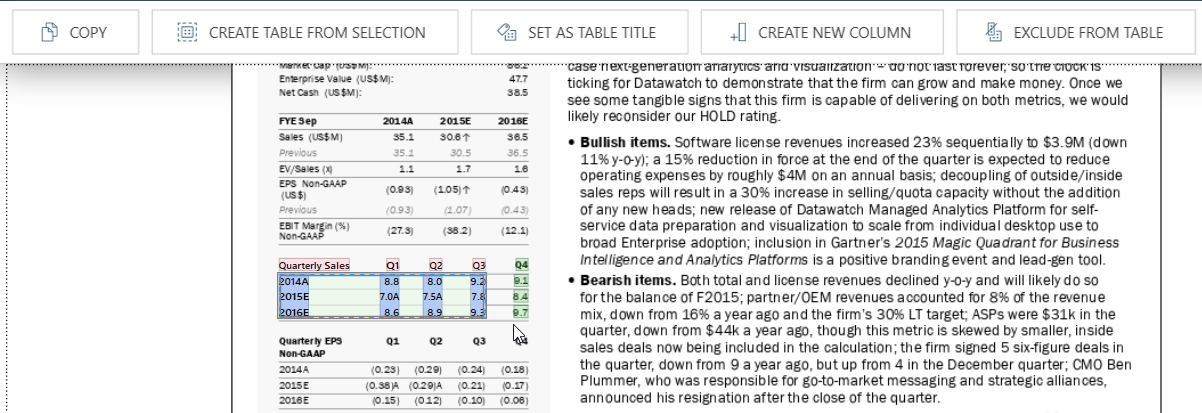
These actions become available depending on the item(s) selected. You can select these from the menu at the top of the Document panel:
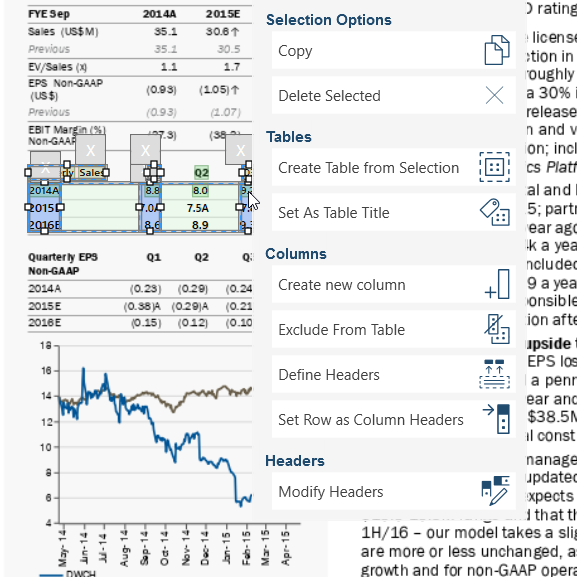
Or on the context menu that displays when you right+click on a selected item:
Defining a new table
You can define a table yourself without having PDF Table Extractor define it automatically.
Or you can add tables that the PDF Table Extractor may have missed during an auto-define operation.
Steps:
-
Via drag-and-drop, select the area containing the values you want to define as a new table.
-
Select Create Table from Selection.
Create Table from Selection becomes available on the action menu or context-sensitive menu.
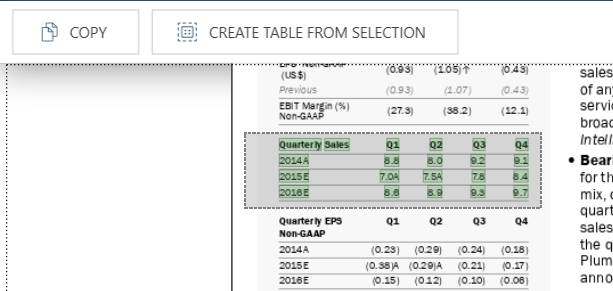
PDF Table Extractor will apply standard logic to determine the rows and columns of the new table.
The table is added to the Table and Preview panels.
Creating a new column
PDF Table Extractor may sometimes miss a column. You can easily rectify this by adding the column manually.
Steps:
-
Via drag-and-drop, select the area containing the values you want to define as a new column. The values must be text inside a table, or adjacent to a defined table.
Items display on the Table Menu or context menu:
-
Select Create New Column.
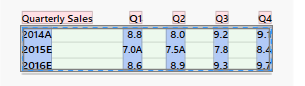
Selected values become a new column on the table.
Deleting a column
Auto-defined tables may contain columns that you do not need. You can easily delete columns using the Delete Column option.
Steps:
-
Select the table on the document area.
-
Click on the column you want to delete.
-
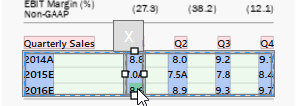
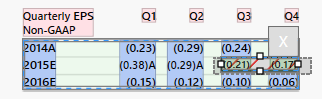
Click the X to delete the column.
The table should be outlined by a box with drag handles:
The column should now be outlined by a box with drag handles, and an X mark above it:
Excluding column values
Auto-defined tables may contain column values that you do not need. You can easily these values using the Exclude from Table option.
Steps:
-
Select, via drag-and-drop, the area containing the values you want to exclude.
-
Select Exclude from Table from the Table menu or context menu.
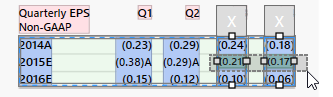
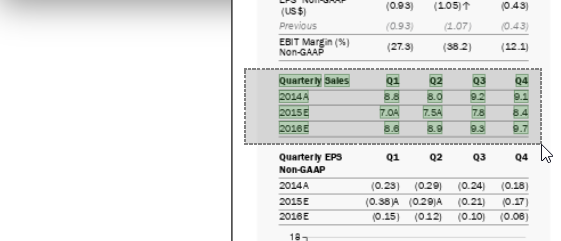
The highlighted values are now enclosed in a striped box:
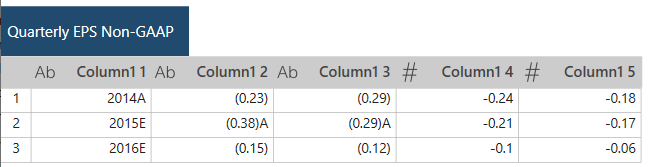
The values inside the box are no longer displayed on the table on the Table panel.
Appending tables
PDF Table Extractor allows you to combine data from two tables on the same page via an append as long as the selected columns match the append criteria.
Note that the data types of the columns to be appended do not need to match for the append operation to proceed. In this case, the column containing different data types is converted to string.
Steps:
-
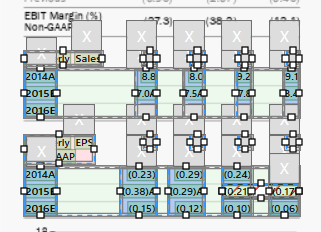
Select the two tables you want to combine by highlighting them.
-
Select Append Tables from the Table Menu or context-menu.
Data from the two tables, as defined by the overlap, are combined into one table on the Table panel. If the tables to be appended to not match in terms of number of columns, the append command does not display.
Defining a table title
You can create new table captions using the report text near a table.
Steps:
-
Select text directly above a table:
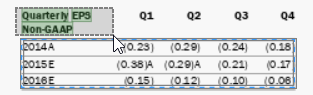
-
Select Set as Table Title from the Table Menu or context menu.
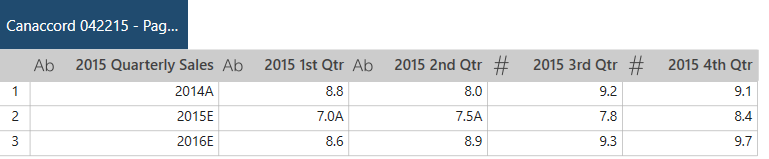
Selected text becomes the name of the table on the table panel:
Creating/modifying headers
In PDF Table Extractor, you can modify headers in several ways.
DEFINING A HEADER COLUMN
Steps:
-
Select a table.
-
Select text above the table.
-
Select Column Header from the Table Menu or context menu.
You can select header text even with space or other text between the table and the candidate header row.
For example:
The selected text are associated as column headers of the table, and are displayed as such on the table panel.
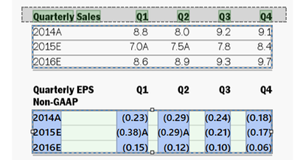
MODIFYING HEADERS
Steps:
-
Select a table.
-
Select Modify Headers from the Table Menu or context menu.
-
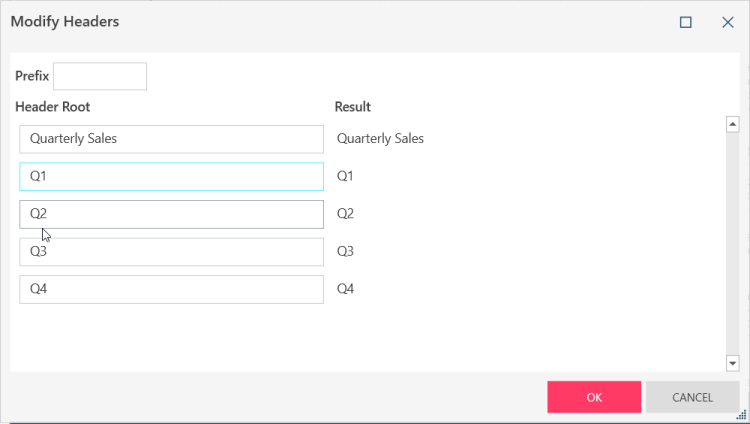
The Modify Headers dialog displays.
-
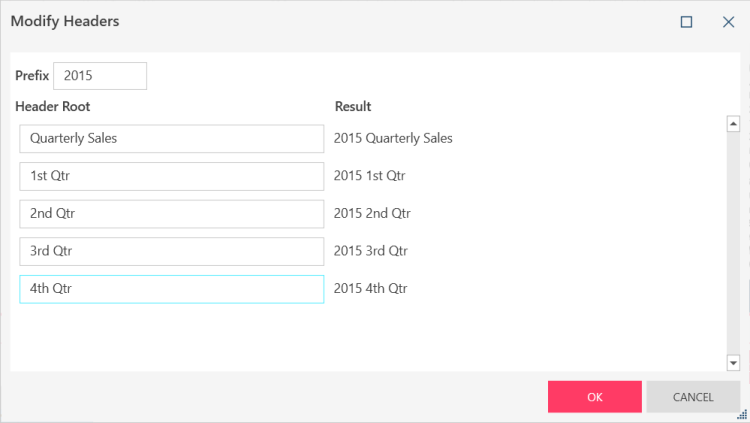
Enter the values for the new header.
As you do so, the Result column shows how the new headers will look:
-
Select OK.
The table now shows the new header: