|
Converting Custom Change Lists into Macros
Earlier versions of Monarch featured the ability to create custom change lists that you can apply to any table in your workspace. This feature was deprecated in the current version of Monarch. You will be able to open workspaces created in previous versions of Monarch in the current version of the application, but you will need to convert any previously defined custom change lists into macros to be able to use them in your workspace.
Steps:
-
Select the Manage Custom Change Lists from the Change History panel.
-
Click Copy to Macro button located at the bottom of the dialog.
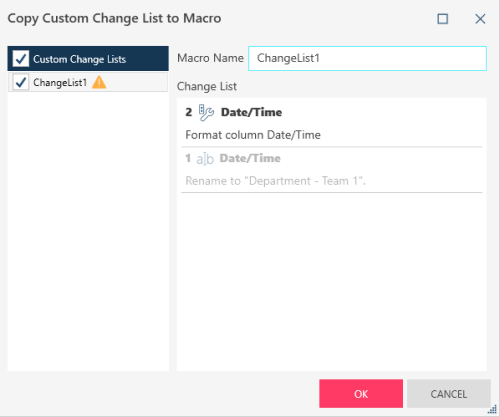
The Copy Custom Change List to Macro dialog displays.
-
Provide a name for the macro in the macro Name field and then click OK.

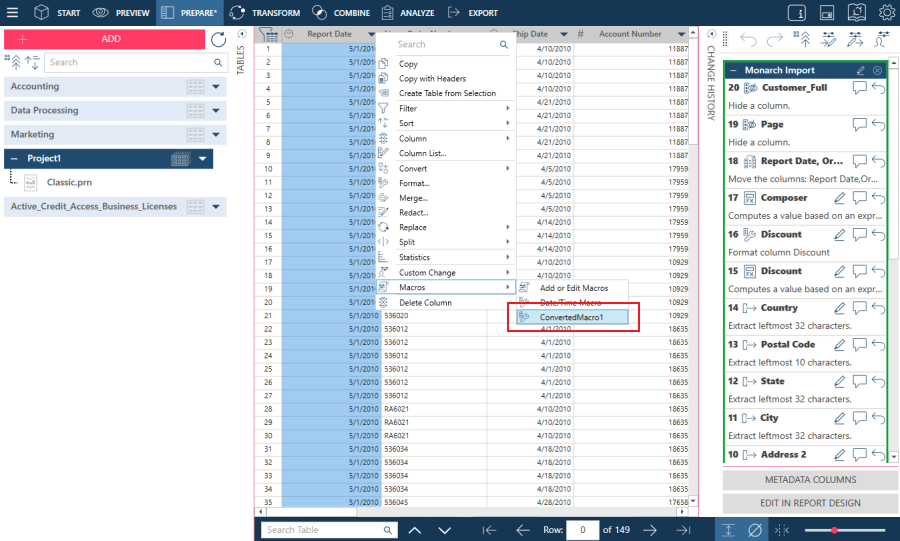
You can also select the drop-down handle of any column in the Prepare window and then select Custom Change > Manage Custom Change Lists or open the Data Source Library and then click Copy Custom Change Lists.
The Manage Custom Change Lists dialog displays. The Change List drop-down provides you with a list of all available custom change lists in your workspace.
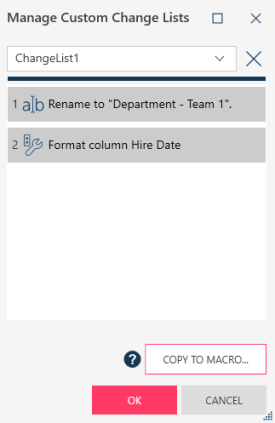
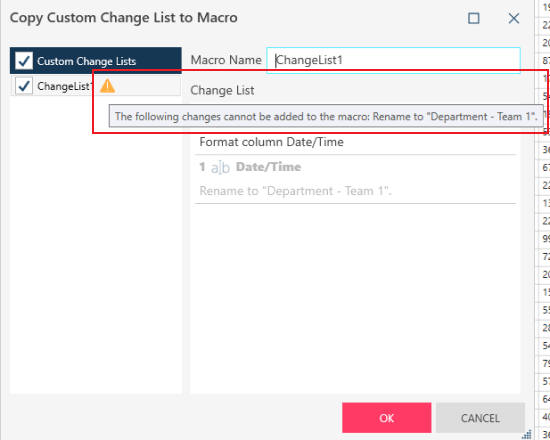
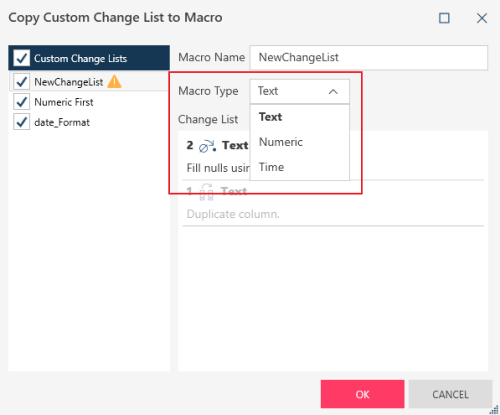
This dialog displays all of the changes in your custom change list that can be converted into macros. If some custom changes in the list cannot be converted into a macro (i.e., they are not supported as a macro change), these items are grayed out and a warning displays.
If the change to be converted is applicable to all macro types, the Macro Type drop-down displays, as shown in the example below. Use this control to specify which type of macro to apply the change to.
The converted macro displays in the Macros list in of the Data Source Library.
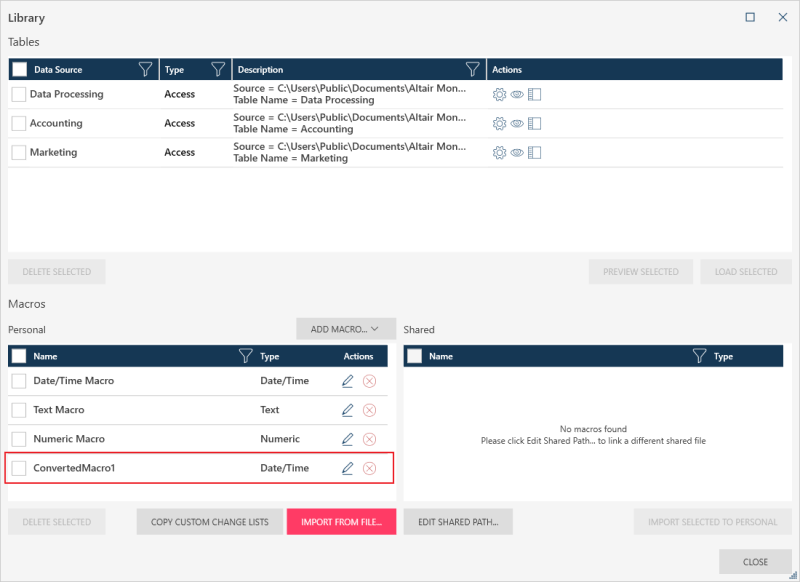
This macro can now be applied to any data type that matches that specified for the converted macro.