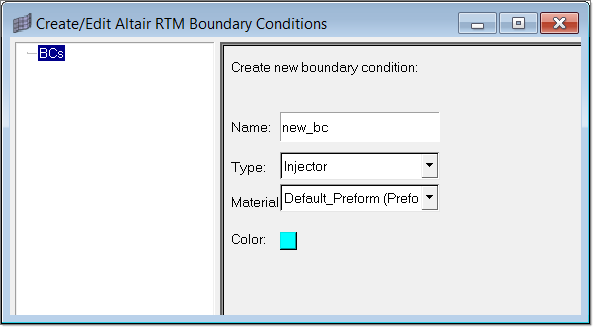
| 1. | From the RTM Utility menu, click Create/Edit BC under Boundary Conditions. The Create/Edit Altair RTM Boundary Conditions dialog is displayed. |
| 2. | Click BCs. Data fields appear in the right side of the dialog. |
| 3. | Type a name in the Boundary Name field. |
| 4. | Select a type of boundary condition in the Boundary Type field. |
A boundary condition entity appears in the BCs tree in the left portion of the dialog and fields relevant to the boundary type you selected appear in the right portion of the dialog. In addition, a load collector of the same name you specified for the boundary condition is created.
| 6. | Provide specification data for the boundary condition and click Update. |
The following buttons are also available on the Create/Edit Altair RTM Boundary Conditions dialog:
Display on/off
|
Turns the display of BC faces on and off.
|
Create Faces
|
Helps you create BC faces.
|
Update
|
Updates changed information when editing an existing boundary condition. This is a required step.
|
Close
|
Closes the dialog.
|