Available in the RADIOSS One Step user profile, the Blank Fit Manager helps you quickly perform Blank Fit functions.
Accurate feasibility analysis
| • | Easy forming analysis setup |
| • | Feasibility results in seconds |
Efficient cost analysis
| • | Accurate size prediction for the most common blank shapes |
| • | Automatic generation of HTML and Excel reports |
Automated and flexible process
| • | Automated mid-surface extraction, geometry cleanup, and report generation |
| • | Storable and reusable process template |
Seamless forming data mapping
| • | Automatic generation of the input decks for further structural analysis |
To use the Blank Fit Manager, complete the following steps:
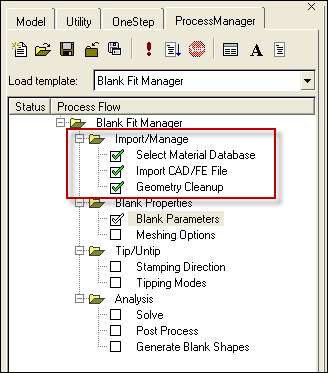
| 1. | From the Applications menu, click Blank Fit Manager. In the tab area, the ProcessManager tab displays the Blank Fit Manager macro. |
| 2. | Verify that the Load Template drop down field shows Blank Fit Manager. |
| 3. | In the Create/Open Process Instance dialog, select the path to use to create the Process Instance. Click Create/Open. |
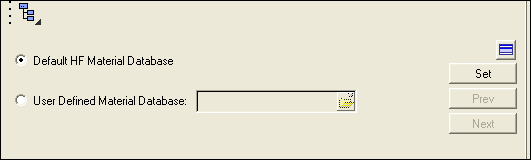
| 4. | The first step is to select the material database. To use the default database, keep the Default HF Material Database radio button checked. To use a different one, select the User Defined Material Database button and browse to the appropriate location. |
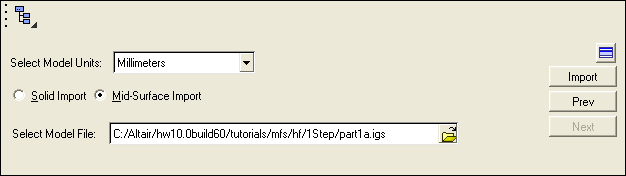
| 6. | To import the CAD or FE model file, select the model units to use, make a selection in the Solid Import or Mid-Surface Import radio button, and browse to select the model file to import. When finished, click Import. |
| 7. | In the next panel, select whether to delete surfaces, perform manual cleanup, or execute auto cleanup. You can also choose to perform some manual cleanup on the model initially, and then have the Blank Fit Manager automatically do the rest. When finished, click Proceed to continue. |

When the geometry cleanup is complete, you will notice that the first section of the Blank Fit Manager shows a series of green check marks. This indicates the initial phase is finished.
| 8. | Enter the blank parameters using the Thickness field, Select Blank Material field, and Cost per kg ($) field. To define your custom material for the current analysis, click the Advanced Material Edit checkbox. This expands the panel with more fields to specify further parameters. Click Set to complete this step. |
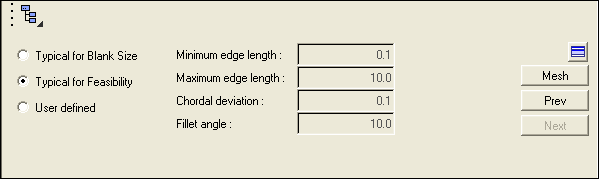
| 9. | Enter the meshing options. Select one of the 2 predefined meshing options The default meshing parameters change based on the selection made. To alter the default values click on the User defined radio button. Click Mesh to complete this step. |
| 10. | Select the Stamping Direction and click Set. |
| 11. | In the next panel, the undercut is already detected for you. To enter the tipping modes, select either the Auto Tip or User Defined radio button. Select the surfaces and click Tip. |
The final phase of the macro is Analysis.
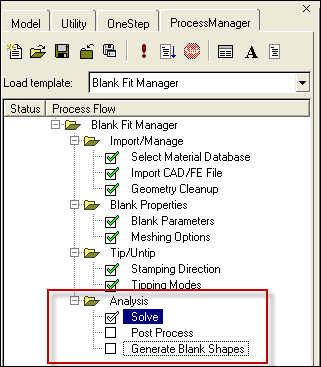
| 13. | Select the Process Definition option and then click Solve. |
| 14. | Click either the Feasibility button to view the Feasibility report or the Blank Nesting button to open the Blank Nesting interface. |
| 15. | The final step is to generate the blank shapes. Use the fields to make your selections and click Apply. |


