


|
URL Actions
URL Actions lets you access a web page or file or even point to other resources on the web such as database queries and command output. You can also pass parameters to the URL.
URL Actions are screated through the New Actions dialog window.
Adding URL Actions
-
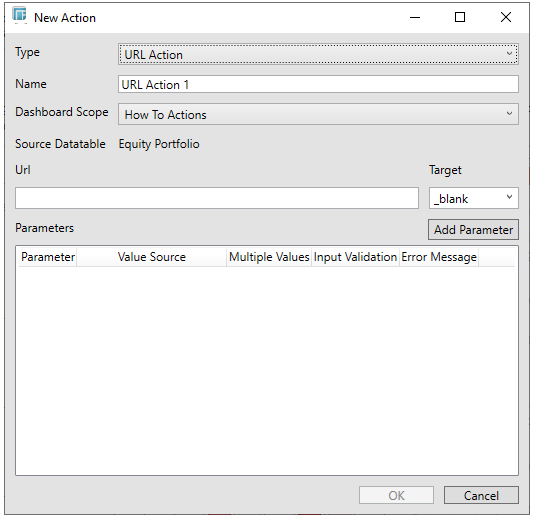
Right-click on a Dashboard scope and then click New Action… in the context menu.
The New Action dialog is displayed.
-
Select the URL Action in the Type drop-down list.
The details of the URL action are now displayed.
-
Enter the Name of the URL Action.
-
Select whether the action should apply to all or specific dashboards.
-
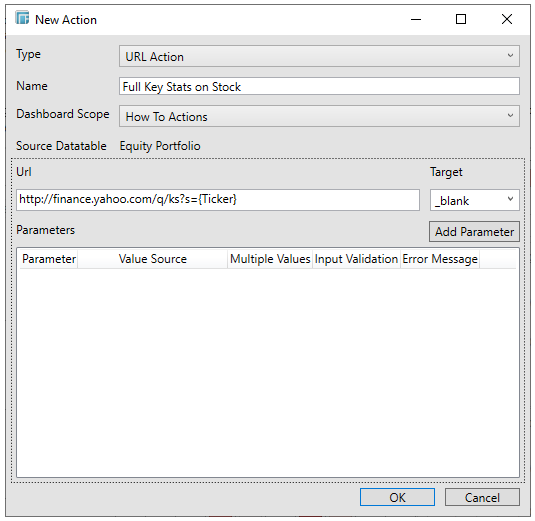
Enter the parameterized URL in the Url text box.
The parameters are written within curly brackets, {ParameterName}.
For actions allowing multiple value input, you can optionally specify a value separator within the curly brackets where you put the parameter name. The syntax is as follows:
{ParameterName:Separator}
For example: {Company:+}
Default separator is semicolon. Specifying for example a plus sign allows you to do multi search term searches on Google, for example.
At execution, the parameter will be replaced with real field values associated with the selected visualization node.
The easiest way to create parameterized URLs is to open an example web page and copy the URL. As an example, Yahoo Finance Key Statistics for Microsoft has the following web address:
http://finance.yahoo.com/q/ks?s=MSFT
If a Parameter called Ticker has been set up in the Data Table, you can generate the URL by removing MSFT and replacing it with {Ticker}:
http://finance.yahoo.com/q/ks?s={Ticker}
-
Select the Target of the area of the page where the output URL will be displayed.
-
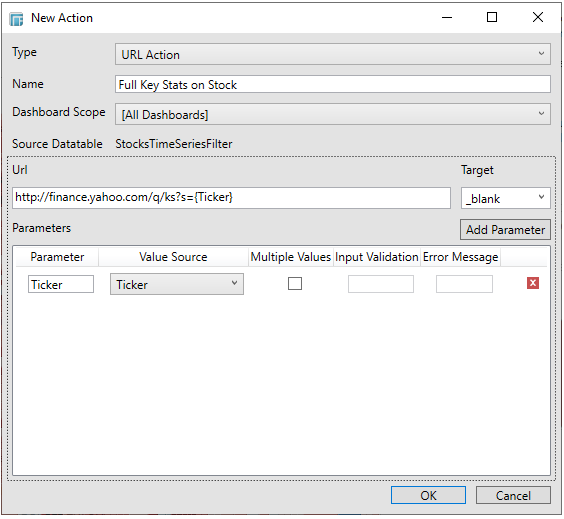
Click the Add Parameter button to add parameters to the output URL.
This supports the contextual display of data stored in external web based systems.
For each parameter, define a name and select the column from the source data table that will supply the contextual value.
The value of this selected column for rows under the selected visualization node will be passed as the parameter values to the target URL.
-
Check the Multiple Views box to pass multiple values for the parameter to the Target area.
-
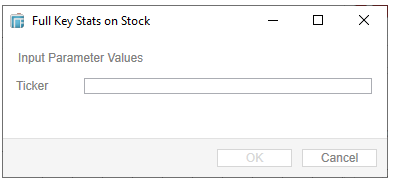
If you selected an interactive parameter (i.e., $Interactive), the Input Validation and Error Message boxes are enabled.

Typically, interactive parameters are used to pass data back to data repositories or external systems.
When an action is executed which require an interactive parameter, an associated dialog box will be displayed.
For example:
-
-
Add a custom Input Validation. This can be any regular expression (e.g., “A-Z{3}”)
-
The parameter will not be updated unless it passes the validation. Enter an Error Message to help in defining a better input to match the regular expression (e.g., “Please use a 3-letter code.”)
-
-
If you selected [Use Current Value], the current parameter value will be passed to the dashboard.
-
You may also delete a parameter definition in the list by clicking
 .
. -
Click OK to confirm the creation of the new URL action.