


|
Non-Avro Topics
Perform the following steps to proceed in retrieving the data table using the Apache Kafka connector with non-Avro topics.
Using Non-Avro Topics
-
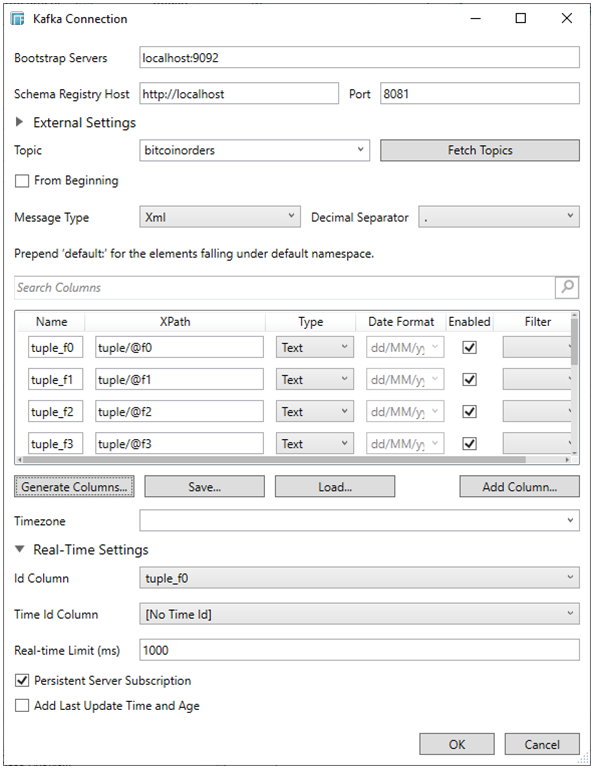
Check the From Beginning box to subscribe from the beginning to the latest messages.

If un-checked, you will only be subscribed to the latest messages.
-
Select the corresponding Message Type: Fix, JSON, Text, or XML.
-
If Text has been selected, confirm the Decimal Separator, Text Qualifier, Column Delimiter, and if the first row of the message included column headings.

-
The schema of the source file is then defined by clicking the Generate Columns… button. This populates the list of columns, with the data type found from inspecting the first ‘n’ rows of the files.
NOTE: Again, if ping is disabled, ensure to open the ports mentioned above to make the Generate Columns work.
-
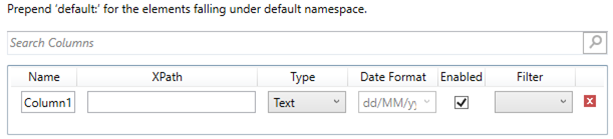
Perform a filter in the list of columns by entering text in the Search Columns search box.
-
Click Add Column to add columns to the Kafka connection that represent sections of the message.
-
Enter or select:
-
-
Name
-
XPath/JsonPath/Fix Tag/Text Column Index (for example, price/@stock)
-
Type (Numeric, Text, or Date/Time)
-
Date/Time format when the Data Type is Time
-
NOTE:
-
To parse and format times with higher than millisecond precision, the format string needs to end with a period followed by sequence of lower case Fs. There can be no additional characters following them.
-
For example: yyyy-MM-dd HH:mm:ss.ffffff
-
-
-
Enabled (determines whether the message field should be processed)
-
Filter (defined parameters that can be used as Filter)
-
NOTE: The Filter option is only available for JSON, Text, and XML Message types
Fix

JSON

Text

XML
You can
also opt to click  to delete a column in the list.
-
You can opt to save the columns definition into an XML format by clicking the Save button. The saved XML files are placed in …\Public\Public Documents\Datawatch Desktop\Column Schemas.
-
Click Load to load the column schema.
-
The time zone of input parameters and output data is by default unchanged. Changing the time zone is supported through the Timezone list box, based on the assumption that data is stored in UTC time and outputs are presented in the selected time zone.
-
Expand Real-Time Settings.
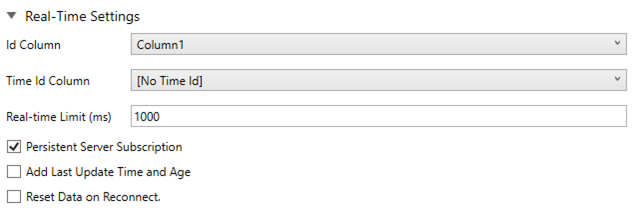
Refer to Defining Real-Time Settings for more information.
-
Click OK to confirm the selection and retrieve the record set into Panopticon Designer.
Initially, there is no data displayed in the Data Source Preview section of the Edit Data Table window.
Click the Start Preview button to display the data and refresh the values depending on the defined Refresh Period.