


|
JDBC Database - Streaming
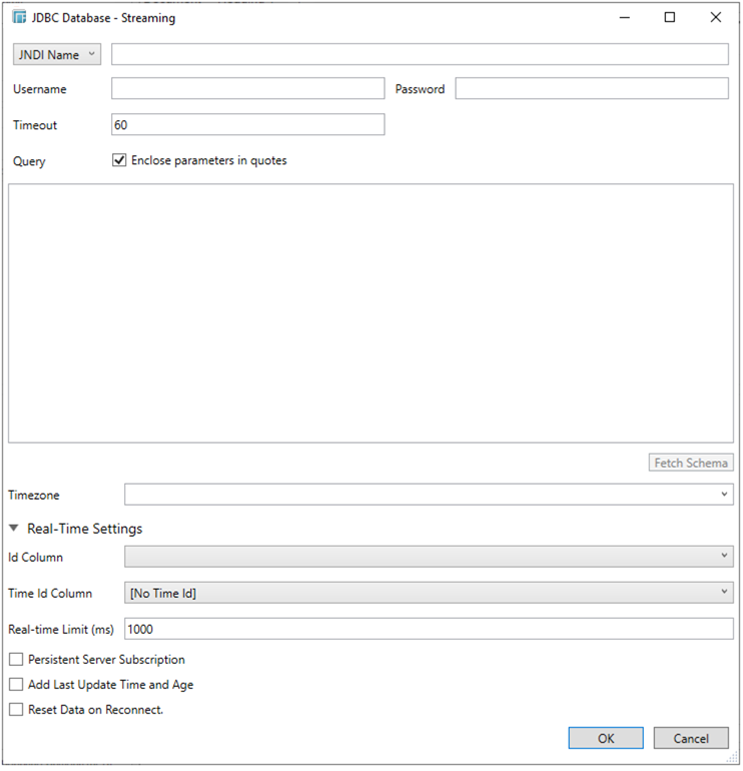
The JDBC Database -Streaming connector allows subscription to a set of data, upserting existing received values in a JDBC SQL Database, by running micro batched queries.
This is a proxy connector and will only work when Panopticon Designer (Desktop) is connected to the Panopticon Visualization Server. The database must also have the appropriate JDBC driver .jar files and JNDI connections.
Refer to the Database section in the Panopticon Visualization Server Installation and Troubleshooting Guide for more information.
Using JDBC Database - Streaming
-
Launch the Connect to Data dialog and then select JDBC Database - Streaming.
The JDBC Database Connection dialog displays.
-
Set the connection settings. This can include Java connectivity, which will solely be used by the Panopticon Visualization Server for data retrieval.
For the connection to the Panopticon Visualization Server, set either of the following information:
-
-
JNDI
-

-
-
Enter the JNDI resource name to be used, then the Username and Password.
-
-
-
URL
-

Enter the URL specific to the database’s JDBC driver, the Driver Class Name specific to the driver, and the Username and Password.
Note that these connection settings can be parameterized.
IMPORTANT:
In Designer, you are required to make certain settings related to the JNDI data source, even though Designer is not using for its own purpose. The settings are instructions for the Panopticon Visualization Server, telling it which data source to use for this particular data table in the Panopticon Designer (Desktop) workbook.
For example, in Designer, enter the following value:
Java:comp/env/jdbc/sqliteSABR
Where jdbc/sqliteSABR is the value of the name-attribute in the JNDI resource entry in panopticon.xml in Panopticon Visualization Server.
Refer to the Database section in the Panopticon Visualization Server Installation and Troubleshooting Guide for more information.
-
Enter the SQL Query, which can contain parameters in a similar manner to the Database connector.
-
Select whether the parameters should be automatically enclosed in quotes, by checking the Enclose parameters in quotes check box.
-
Click Fetch Schema to retrieve the schema of the configured subscription.
This populates the Id Column with the set of columns from the schema of type sym and the text array such as Character/Boolean/GUID, etc.
-
The time zone of input parameters and output data is by default unchanged. Changing the time zone is supported through the Timezone list box, based on the assumption that data is stored in UTC time and outputs are presented in the selected time zone.
-
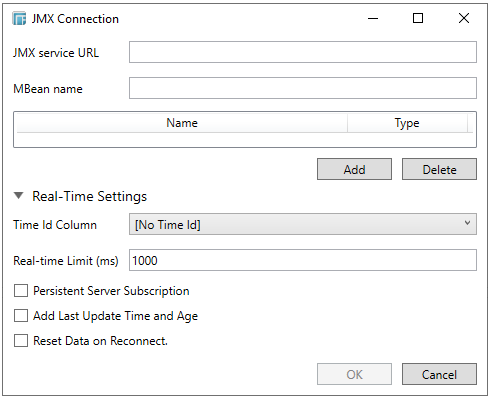
Expand Real-Time Settings.
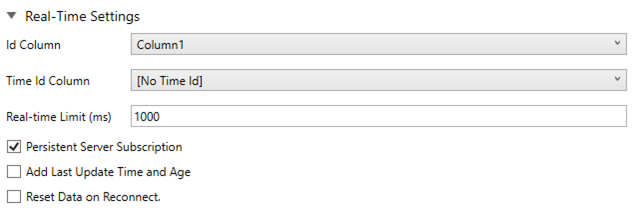
Refer to Defining Real-Time Settings for more information.
-
Finally click OK to confirm the selection and retrieve the record set into Panopticon Designer (Desktop).
The flat record set corresponding to the executed SQL is returned from the source database and displayed in the Edit Data Table view, with the database name as the title, and all fields listed displayed in the Data Source Preview.