


|
Adding a Filter Box
Dashboards specific filters can be applied by adding and populating a filter box.
You can find Filter Boxes in the Legends & Filters area of the Parts dialog box.
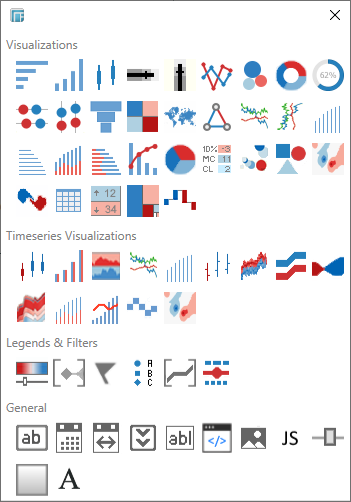
A Filter Box is a container for numeric and categorical (text) filters.
You can add multiple Filter Boxes to a single Dashboard.
Adding a Filter Box
-
Draw a rectangle on the dashboard canvas to display the Parts dialog.
-
Click the Filter Box
 icon in the Legends & Filters
section of the Parts dialog.
icon in the Legends & Filters
section of the Parts dialog.
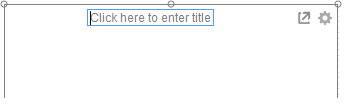
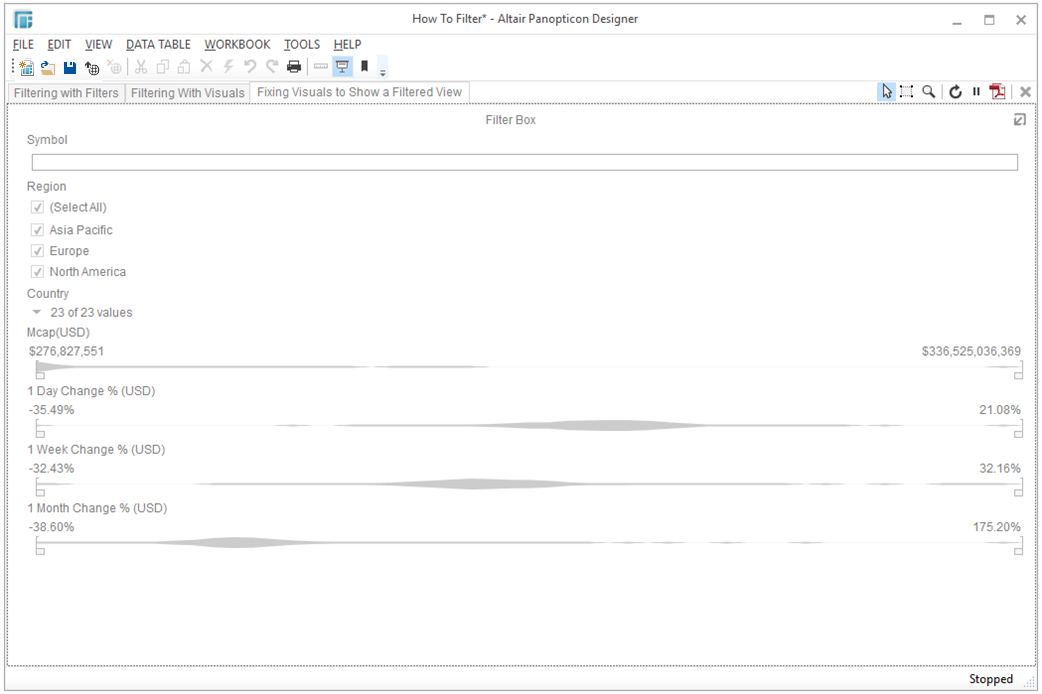
The filter box is displayed in the dashboard canvas. By default it appears empty without a defined border.

-
Click on the Click here to enter title bar at the top of the visualization.
-
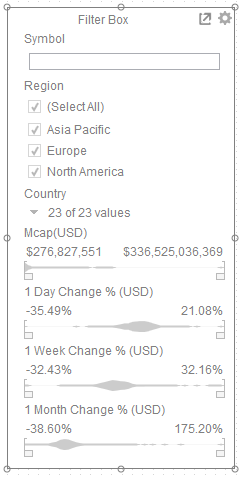
Enter the Filter Title.
-
Drag and drop columns in the Drop columns here to create filters section.
-
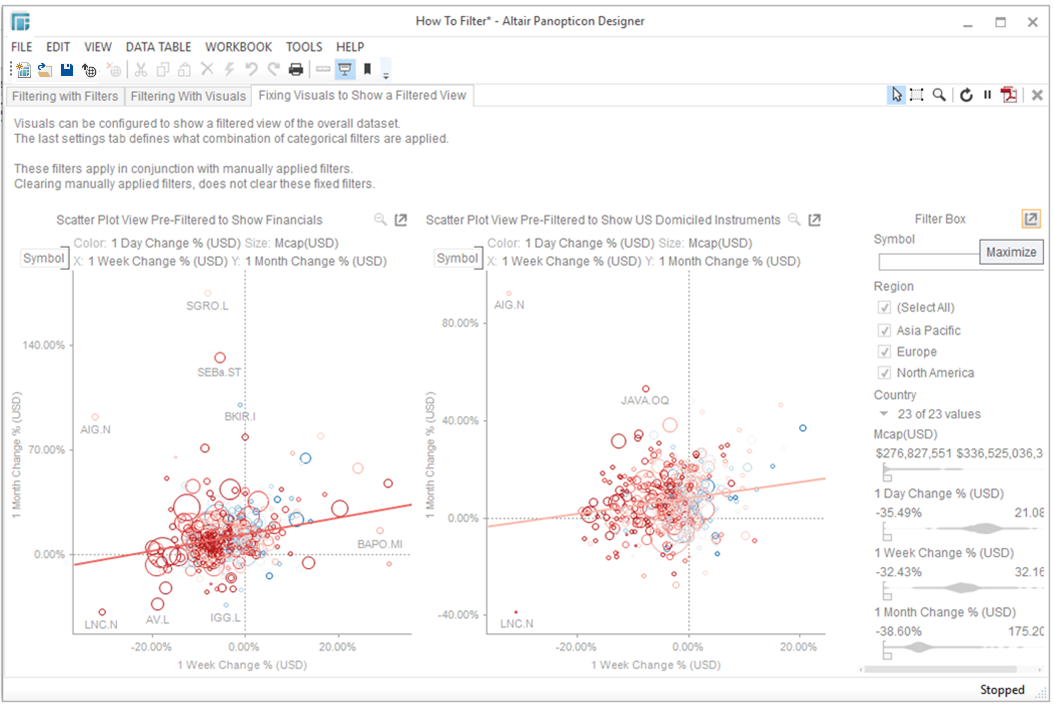
Select the Filter Box.
The border and handles are displayed, allowing resizing and repositioning of the Filter Box.
-
Click the Maximize
 icon to maximize the Filter Box in the dashboard.
The
Filter Box is maximized and the
icon changes from  to
to  .
.
Click
 to
restore the Filter Box to its
original size and position.
to
restore the Filter Box to its
original size and position.
-
Click the Delete
 icon on the Panopticon Designer (Desktop)
toolbar to delete the Filter Box.
icon on the Panopticon Designer (Desktop)
toolbar to delete the Filter Box. -
Click OK in the confirmation message.