|
Adding Data Update Actions
Data update action lets you update data (typically in a database) by passing parameters into a data query.
Steps:
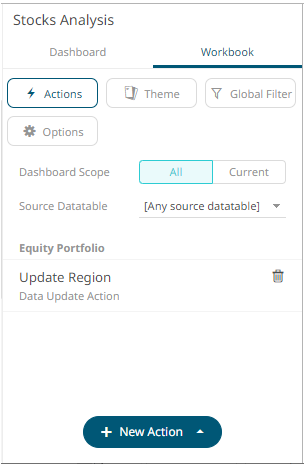
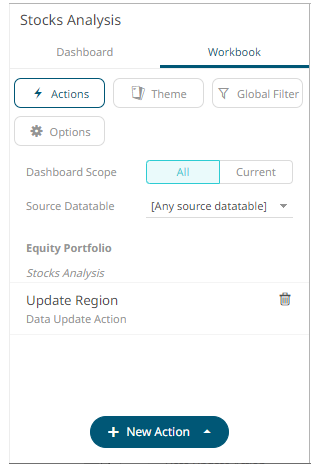
1. On the Dashboard and Workbook Settings pane, click the Workbook tab.
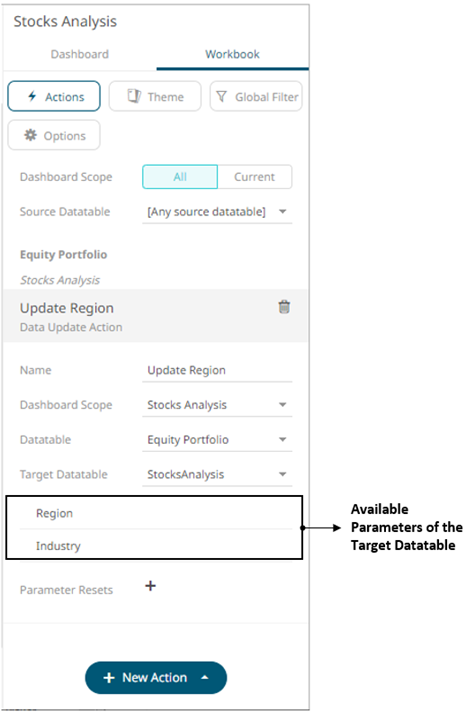
The Actions pane is displayed. Initially, there are no actions defined for the workbook and the selected Dashboard Scope is All.

2. Select the Dashboard Scope where you will define the dashboard scope data parameters that will be passed to the target dashboard: All or Current.
3. Select the Source Datatable from the drop-down list.
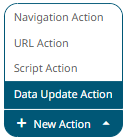
4. Click the New Action button then select Data Update Action in the drop-down list.
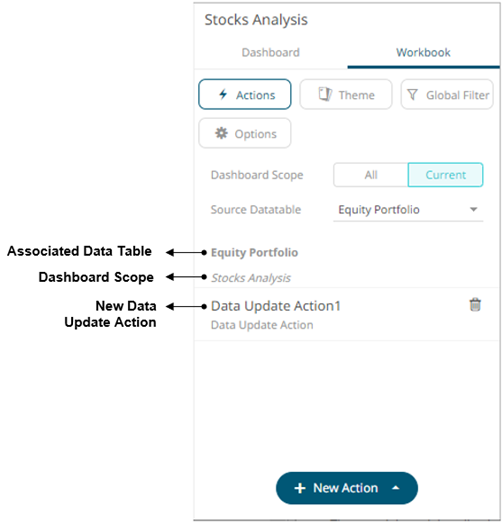
The new data update action is added under the selected Dashboard Scope in the Actions list. For example, if Current is the selected dashboard scope and the source data table is Equity Portfolio, then it will be displayed as:
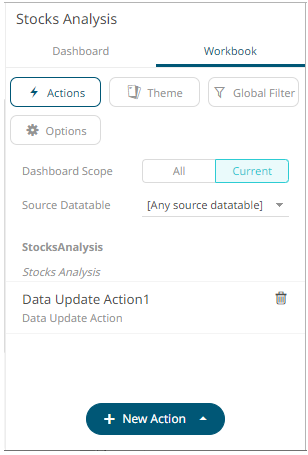
However, if no source data table is selected, then the first one in the Data Table pane (i.e., StocksAnalysis) is the default associated to the new data update action.
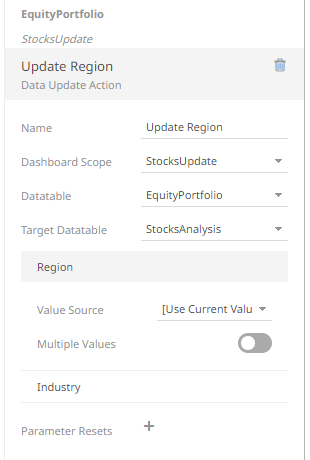
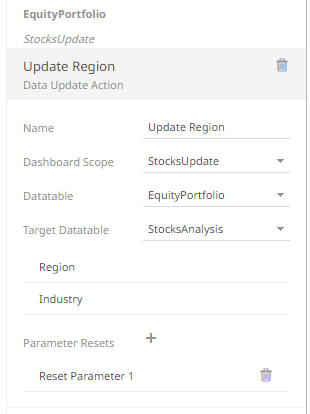
5. Click the new data update action instance to expand and display the properties that you can define.
6. Enter or select the following properties:
|
Setting |
Description |
|
Name |
The
name of the data update action and then click |
|
Dashboard Scope |
The dashboard where you will define the dashboard scope data parameters that will be passed to the target dashboard. Can either be [All Dashboard] or the current dashboard. |
|
Datatable |
The source data table. This will eventually be displayed above the data update action instance. |
|
Target Datatable |
The data table where the parameter value will be passed. |
 .
.
The defined parameters of the selected target data table will be displayed in the Parameters section.

Click on the parameter instance to expand and define its properties.
For each parameter added, set or select the following properties:
|
Setting |
Description |
|
Value Source |
Select the column value from the source table that will supply the contextual value. If you select [Use Current Value], the current parameter value will be passed to the dashboard. |
|
Multiple Values |
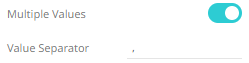
This passes multiple values for the parameter to the target area. Tap the slider to turn on. The Value Separator field displays.
Specify the value separator to be used. |
|
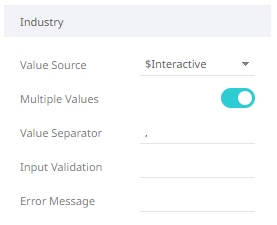
Input Validation and Error Message |
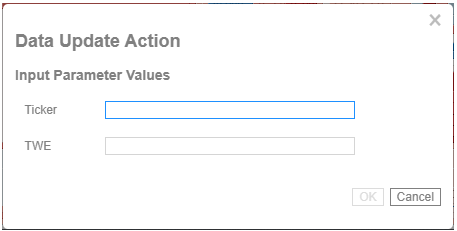
Both fields are enabled when an interactive parameter (i.e., $Interactive) is selected in the Value Source drop-down list. Typically, interactive parameters are used to pass data back to data repositories or external systems. When an action is executed which require an interactive parameter, an associated dialog box will be displayed. For example:
Add a custom Input Validation. This can be any regular expression (e.g., “A-Z{3}”) The parameter will not be updated unless it passes the validation. Enter an Error Message to help in defining a better input to match the regular expression (e.g., “Please use a 3-letter code.”) |
You can delete any of
the added parameters by clicking the corresponding Delete  button.
7. You can also opt to specify one or several existing parameters
that will get a new value when the Data Update Action is executed.
You can do so by clicking  on the Parameter Resets section.
A new Reset Parameter instance is added.
8. Click on the parameter instance to expand and define its properties.
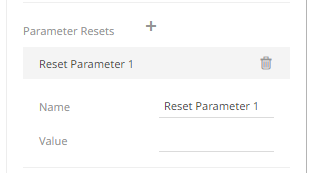
9. For each reset parameter added, set the following properties:
|
Setting |
Description |
|
Name |
Any existing parameter that will get a new value when the Data Update Action is executed. |
|
Value |
A static value or a reference of another parameter. NOTES: · $ClientTime is a special string parameter value in the Data Update Action that must be manually entered (no drop-down option). The browser current time will be used and formatted to look like the following string 2020-11-23T18:44:32.386000000000. · Setting the Parameter Reset Value as $ClientTime is a valid solution for achieving a data refresh of the data table that uses the parameter. The parameter does not need to be included in any query statement or connection settings. It is enough that the parameter exists in the data table settings for the data table to reload each time the parameter value changes. |
Repeat steps 7 to 9 to add more reset parameters.
10. Click the Save  icon on the toolbar to save the changes.
When saved, the  notification
is displayed.
notification
is displayed.
Clicking the All Dashboard Scope, the new data update action is available.
If the Dashboard Scope is [All Dashboard], the new data update action will be displayed as: