|
Adding Numeric Equal Density Bucketing
Numeric data is represented as a continuous set of values in displays and filters. Sometimes it may be necessary to divide the data into equal density bucket subsets. This can be achieved with equal density bucketing.
Steps:
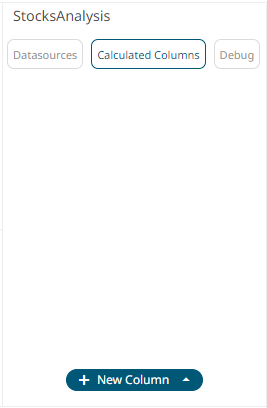
1. On the Data Source Settings pane, click Calculated Columns.
The Calculated Columns pane displays.
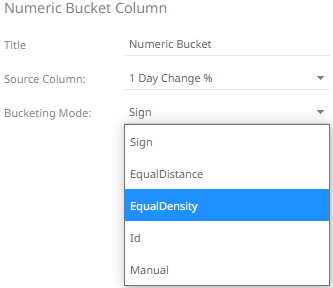
2. Click New Column > Numeric Bucket.
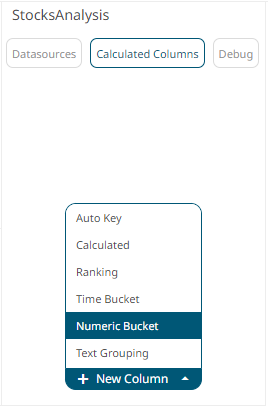
The numeric bucket instance is displayed on the Data Sources Settings with Numeric Bucket as the default title, also the Numeric Bucket Column pane displays.
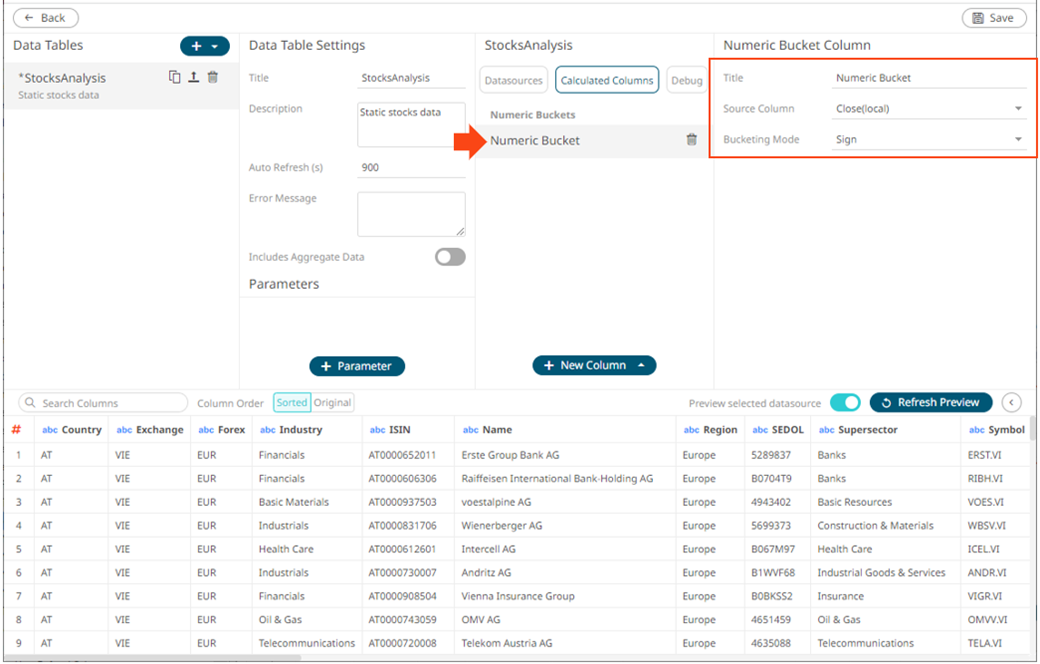
You may opt to modify the numeric equal density bucket Title.
3. Select the numeric Source Column.
4. Select EqualDensity in the Bucketing Mode drop-down list box.
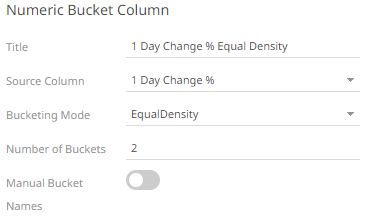
5. Enter the Number of Buckets.
6. Tap the Manual Bucket slider to turn it on.
The Names text box are enabled. For this example, 3 text boxes are available based on the specified Number of Buckets in step 5.
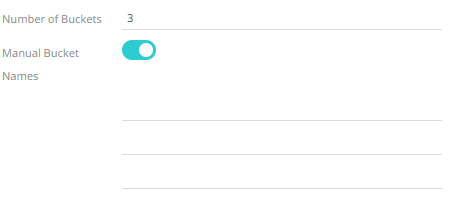
7. Enter the bucket Names.
8. Click  . The new numeric equal density bucket
column is added and displayed in the Data Preview.
. The new numeric equal density bucket
column is added and displayed in the Data Preview.
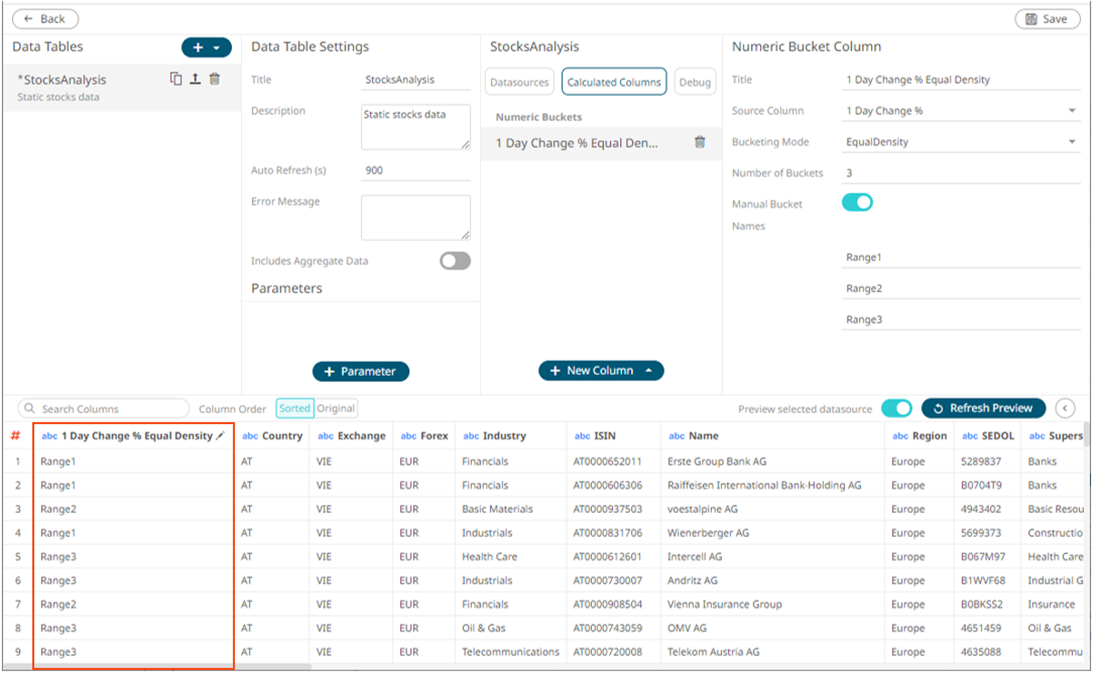
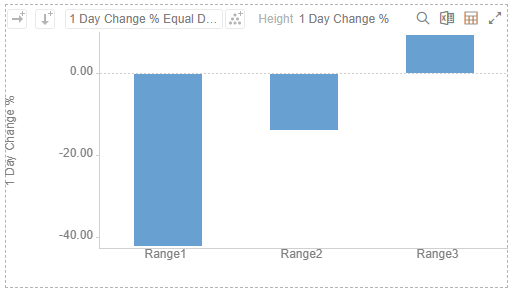
For this example, the minimum value of the Source Column (1 Day Change %) is -0.35 and the maximum value is 0.12. When there are three buckets the ranges will be:
· Range1: -0.11, -0.03
· Range2: -0.03, -0.01
· Range3: -0.01, 0.09
This can then be used in a visualizations breakdown to display data samples.