Defining Real-Time Settings
Streaming connectors have a common section for defining real-time settings. Follow the steps below to select a key column or concatenated key for the streaming time series window.
Steps:
1. After generating columns or fetching schema on the streaming connector, the list of columns with the data type found from inspecting the first ‘n’ rows of the input data source is populated.
Consequently, on the Real-Time Settings section, the Id Column drop-down list displays with the set of columns, of arbitrary type.
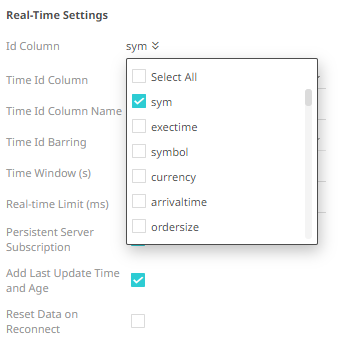
2. Select a key column to manage data updates and inserts. In some cases, select multiple key columns to form a unique row identifier.
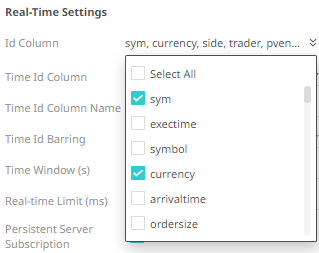
3. You may opt to check the Add Last Update Time and Age box.
|
NOTE |
This option is enabled when No Time ID has been selected.
|
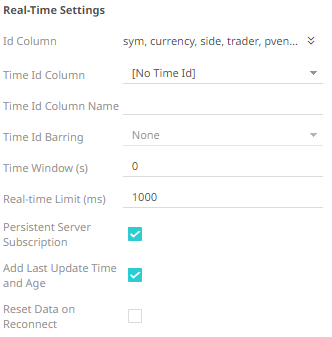
This allows the latest update time and its age to be highlighted by the defined color range in the output dashboard. Refer to Highlighting the Latest Data in Real Time Streaming Connectors for more information.
4. A streaming time series window can be generated by creating a compound key with the Id Column, plus a separately specified Time Id column. The Time Id column can be from the source dataset, or alternatively automatically generated.
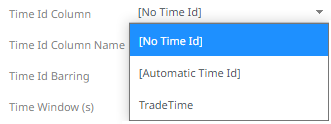
If the Time Id column is selected, then a scrolling time window can be specified. As new data arrives from the subscription, new time slices will automatically be added, and old ones will be deleted.
Select either:
· Automatic Time Id
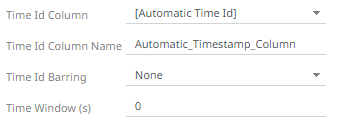
· Date/Time Id column either from the source data or automatically generated
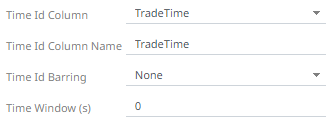
|
NOTE |
For the AMPS connector, there is also the AMPS Timestamp Time Id column.
This means that when a message arrives, AMPS calculates its expiration time and stores a timestamp at which the message expires in the SOW.
|
5. Define or select the following information:
· Time Id Column Name for Automatic Time Id
· Time Id Barring
Select the barring period. This conflates the data set to a defined granularity or any of the following time intervals.
· Time Window (s). Default is 0.
6. Modify the Real-time Limit to vary the data throttling. This defaults to 1000 milliseconds.
|
NOTE |
The Real-time Limit can be parameterized.
|
7. Check the Persistent Server Subscription box. This means that it will not be purged.
If not checked, the Panopticon Visualization Server can purge or cancel the subscription if it is orphan and is running out of memory. Note though that it can be purged for other reasons as well, depending on how the user has set it up.
8. Check the Reset Data on Reconnect box to flush out the stale data and reload data after reconnection.


