Insert
Use the Insert tool to define a desired cavity shape or temperature effect in a particular region of a part during molding.
Location: Molding tab, Tooling secondary ribbon
An insert is created separately from the mold block. The default material for an insert
is steel.
Add/Edit Insert
If you haven't designed any inserts in a CAD tool, you can create and edit virtual inserts in Inspire Mold.
You need to create a mold before you can create
inserts.
-
Click the Tooling icon.

-
Click Add/Edit Insert on the
Insert icon.

-
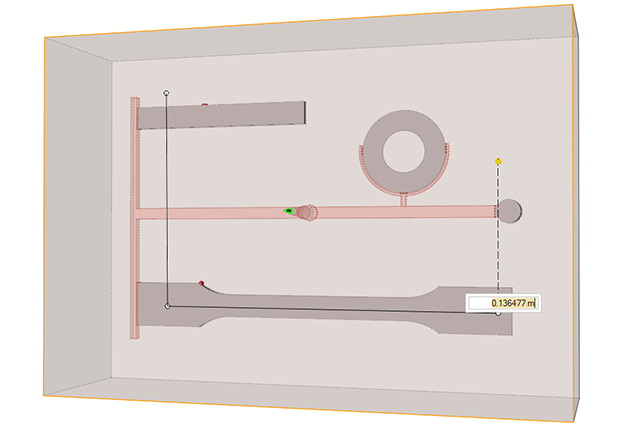
Click to create each point of the insert lines. The points must be positioned
on a single surface. You can resize a line by entering a length.
Tip: To create a perpendicular line, hold down Shift while clicking.
-
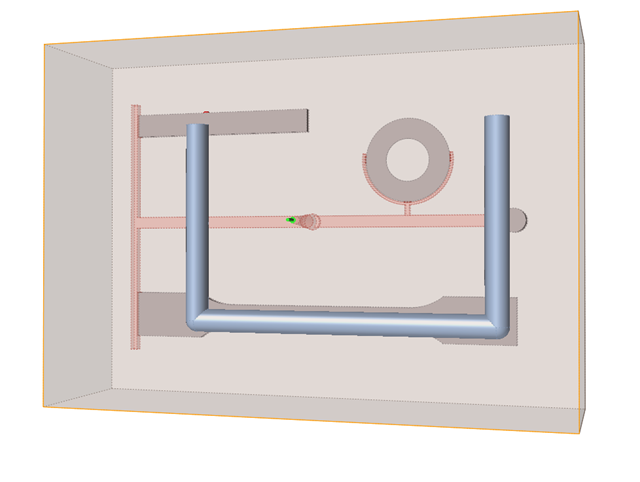
Right-click to create the insert.
The insert channels are created and moved close to the model.
-
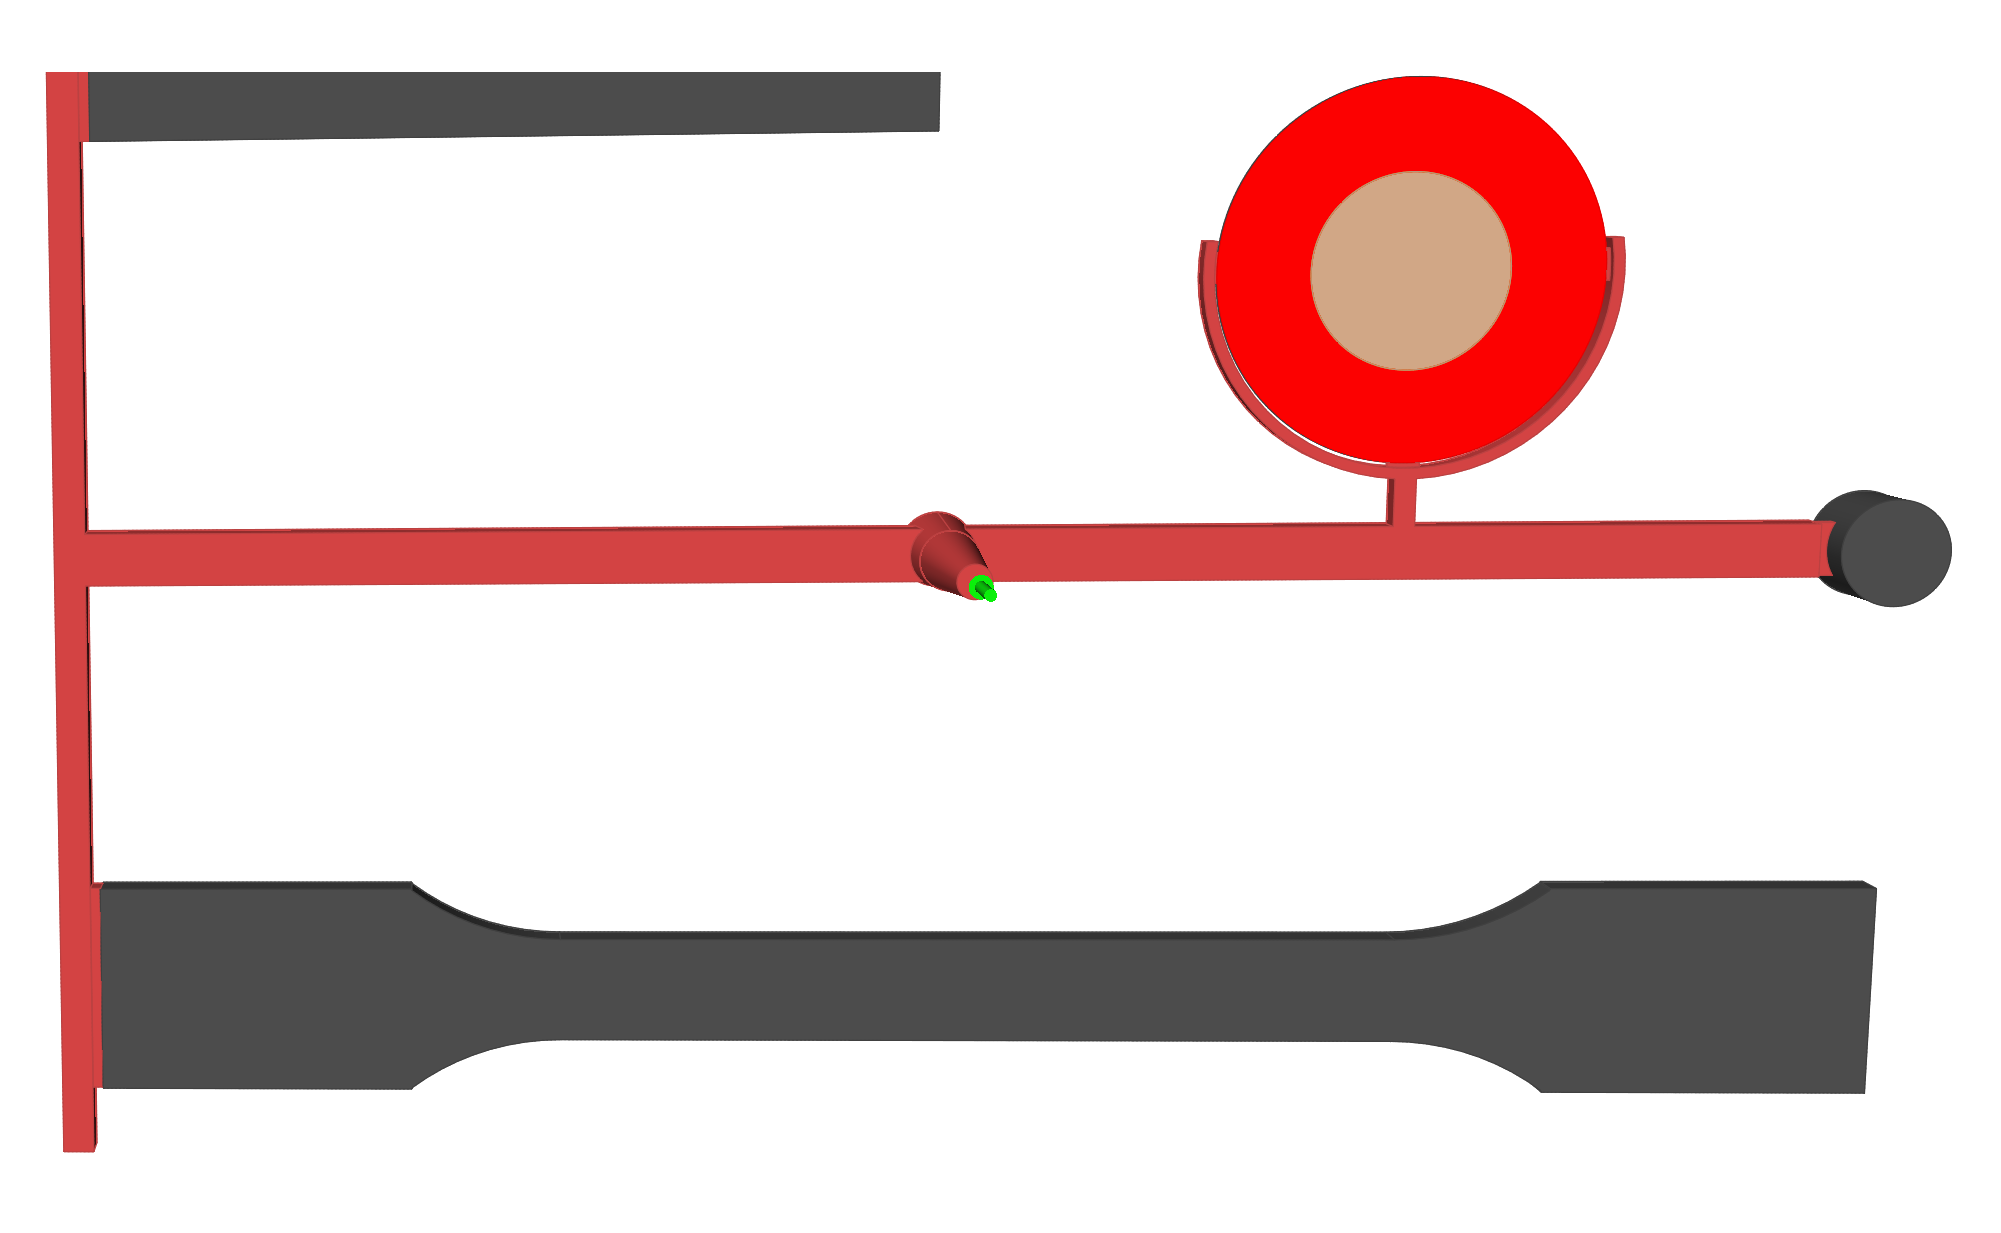
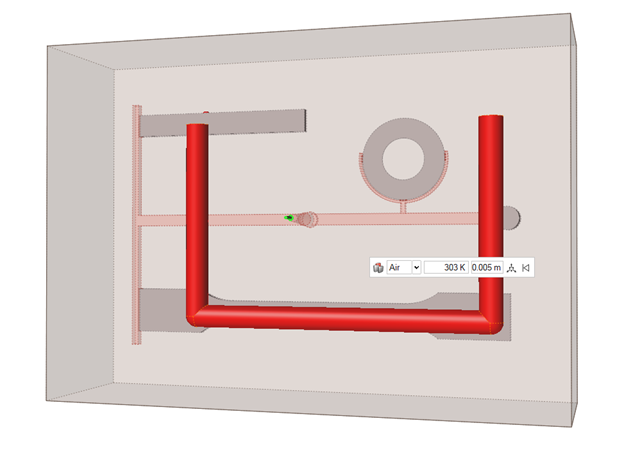
To edit the insert, click it and use the microdialog options to define the
position, material, temperature, and diameter.
Designate an Insert
Identify any inserts you've already designed in a CAD tool.
-
Click the Tooling icon.
-
Click Designate Insert on the
Insert icon.

- Select the predesigned insert.