Define Blank Transfer
A finished part shape is created by forming a blank in multiple operations. The blank needs to be transferred from one operation location to the next to complete the manufacturing process. By default, the blank is always shown in the previous operation position. Blank transfer moves the blank and locates it in the next operation position.
-
From the Tryout ribbon, click the
Blank icon to define the blank in your setup.

See Define the Blank Type and Material. -
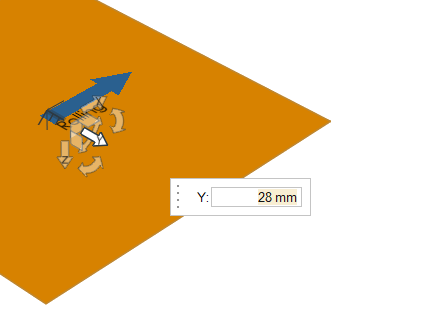
In the microdialog that appears, define the Transfer
between stages in the draw operation down to the millimeter using the
 button to invoke the Move tool, or reset the transfer
using the
button to invoke the Move tool, or reset the transfer
using the  button. The blank
transfers are defined for all of the stages in the model file and saved
there.
There is no need to move the tools when you transfer the blank from one stage to the next.
button. The blank
transfers are defined for all of the stages in the model file and saved
there.
There is no need to move the tools when you transfer the blank from one stage to the next.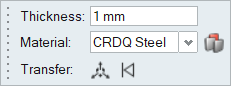
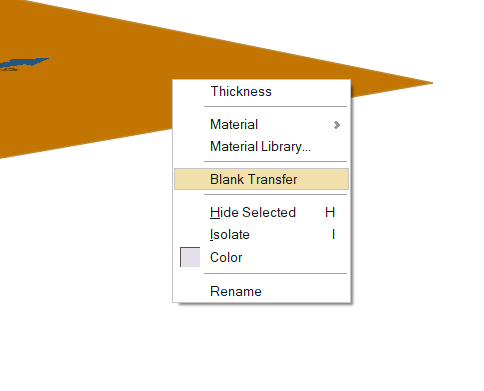
Note: For a tailor-welded blank consisting of multiple parts, you must right-click on the blank to reveal the context menu and select Blank Transfer to define each transfer.