Set Up and Run an Optimization
To run an optimization, select the Run Optimization tool, choose a run type and objective, and click Run.
Define a design space and create at least one load case with
loads and supports.
-
On the Structures ribbon, click Run Optimization
 on the Optimize icon.
The Run Optimization window opens.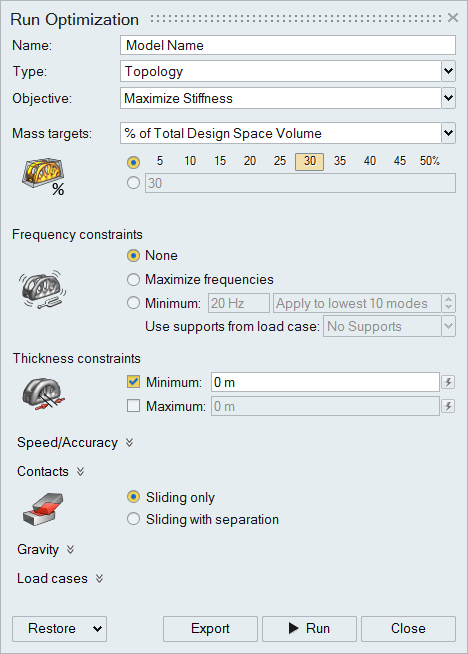
- Optional:
Make selections for the remaining optimization options, including
Speed/Accuracy, how to handle Contacts, and whether to include Gravity. Click
the
 next to each option to expand the section. If at any time
you want to restore the default options, click the
next to each option to expand the section. If at any time
you want to restore the default options, click the  button next to the option.
-
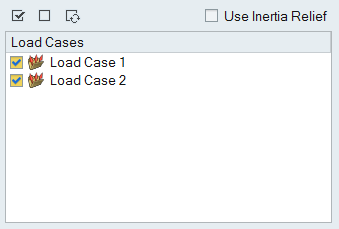
If you have created multiple load cases, click the button
next to Load Cases, select the checkbox next to each load
case you want to optimize, and decide whether to enable Inertia
Relief.
Tip:
- The run Name is appended with several parameters to identify it, as well as a counter that is incremented each time you run an optimization on that particular part.
- Once the optimization is complete, you can interactively view the results using the Shape Explorer.
- You can save or delete runs using the right-click contact menu in the Shape Explorer or Model Browser.
- If you don't want to wait for the run to finish, you can close the Run Status window and continue working. You can check on the status of a run at any time by clicking the Run Status tool on the Optimize icon.