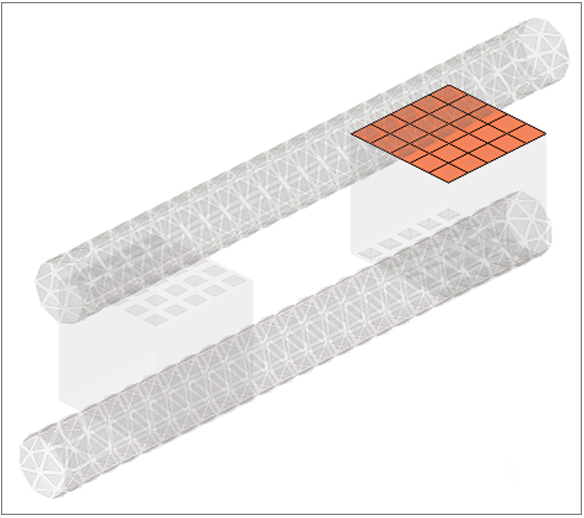
HM-4320: Define Abaqus Contacts for 3D Models
In this tutorial you will define Abaqus contacts for 3D models.
- Load the Abaqus user profile and model
- Start the Abaqus Contact Manager
- Define surfaces for solid elements
- Define surfaces for shell elements
- Define surfaces by set
- Define surface interaction property
- Define contact pair
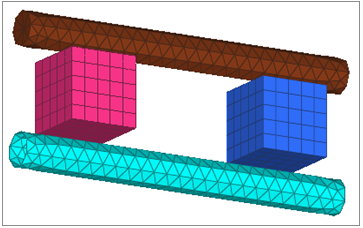
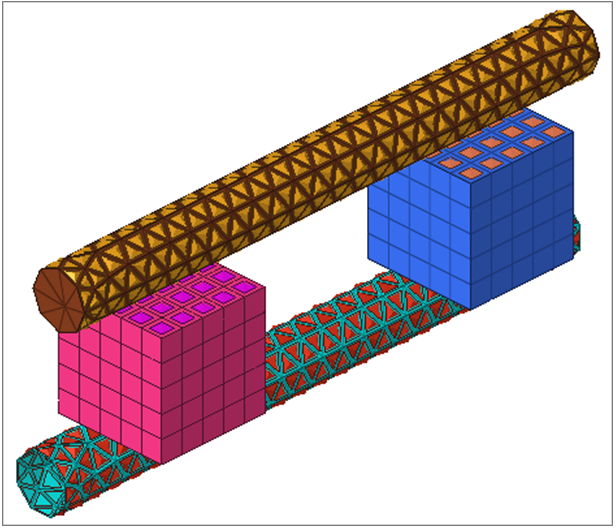
This exercise uses the contactManager_3D_tutorial.hm file, which can be found in <hm.zip>/interfaces/abaqus/. Copy the file(s) from this directory to your working directory.
Load the User Profile and Model
In this step you will load the user profile and model.
A set of standard user profiles is included in the HyperMesh installation. While the user profiles change the appearance of some panels, they do not affect the internal behavior of each function.
Start the Contact Browser
In this step you will start the contact browser.
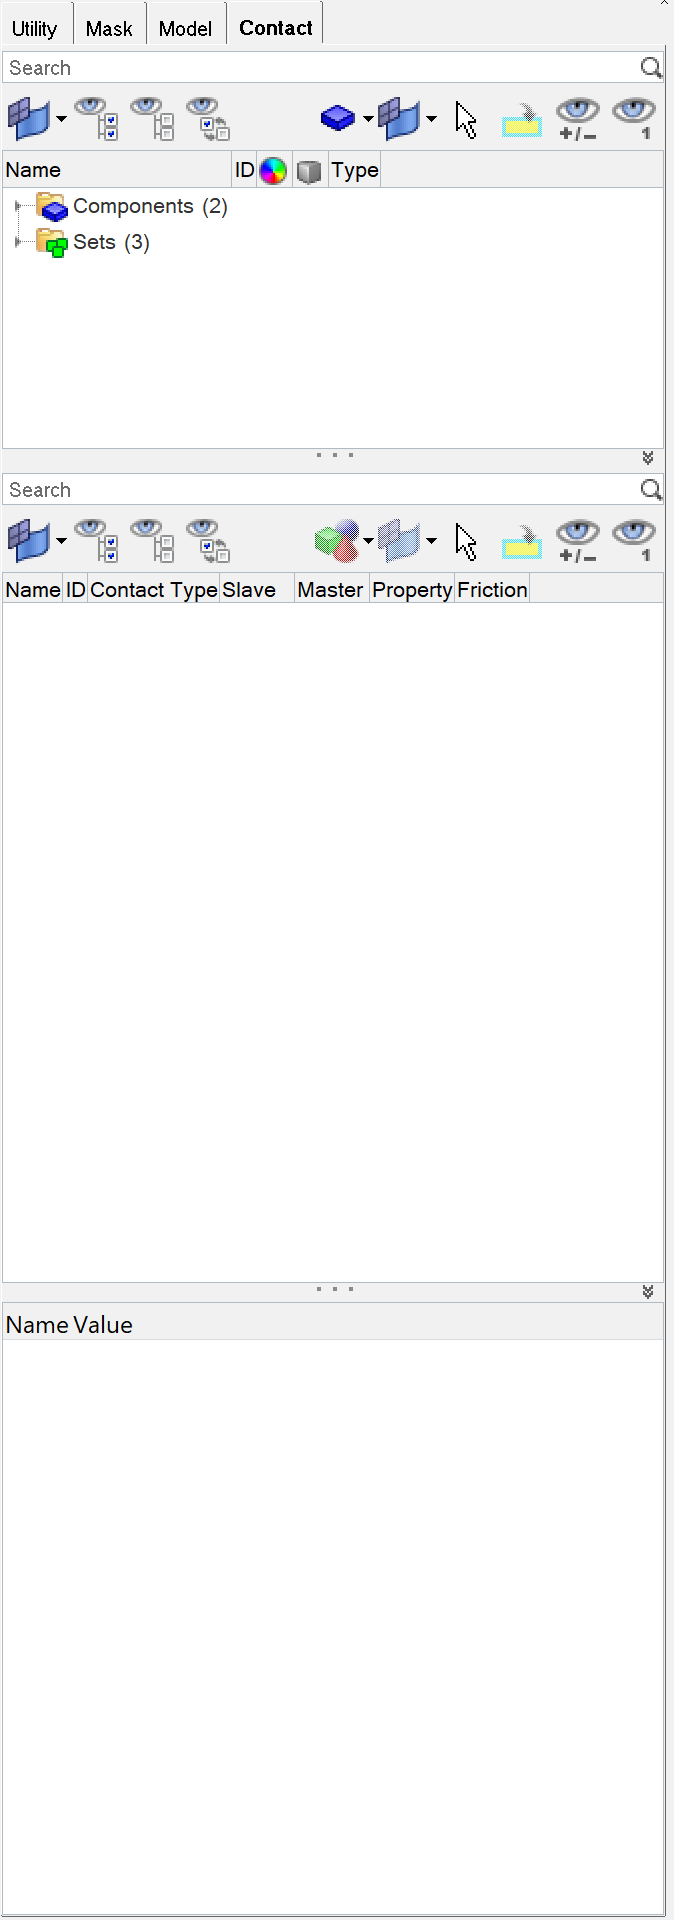
Figure 2.
Define Surfaces for Solid Elements
In this step you will define surfaces for solid elements.
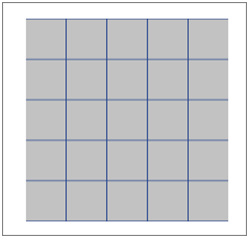
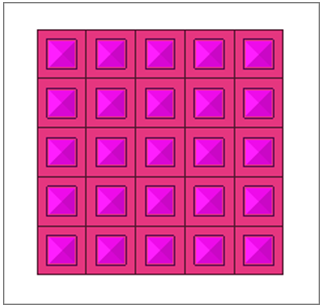
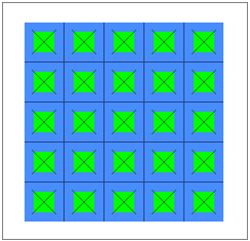
In HyperMesh, you can define the *SURFACE, TYPE=ELEMENT card by using individual element IDs or sets with corresponding face identifiers. In this exercise, you will create surfaces by defining individual element IDs and corresponding faces.
Create the Box2-Top Surface
In this step you will create the box2-top surface.
Create the Cylinder-Top Surface
In this step you will create the cylinder-top surface.
Define Surfaces for Shell Elements
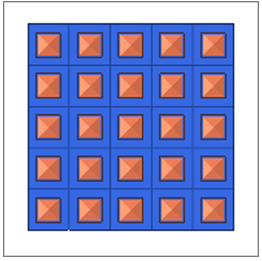
In this step you will create surfaces by defining individual element IDs and corresponding normals to define the SPOS/SNEG faces.
In HyperMesh, you can define the *SURFACE, TYPE=ELEMENT card by using individual shell element IDs or sets with corresponding SPOS/SNEG face identifiers.
Create the Box1-Bot Surface
In this step you will create surfaces by defining a set and corresponding face identifiers.
In HyperMesh, you can define the *SURFACE, TYPE=ELEMENT card by using individual element IDs or sets with corresponding face identifiers. HyperMesh allows only one set in a surface. It also does not support a combination of sets and individual elements in the same *SURFACE data line.
Create the Box2-Bot Surface
In this step you will create the box2-bot surface.
Define the Surface Interaction Property
In this step you will define the *SURFACE INTERACTION card with a corresponding *FRICTION card.
Define the Contact Pairs
In this step you will define the *CONTACT PAIR card with corresponding surfaces and surface interaction.
Create the Top-Cylinder-Box2 Contact Pair
In this step you will create the top-cylinder-box2 contact pair.
Create the Bot-Cylinder-Box1 Contact Pair
In this step you will create the bot-cylinder-box1 contact pair.
Create the Bot-Cylinder-Box2 Contact Pair
In this step you will create the bot-cylinder-box2 contact pair.
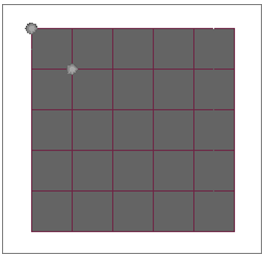
At this point, you have created all of the contact pairs required. Review any contact pair by selecting it from the table and clicking Review. Both the main and secondary surface highlight in red while the rest of the model is grey. If a surface is defined with sets (display option disabled), the underlying elements highlight. Right-click on Review to clear the highlighting.
Click Close to close the Abaqus Contact Manager.
- Click Edit to open the dialog for editing the selected interface, surface, or surface interaction.
- Click Delete to remove the selected interfaces, surfaces, or surface interactions. Multiple selections can be removed from the Interface table at once.
- Click Sync to update the Contact Manager with the current HyperMesh database. If you create, update, or delete any components, groups, properties, or entity sets from HyperMesh panels while the Contact Manager is open, click Sync to update the Contact Manager.
- If you minimize the Contact Manager dialog or if it goes behind HyperMesh, click to restore it.
- Bubble help exists for important buttons. Place the mouse on the buttons for a few moments to view it.
- Double-click on interface, surface, and surface interaction names in the table to open the corresponding edit dialog. Right-click on these names to display a pull down menu with options.
- Left-click or right-click on a table border while moving the mouse can resize columns in a table.
- Shift and Ctrl keys can be used while left-clicking to select multiple items in a table (useful for deleting multiple items).
