In this tutorial, you will use map to sections to change the profile of the car
roof.
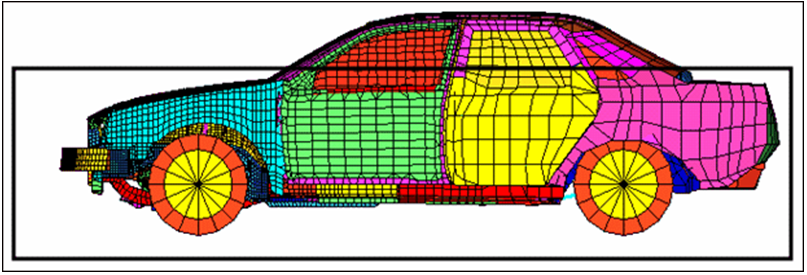
This exercise uses the car_section.hm file, which can be found in
the hm.zip file. Copy the file(s) from this directory to your
working directory. Figure 1.
Open the Model File
In this step, you will open the model file,
car_section.hm.
Start HyperMesh Desktop.
From the menu bar, click File > Open > Model and select car_section.hm.
Morph the Roof
In this step you will morph the roof.
Click Morphing > Map to Geometry to access the Map to geom panel.
Change the mapping section type to map to
sections.
Under map to sections, toggle lines to line list.
Switch map domains to map elements (2nd column).
Toggle no fixed nodes to fixed nodes (2nd column).
Keep blend all option selected.
Keep rotate nodes active.
Keep the 3rd column selector set to map by line
normal.
Click first line list button and select Line
A and Line B on the model.
Under to: click the second line list button and select Line
A' and Line B' on the model. Lines should
be selected in the same order.
Under map to elements click the elems button and select
elements by collector.
Pick collector Roof. This may be located on the second
page of collectors.
Click select.
Click the XZ Right Plane View ()
icon to set the view.
For fixed nodes use Shift + left mouse button to select all the nodes as shown
in the following image.
Figure 2.
Click map.
The roof of the car has been morphed while the mesh quality has been
maintained.
 )
icon to set the view.
)
icon to set the view.